This is the fourth post in my series The Final Kitchen Plans. In my first post (Part I), I talked about how our final plans evolved to using materials we had either never considered or previously just written off and said no to. I kicked off this series about our finalized plans for materials and space plans. I recapped our very exciting flooring decision from last week, and then went on to reveal that we are not going to go with subway tile, but instead will be installing 4.25 inch beadboard planks as wainscoting around the entire room. In Part II, it’s was all about cabinets and countertops, how we ended up ditching IKEA and going with a more traditional plan, and deciding to defy the naysayers and go with white marble countertops. In Part III it was all about my discovery and acceptance of metals in warm tones such as aged brass and copper which I had never previously considered, and then getting the mixed metals in our hardware and appliances to play nice together. In Part IV, I will reveal details of our lighting plans, from under-counter options to traditional kitchen lights and finally the chandelier.
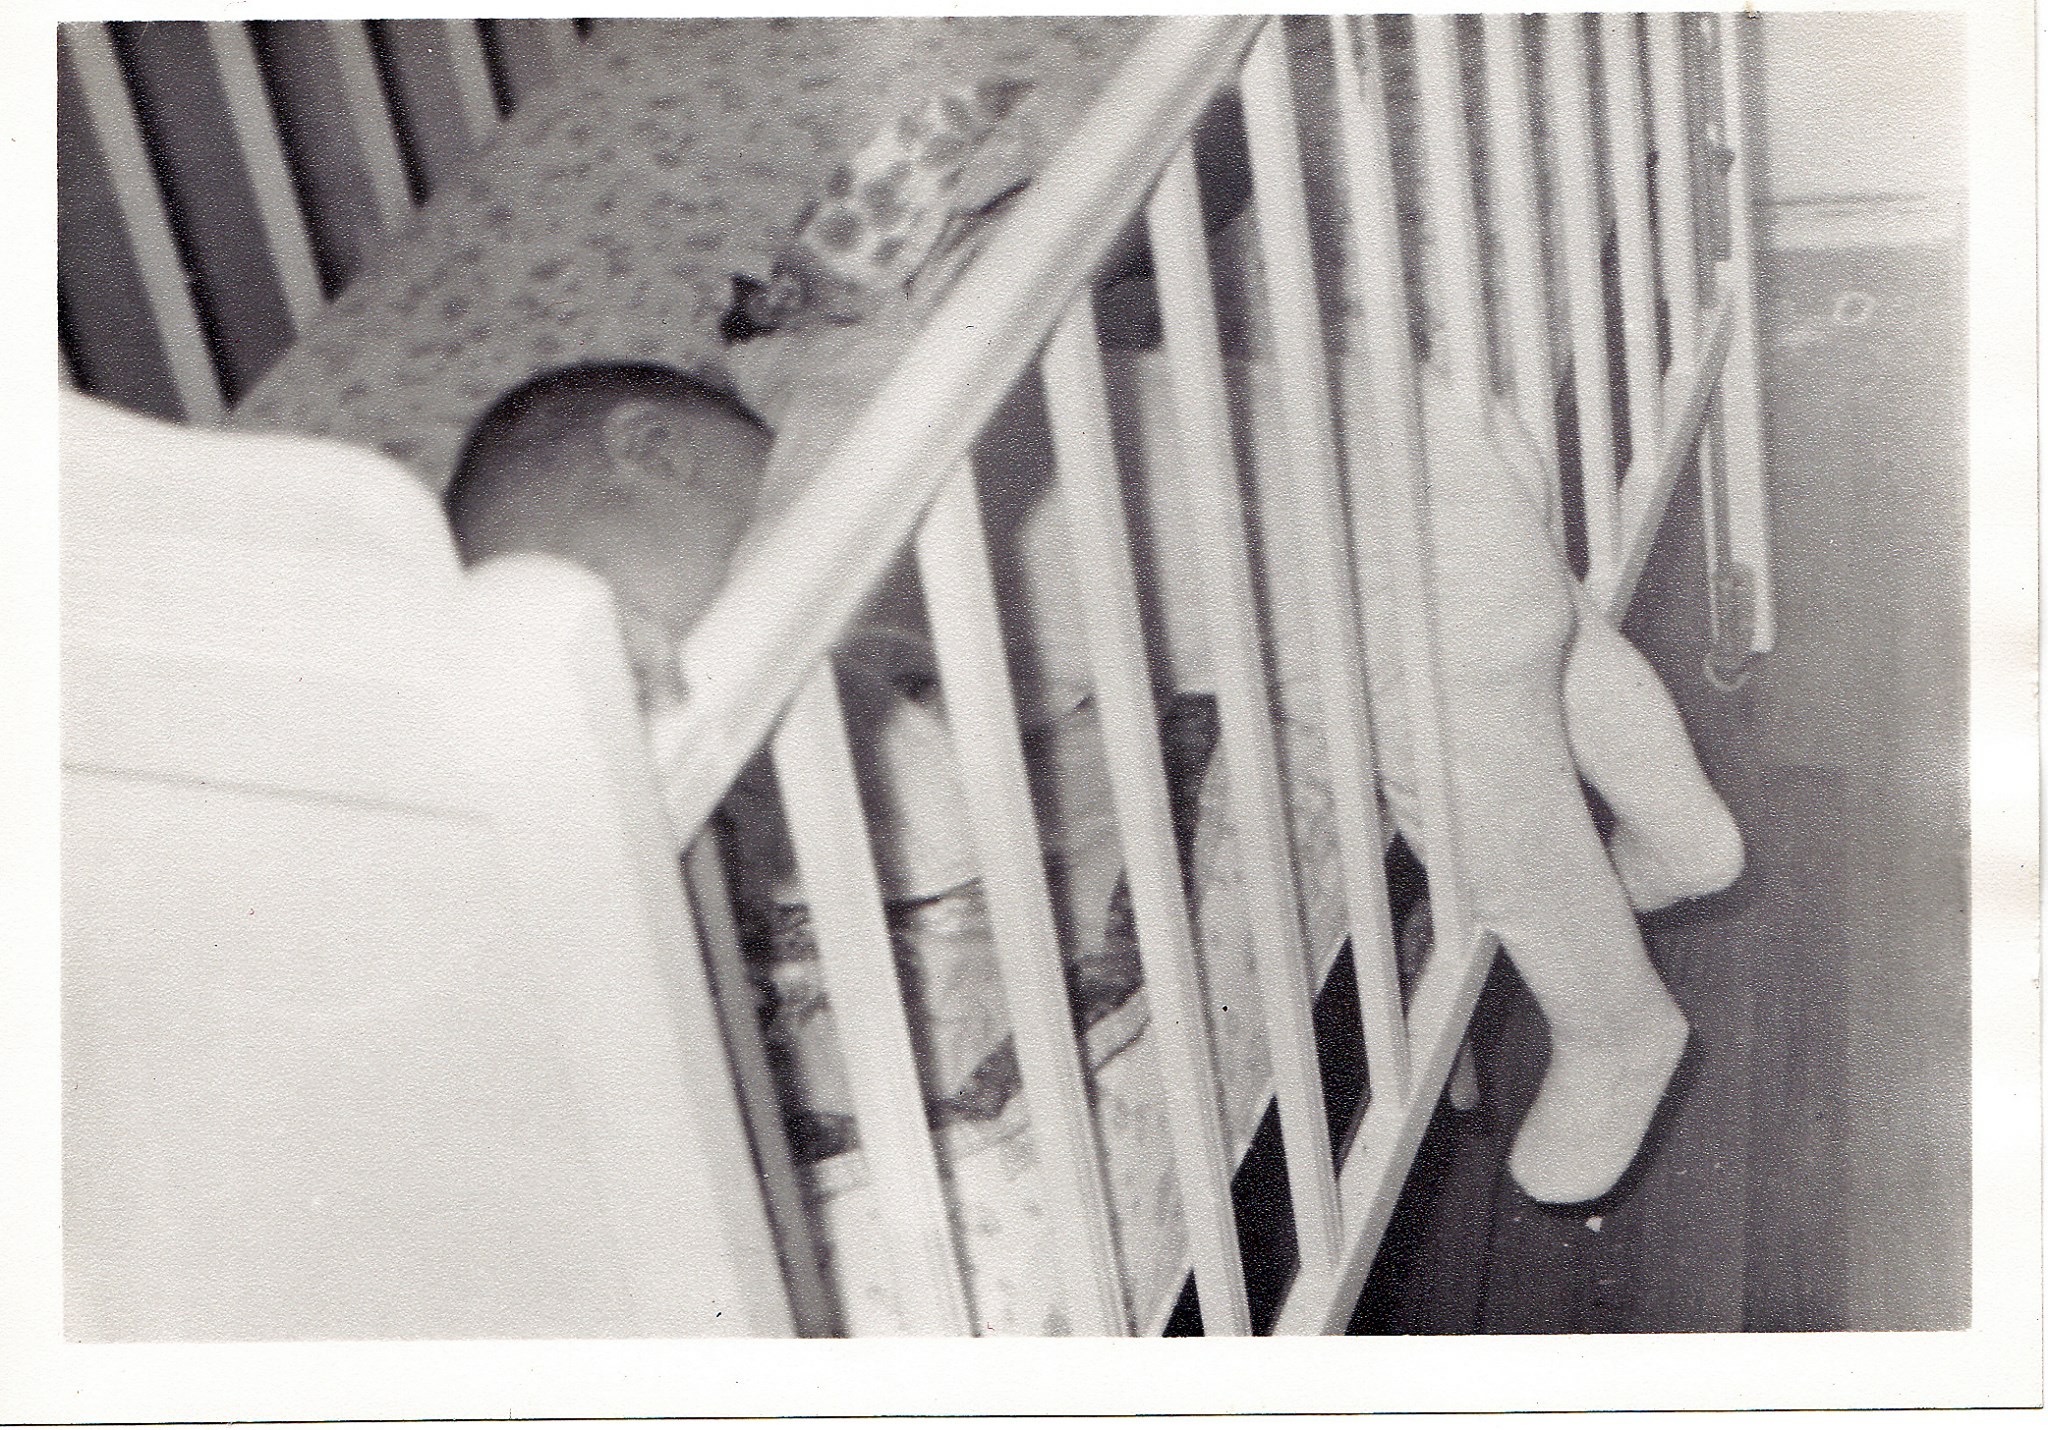
This would be me attempting to escape.. and then falling asleep.
But first some background…. My mother informs me that among the earliest words I learned after “mama” and “dada” was “lights”. At night as I rode strapped into my car seat in the back of our 1962 Ford Fairlane 500 (with a V8 engine), I would point and say “See lights!, See lights…!”. Throughout my childhood, I loved to play with lightbulbs. Other boys played with trucks and cars, I played with light bulbs, sockets, and extension cords.
Once my father found a low wattage incandescent bulb in a box of clothing in the garage, plugged in, switched on and at the smoldering point. Another time, I filled the house with toxic plastic odor when I put a high wattage bulb in my Lite Brite, causing it to melt into a lump of plastic (I wanted it to be even more bright). Clearly this was just the beginning of what has become a lifetime obsession with lights and lighting and also probably fed my intense desire to live in NYC. This of course translates to an obsession with how to best light our kitchen.
Under-cabinet and Cabinet Lighting
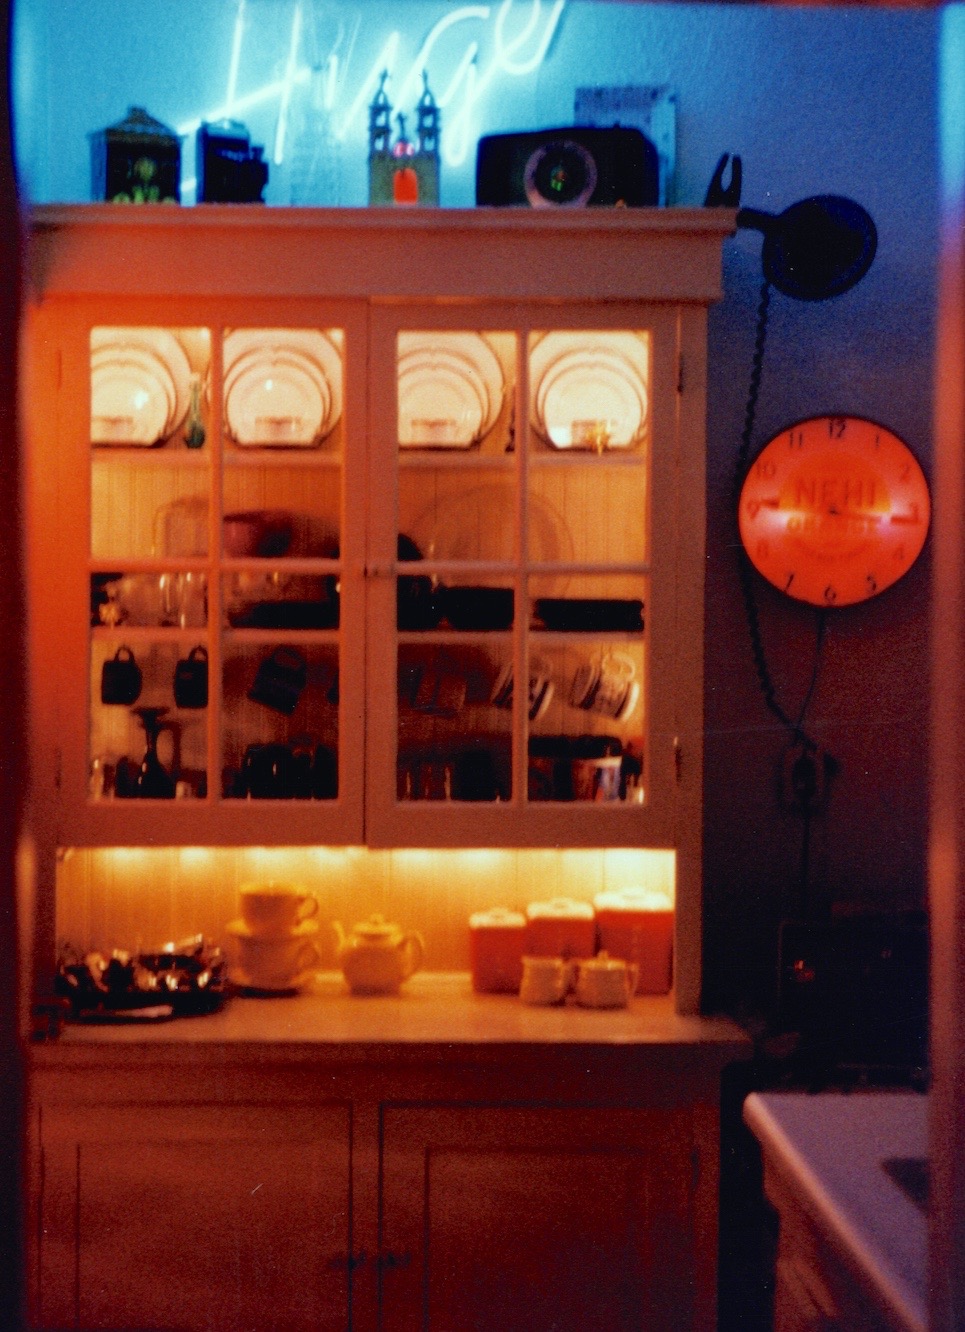
My Seattle kitchen in 1996, mini white Christmas lights strung inside vintage 1905 glass door hutch. (I still have that vintage 1950s Nehi Clock, and hope to put it to good use in our new kitchen)
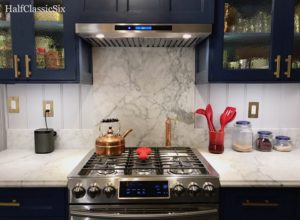
More than twenty years ago while living in Seattle, I strung a string of white mini christmas lights along the underside of my cabinets above the sink and discovered the fact that the area under one’s upper cabinets will always benefit from added light. I could not only see what I was doing while standing at the sink (in the shadow of the single ceiling light), but I loved the added glow to the space when I was not necessarily using the kitchen. In my next apartment (above), I strung those same white mini lights inside and underneath my original 1905 built-in hutch in my kitchen creating wonderful accent lighting (assisted by my blue neon “Huge” sign above). Over the course of the past 20 odd years I have continued to add lighting under my cabinets wherever I could, and of course, our new kitchen is no exception.
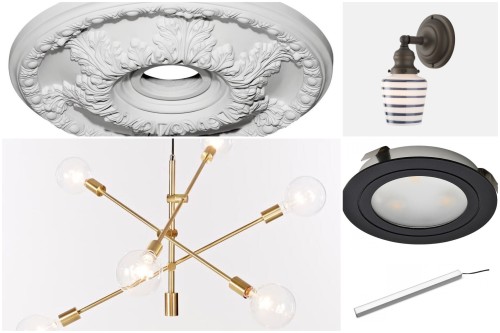
![Not the most exciting things to look at, but these two lighting options will make our kitchen more functional and more beautiful. [Source: Rockler]](https://halfclassicsix.com/wp-content/uploads/2016/01/Cabinet-Lighting.jpg)
Not the most exciting things to look at, but these two lighting options will make our kitchen more functional and more beautiful. [Source: Rockler]
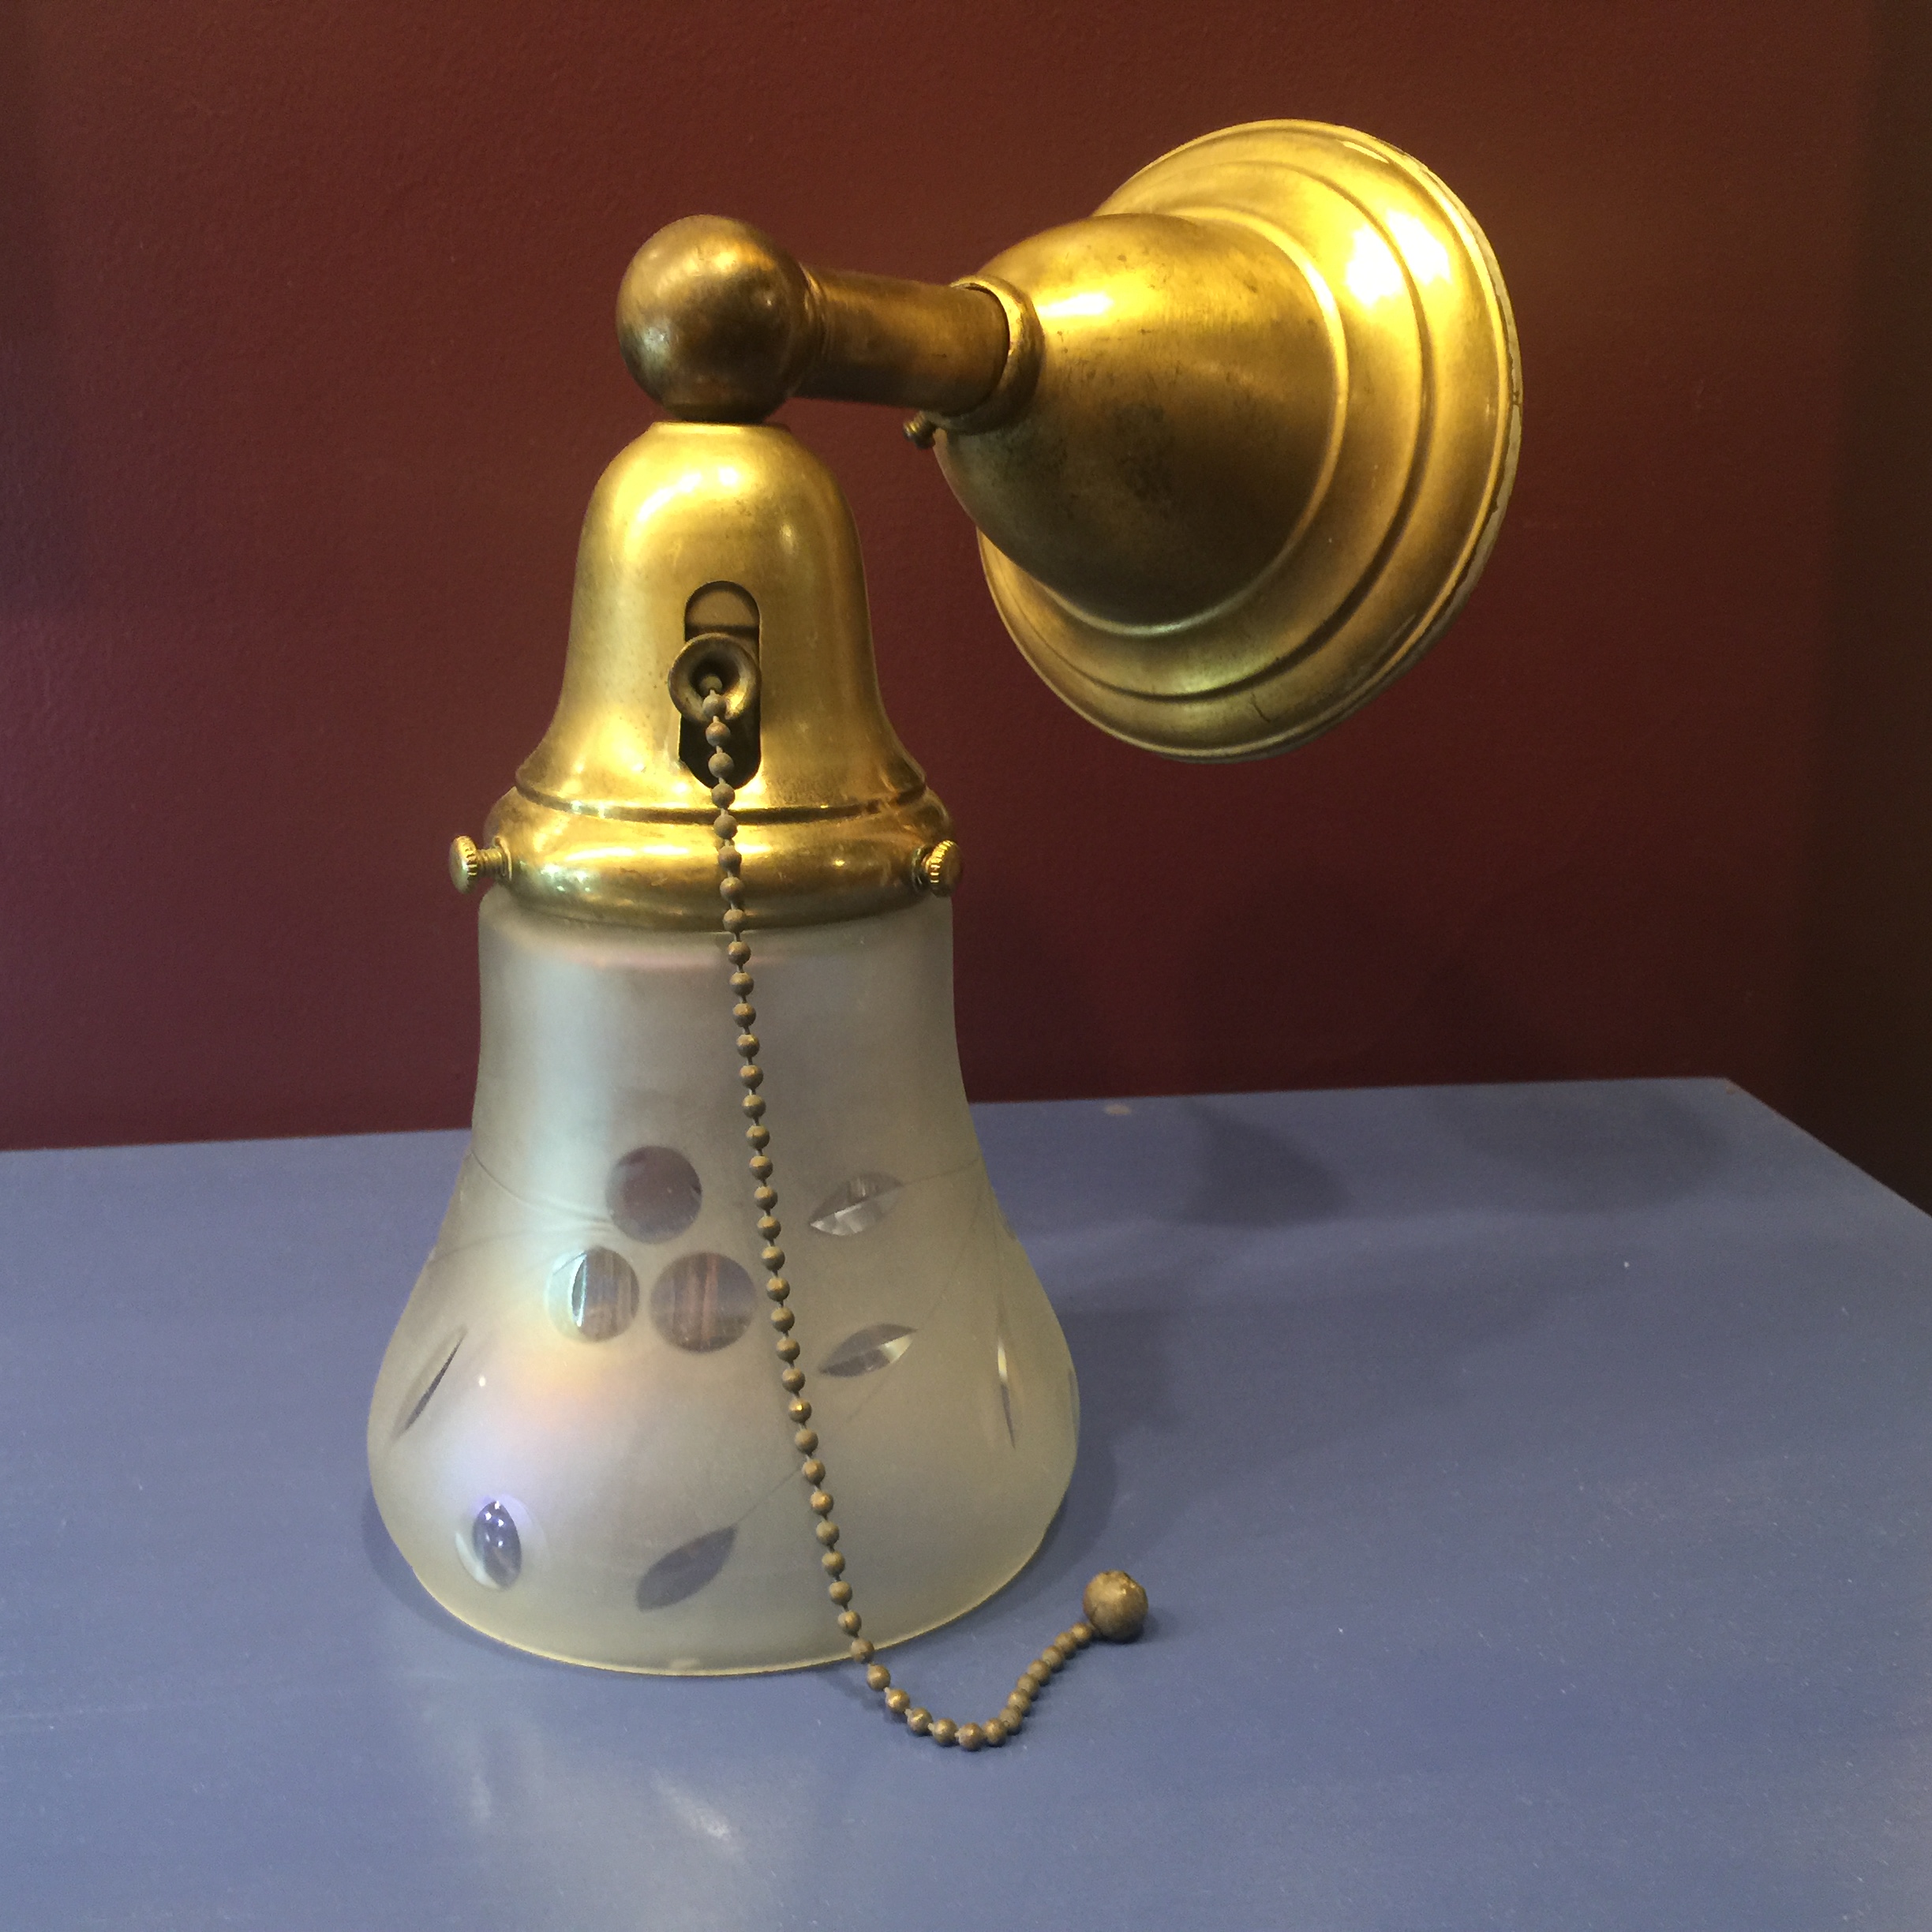
I nabbed this vintage 1915 (it’s dated) brass wall sconce on eBay for $25 including shipping. I am not a fan of the shade, but the pretty striped one from Schoolhouse Electric will look amazing on this vintage piece when mounted above the sink.
Take a look at images of vintage kitchens going back to the late 19th century in the homes of the middle class or better and one common element you will see next to the kitchen sink is a light either on the wall or above the sink. As kitchen technology developed in the 1800s, it became quite common to have a gas light installed over the sink area to keep that area well lit for evening chores. This trend transitioned to electric lights early in this century, and in some form or another, have prevailed to this day as an all but standard feature in kitchens. By the 1950’s the light receded into a square glass recessed light over the sink to light the area. Now the trends for wall mounted sconce lighting is all the rage again. I thought about caving to the trends (I love the look), but decided to stick with the very traditional sconce over the sink look. I scored a vintage 1915 brass wall sconce with shade on eBay for about $25. I am not a fan of the shade, but this shade at Schoolhouse Electric will look amazing when center mounted over the sink.
![We scored this piece for less than half price thanks to a great sale price and gift cards. [Source: West Elm]](https://halfclassicsix.com/wp-content/uploads/2015/11/WE-Mobile-Chandelier-LrgBrass.jpg)
We scored this piece for less than half price thanks to a great sale price and gift cards. [Source: West Elm]
![After looking at dozens of medallions, this one seems to be the most appropriate for our space and it will fit the light canopy. [Source: Amazon]](https://halfclassicsix.com/wp-content/uploads/2016/01/Medallion-for-Kitchen.jpg)
After looking at dozens of medallions, this one seems to be the most appropriate for our space and it will fit the light canopy. [Source: Amazon]
So this is the lighting plan… More brass to prove that mixed metals can and will work together. The chandelier and sconce are ready, and the cabinet lighting is on order. I am excited about the light over the sink, and I think the brass chandelier will be fabulous! Coming up in Part V – The room plan, and how all this is going to fit together.
This post is part of a series about our final plans for the kitchen remodel we are beginning in early 2016. You can view all of the posts in the Finally — The Kitchen Plans are Final series HERE.


Social