
[Photo: This Tiffany blue marble was found amongst the debris under the floor, perhaps a child found a secret passageway to the underworld long long ago.]
I am beyond excited to say that as of Monday Morning, we were tile ready. But OMG what a hell of a three weeks it has been getting to this point. Last week’s progress report was titled Subfloor on Subfloor because when I started writing it, I expected that we would have finished installing the new subfloor by the end of the last Sunday in February. Boy was I wrong… Very very wrong.
When I made out our project timeline, I was somehow smart enough to add the cushion of one additional weekend between the time I planned to finish the floor and when the installers arrived. Cause, well, something could go wrong. I am so glad I did the smart thing and added a full weekend…. While I can’t exactly say that something went wrong, I can say that there were definitely some unexpected delays. and without that extra weekend we would have been screwed.

Our kitchen towards the end of pulling up the floor last week. In the end, 18 bags of debris were hauled away.
The process of tearing up our vintage oak parquet flooring in and of itself was an exceptionally laborious task which took five full days of Yoav and I wielding crow-bars, hammers, pry-bars, mallets, and nail pullers. It was back breaking, knee busting, and at times spirit taxing. I did the majority of the strenuous stuff, but Yoav put his sweat inducing efforts in as well. He also helped me tremendously with just being there to help hand me things, move things, bag waste, and most of all provide moral support.
Finally, we finished tearing up and then had to get to the fixing up. There were several areas of dry rot to contend with, and there was one section of the underlying floor which needed to be rebuilt requiring nearly an entire day of engineering on my part to ensure that the floor remained solid and would be sound for decades to come. I also had a scheduled PTO (paid time off) day in which I didn’t get much done out of sheer exhaustion combined with my fighting off some kind of bug.
That basically brings us up to where we were when I finished and posted last week’s progress report. With the tilers arriving on Monday morning and none of the new subfloor even being installed, I ended up taking another day of PTO on Friday to ensure that no matter what, we would be ready. All day Friday was about prepping for the new subfloor, fixing loose boards on the old 1×4 subfloor, pounding down loose nails, tearing up and patching the old subfloor under the radiator area because it was a bit to “squishy” underfoot for me to feel comfortable throwing a fancy new floor on top.

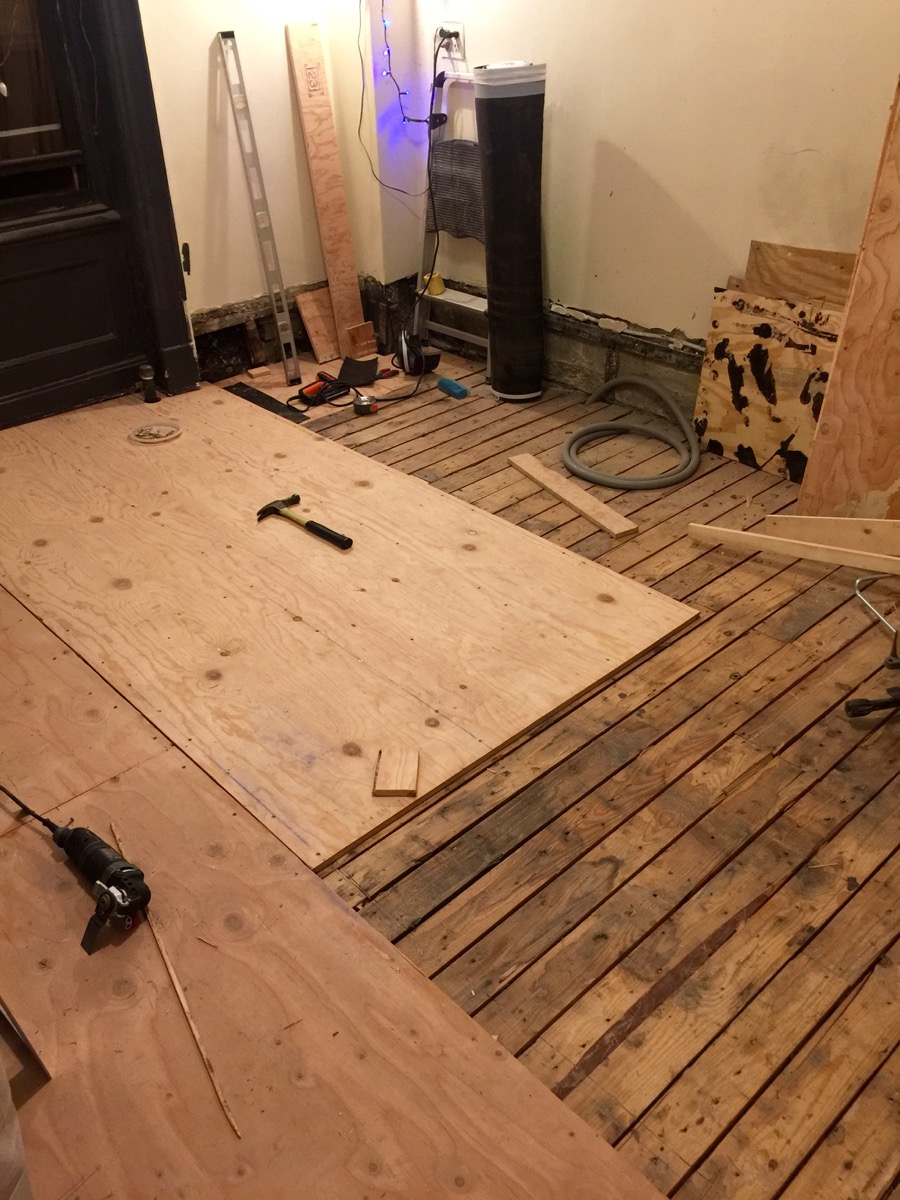
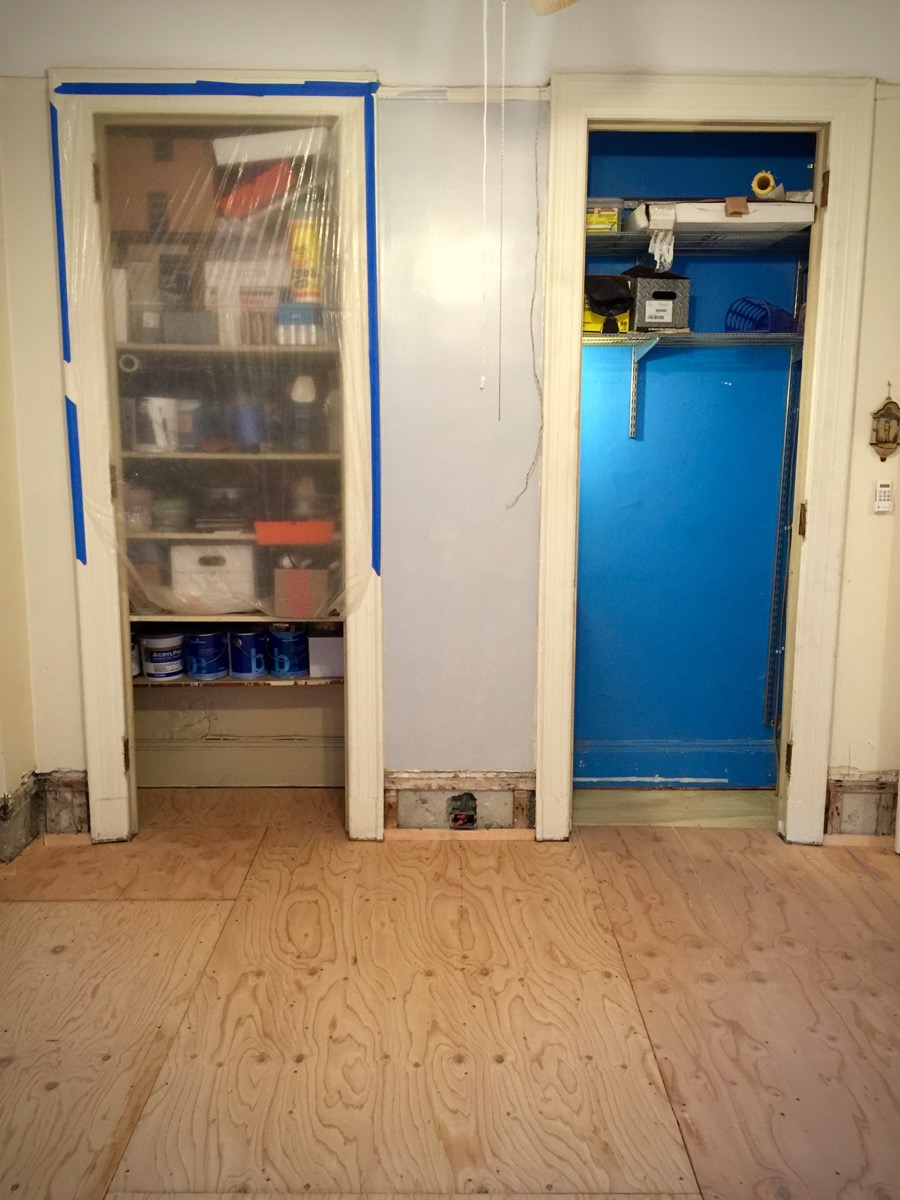
The first piece of subfloor is the most critical, which is why it took several hours cutting and fitting just right. (The white removable panel in the doorway is to prevent mice from getting into the rest of our apartment while the floor was open.)
Friday night involved yet another trip to Home Depot (HD). I had been having a hard time driving the screws into the plywood with my variable speed drill, and after reading about installing subfloors, I determined that I needed an impact driver for the job. Fortunately Home Depot had a nice Ryobi Impact Driver on sale (which works out great because I already have other Ryobi cordless tools which use the same batteries). I checked stock at the closest HD (Upper East Side) and they only had one in stock. So, I did what any ordinary person would do, I ordered the only one they had in stock for in-store pick up to ensure it would be there when we got there later in the evening. Long story short; HD didn’t pull my order, I called and got hung up on several times, finally got a hold of a guy who walked back to the tool section while I was on the phone with him, picked the impact driver off the shelf, verified the model number, and it was waiting for me an hour later at customer pick-up. After we picked it up along with another $100 of stuff, we took a cab home (lumber is a hassle to carry on public transit). Once we were home, we discovered that the wrong item was pulled (even though he confirmed that he had the correct model number). Ugh…. Home Depot has gotten things wrong before, and bad on me for not checking the item before leaving.
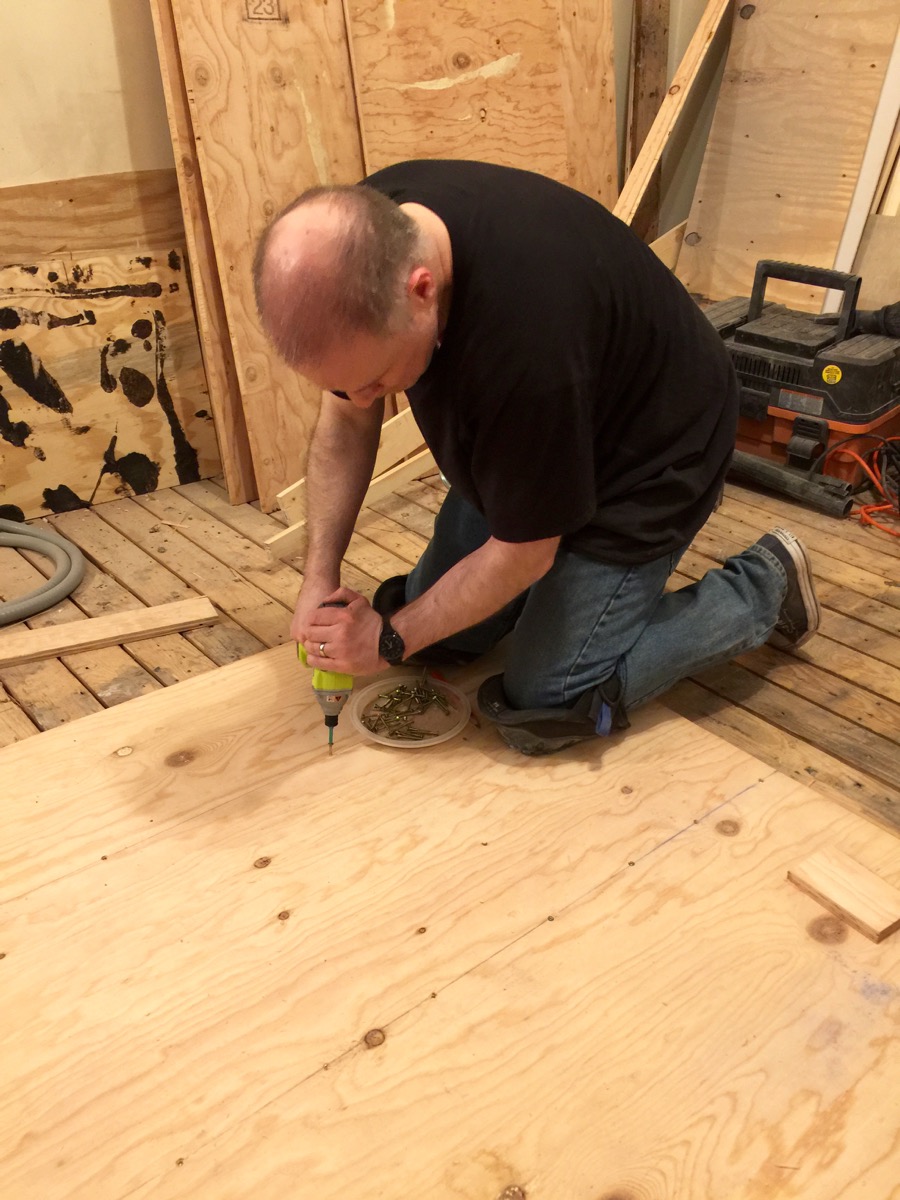
My wonderful Hubby helping me out. He got pretty good at driving the screws with new impact driver.
Saturday morning; We got up early, Yoav headed to HD in Chelsea to exchange the wrong item and I got started on the first 4×8 ft sheet of 3/4 ply just inside the door. This was the most complex piece because it had to fit around two door frames, and as I got into it, I discovered that the wall was out of square with the room (shocking!) and I ended up cutting an odd angle to get it to fit. This being the first piece, it is also the most important piece to get correct because it basically establishes the layout of the entire room. After nearly three hours, I finally got it right and we finally were able to screw it down. By early evening on Saturday we only had 1/2 of the room done and I was beyond exhausted, but I was confident that we could finish it on Sunday. BTW, that Ryobi Impact Driver was absolutely worth every penny. It made driving the hundreds of screws so much easier, especially the 3″ screws.
We called it quits for the day on Saturday evening once we reached the halfway point.
Sunday morning; We couldn’t start too early because, well, we really aren’t supposed to be doing construction in the building on Sunday’s (Shhhhh…). But, this is where the benefits of living in a 100+ year old steel and masonry building come in. Because our kitchen is on an outside corner almost 40 feet from our front door, and because there are two very substantial French doors in between, and because our ceilings and floors are sixteen inches thick, we could basically make a reasonable amount of noise without anybody knowing about it. We dove right in and got our first section down in an hour. Then the next one, and the next one, the next one, and then it was getting late and we still had so much to get done. Every single piece of plywood going down had to be cut to fit around something, a door jamb, radiator pipe, corner notches, etc. Not a single four sided piece was installed in the whole room. Finally at about 6:30 Sunday evening, we put our last screw into the last piece of subfloor and could take a moment to look at our handy work. Unfortunately, we still had work to get done.
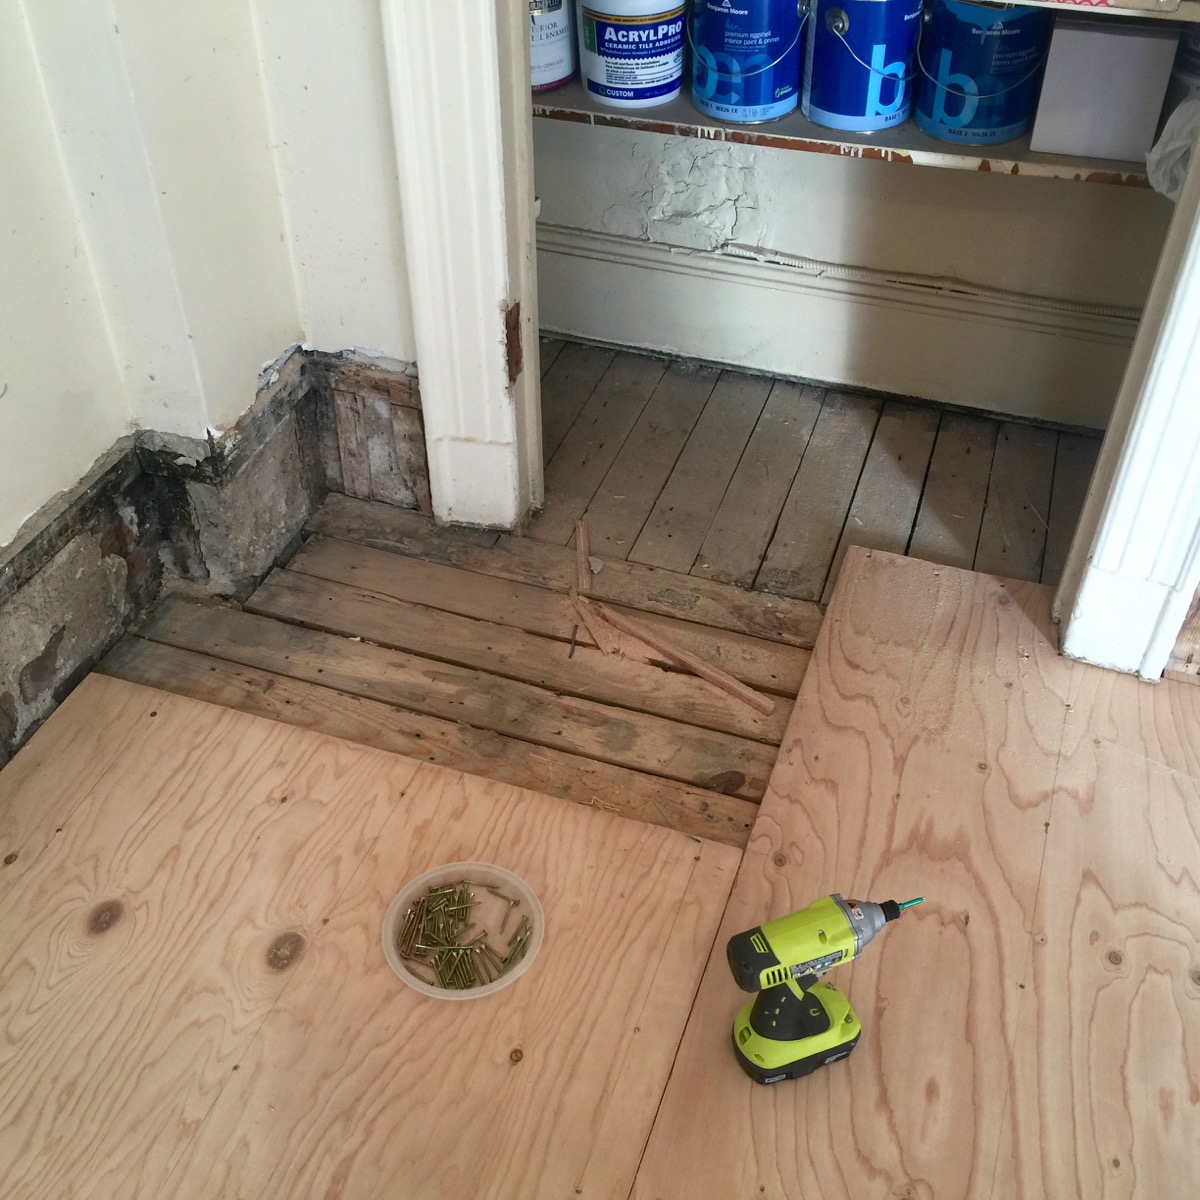
Finally by late afternoon on Sunday, we were finishing the last corner in the room leaving only the closets to complete.
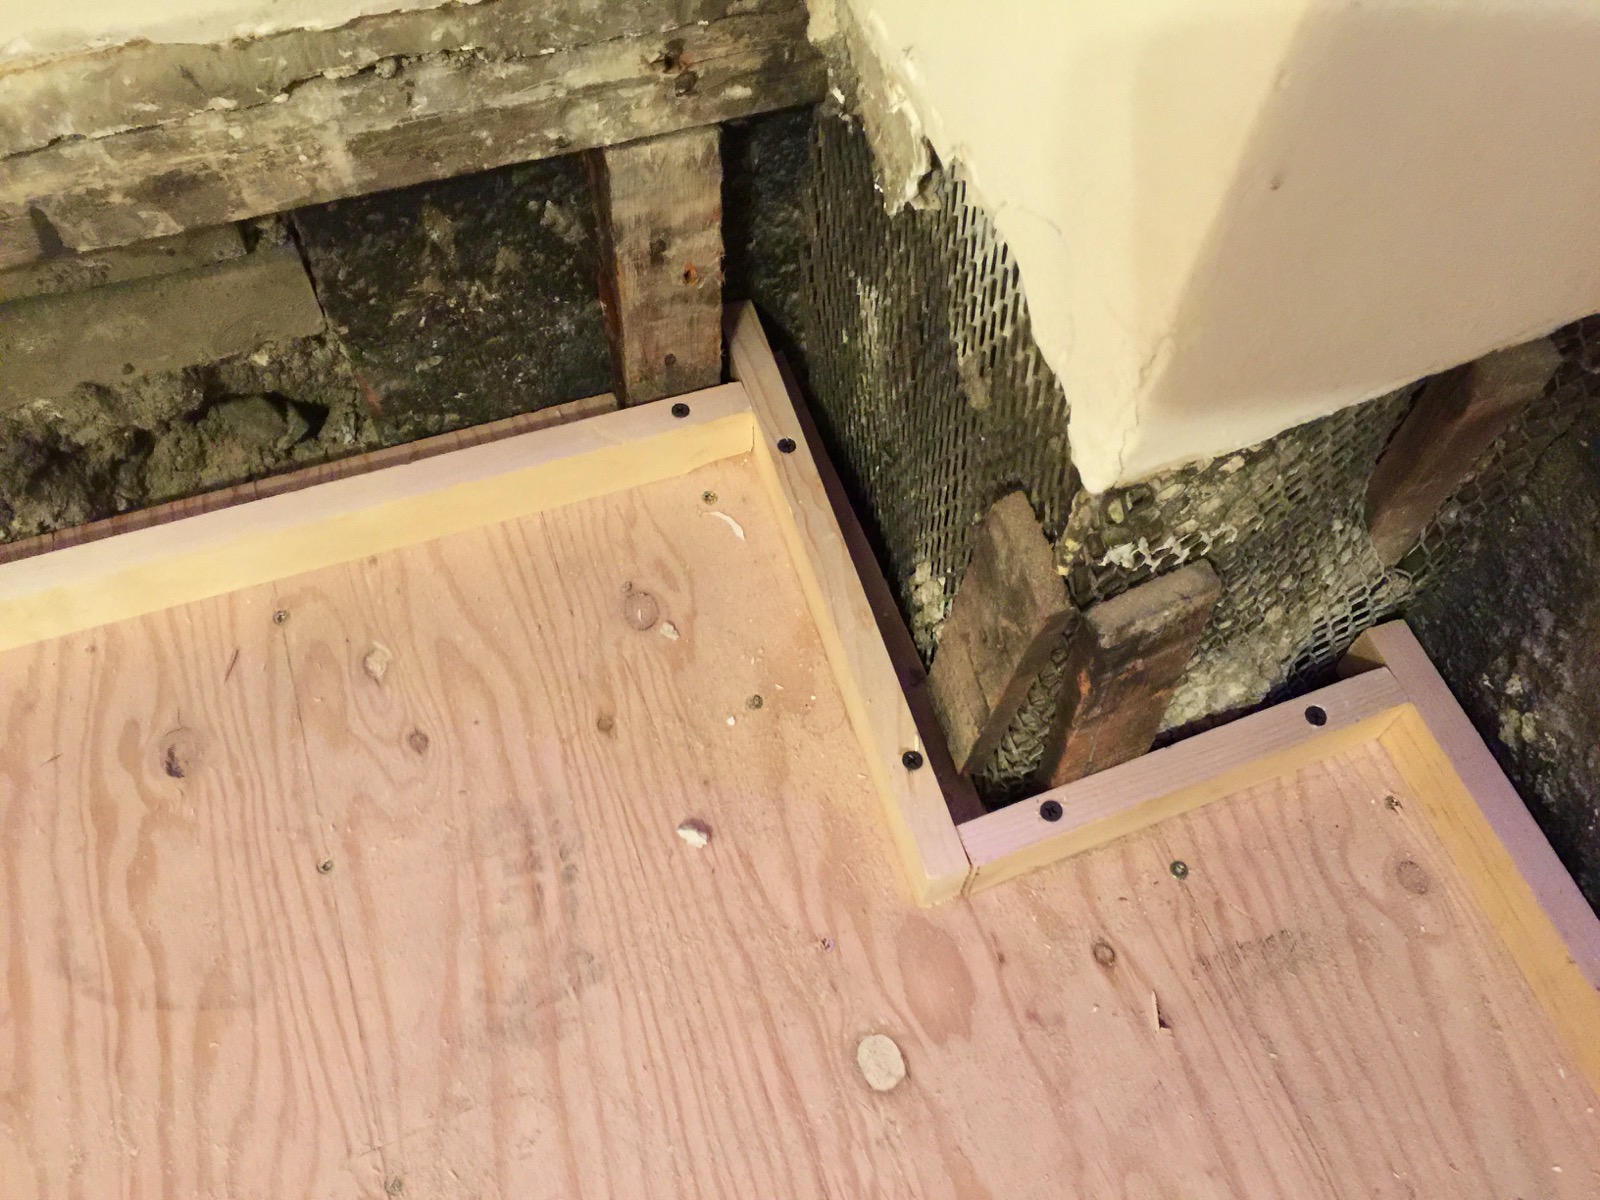
The last step in preparation for the tile install was to install a wood border around the perimeter of the room to establish the edges of where the tile should end.
After a break for dinner, we went back in and added the final necessity…. Because I am installing 3/4″ beadboard on the walls around the room, I did not want the tile to extend under the wall treatment. So I installed a wood border made from 1×2’s around the perimeter of the room to establish where the tiles needed to stop. The way our place was built, the floors actually extended beyond the vertical panes of the walls in some areas. This way, I know exactly where the tile will be placed and not need to worry about fixing it afterwards.
Monday morning we were ready for the tilers to arrive! Finally….
Finally at 9:30 Sunday night, less than 12 hours before the tilers were due to arrive to begin working on the tile installation we were finished. In the end, it took the two of us almost nine days of of back breaking work over the course of three weeks to get to this point. We filled 18 heavy-duty construction bags with debris consisting of mostly wood pieces but plenty of other random construction crap as well. And amazingly, our relationship withstood the chaos incredibly well. Definitely moments of stress, but not a single moment of friction between us. I am a very lucky man to have found such an amazing partner in life.
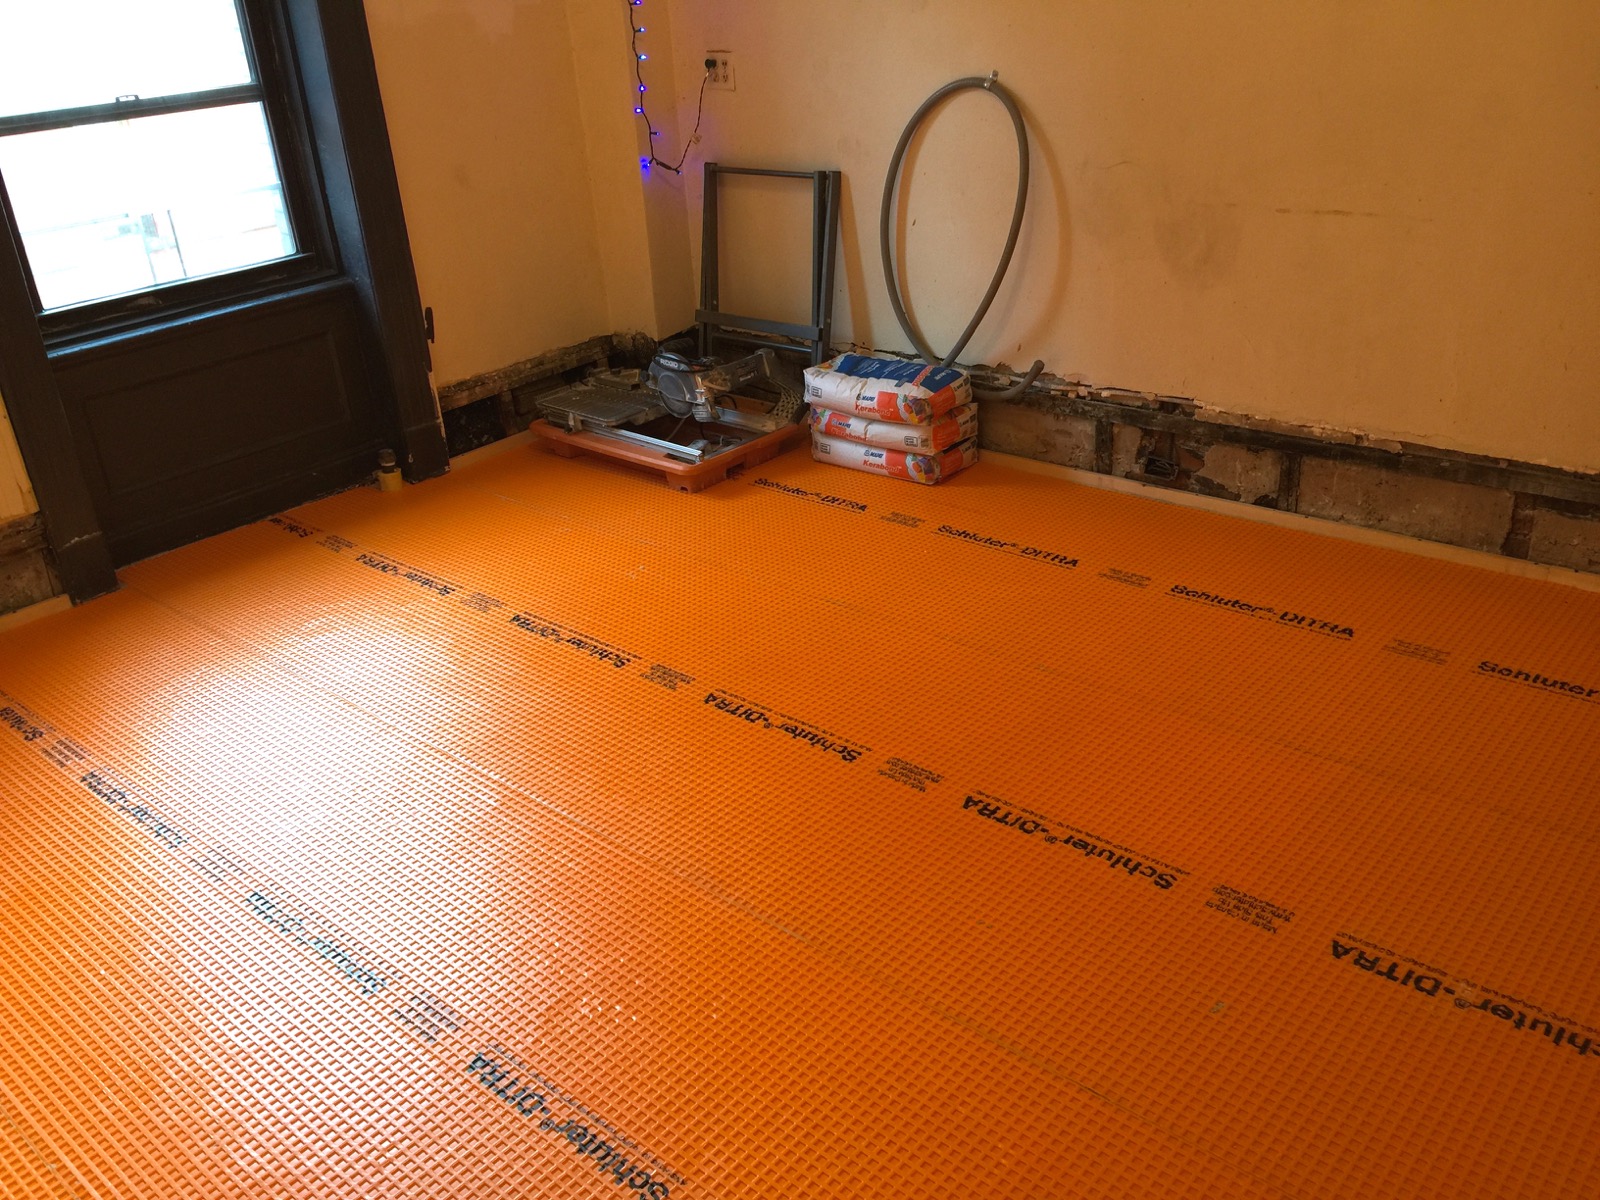
End of workday on Monday, the tilers had installed a layer of Ditra in preparation for tile.
On Monday morning, the tile folks arrived on time and began the work to install the floor that makes our hearts sing. Above is a sneak peak of the work completed on Monday…. You will have to wait until next week for the floor reveal.
Extra Bonus Pic! More details to come next week…
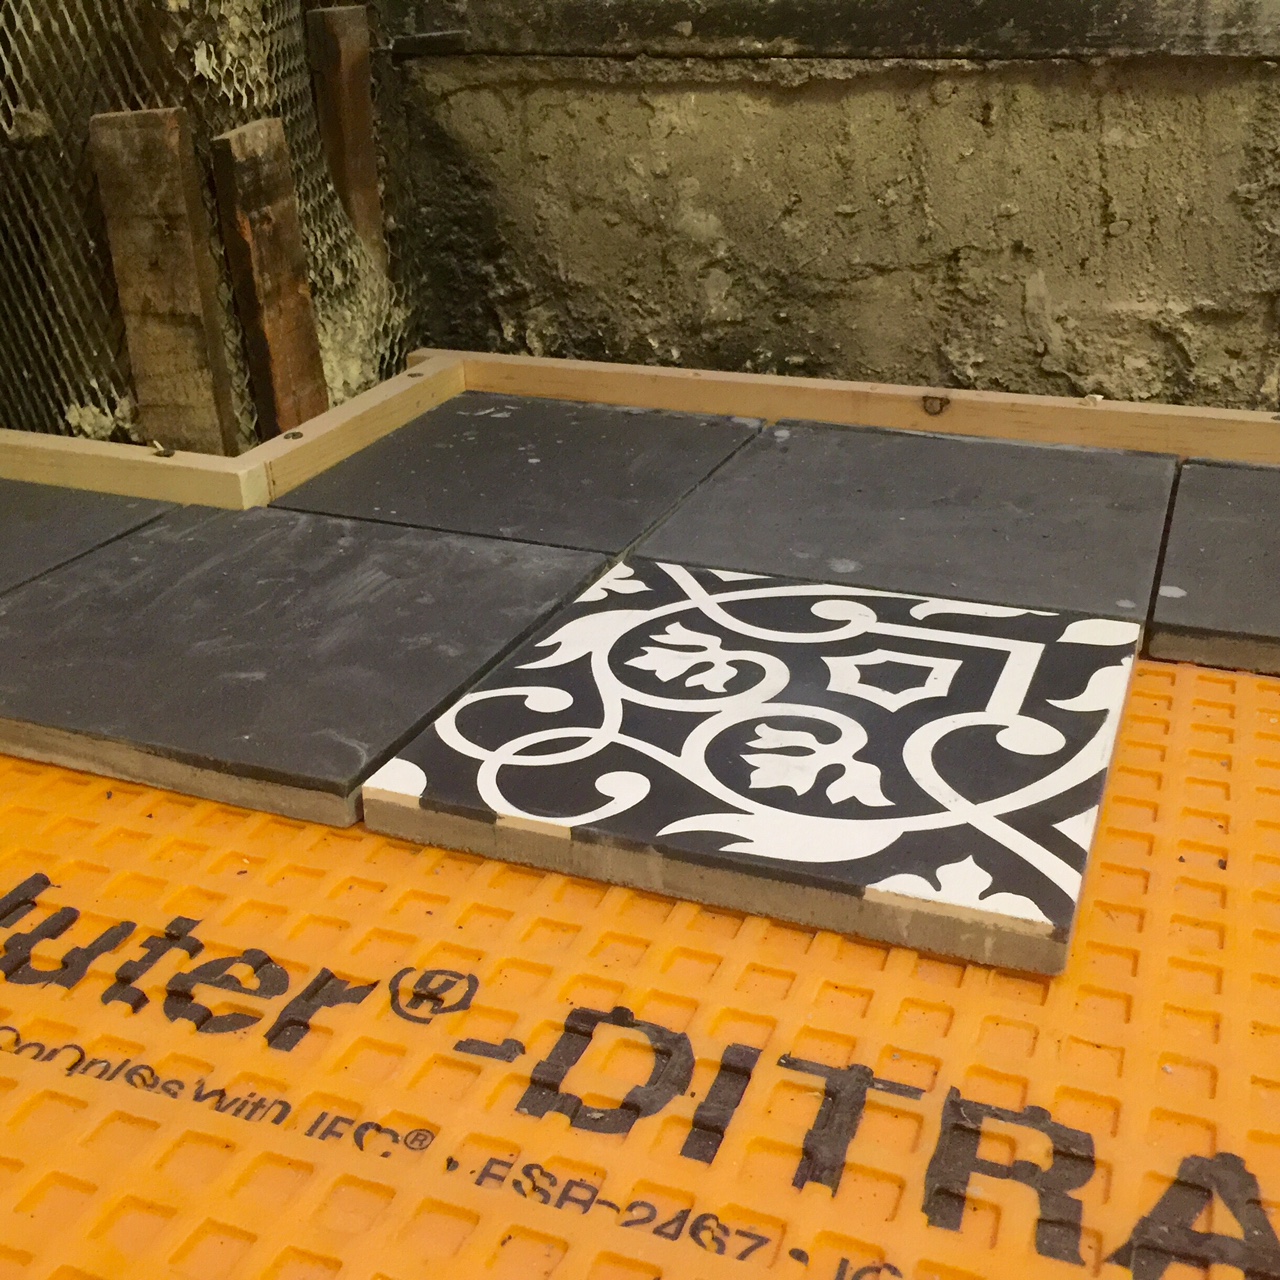
EXTRA BONUS PICTURE!: I wrote this post over the past couple of days and as of yesterday, the black border tiles had been cut and fit, and I could not resist adding this extra bonus picture of the far corner as of last night. Next week….. The tile floor reveal!


Social