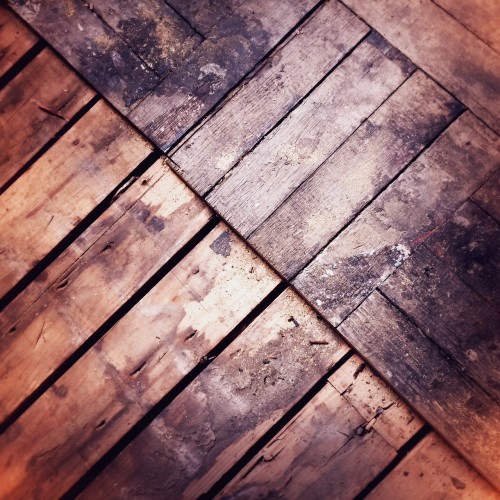
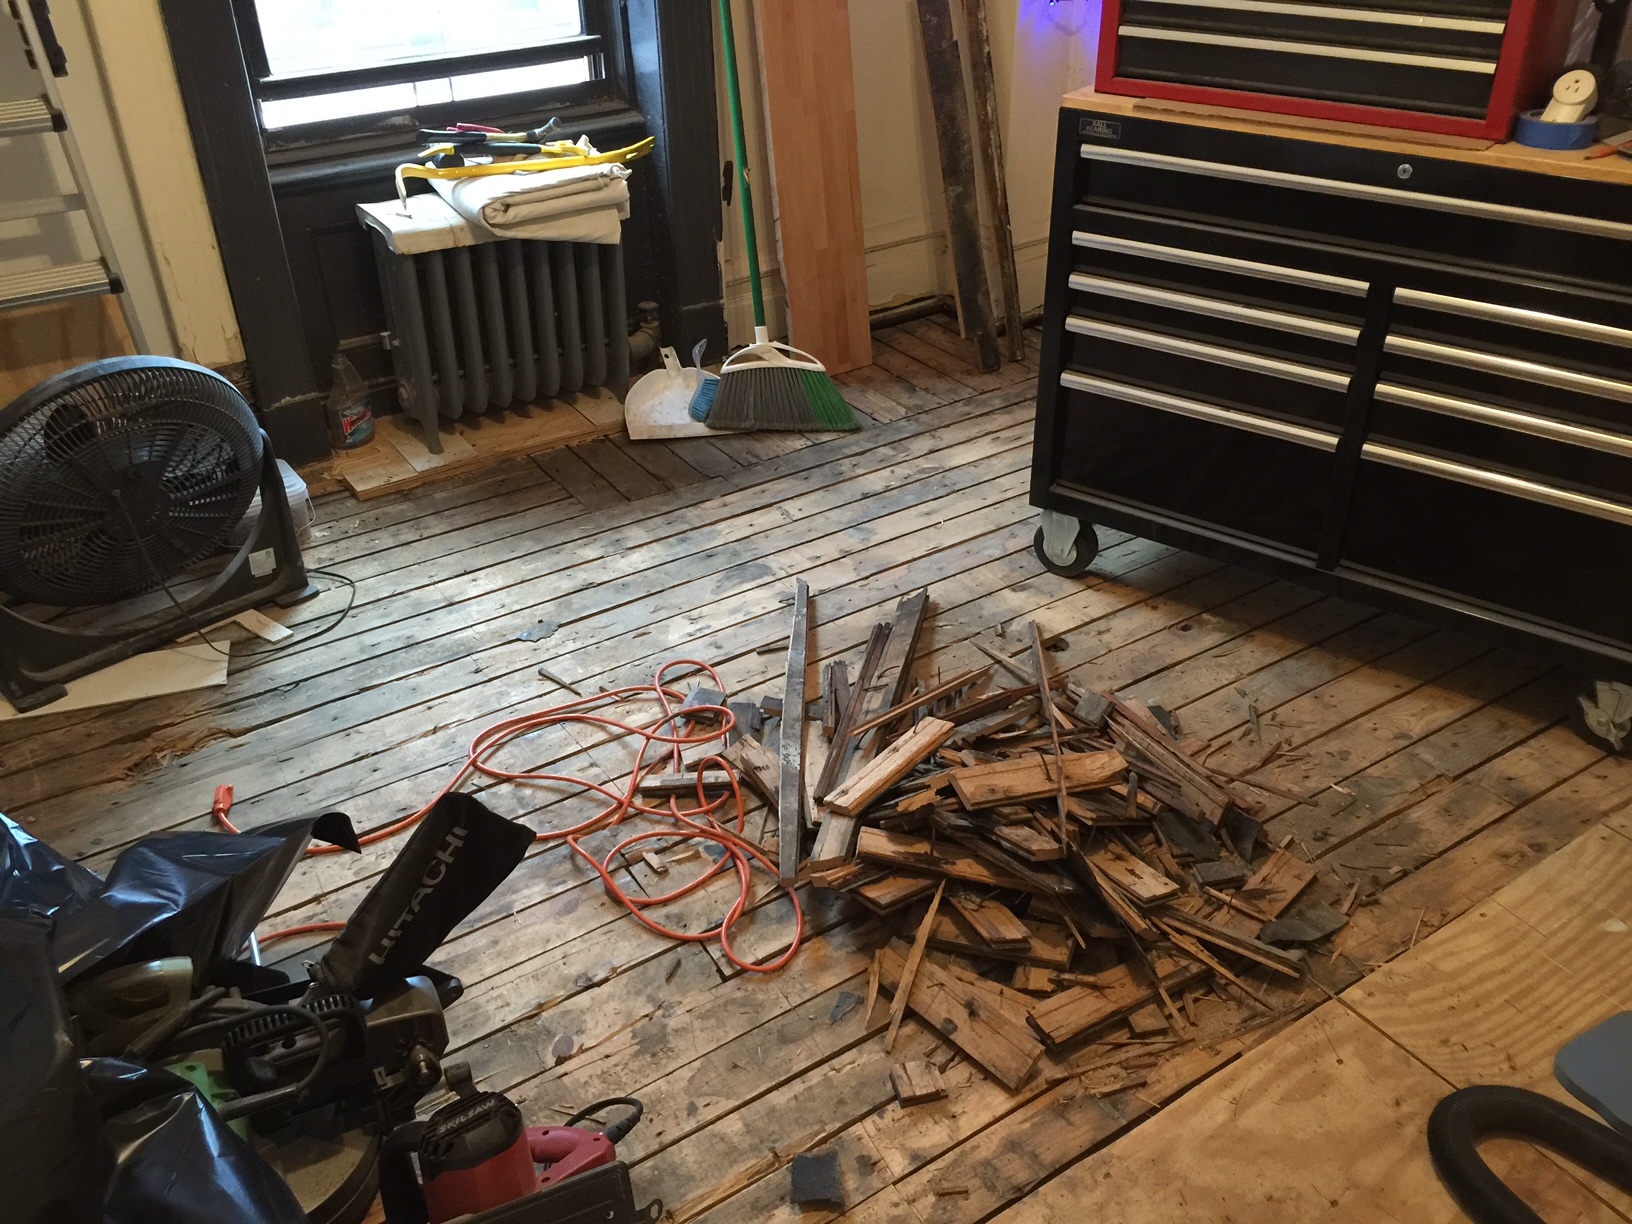
We are in the thick of it now and the original kitchen floor is no more… We have moved even deeper into full renovation mode as we spent this entire past weekend pulling up 105 year old oak parquet flooring. Now for those that don’t know the back story, don’t get your panties in a bundle just yet at hearing we are ripping up 105 year old oak parquet flooring. The lead image above is one I shot yesterday of our original oak parquet floor (upper right) and the 1×4 original pine subfloor on the bottom left (you see how artsy I got by making it all angly and stuff). Now, compare that to the same floor in the rest of our apartment and you will see that it was a hot mess.
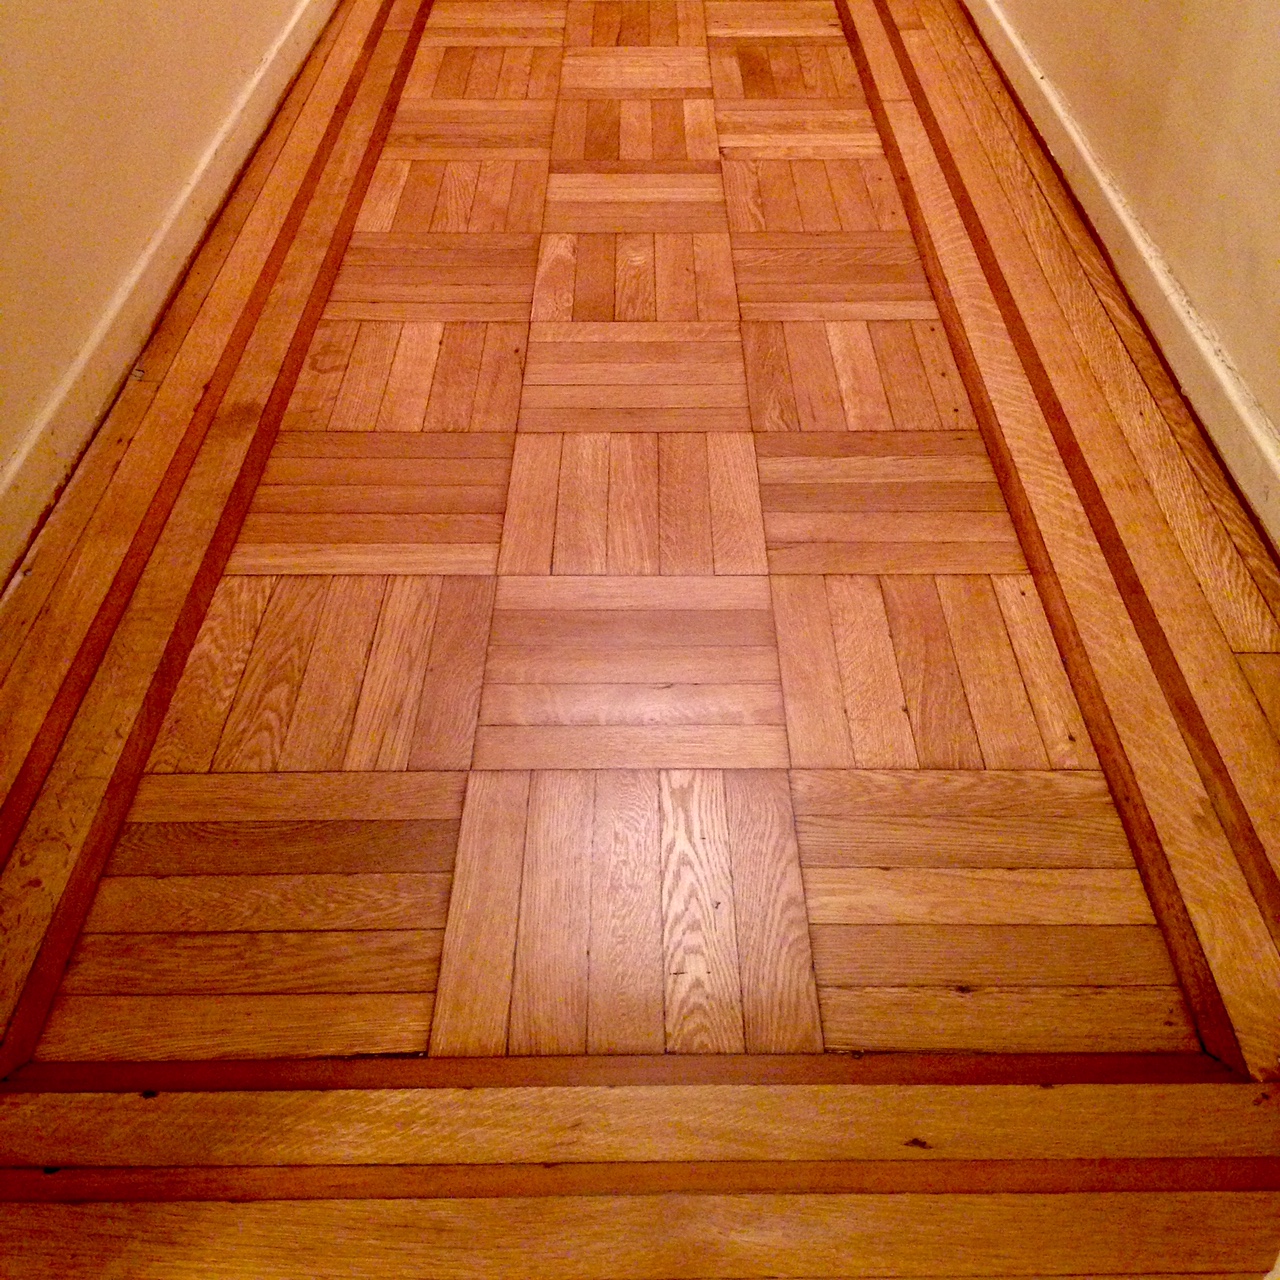
This is the entry gallery floor in September of 2014 the day after we had them refinished. This oak with mahogany bordered floor is still throughout our apartment except for the bathroom and now the kitchen.
Next week I plan to do a follow up post with a bit of history on how the floors in grand old New York apartment houses were constructed in the early part of the last century (it is actually quite interesting!). In the meantime, here is a brief background on our kitchen floor.
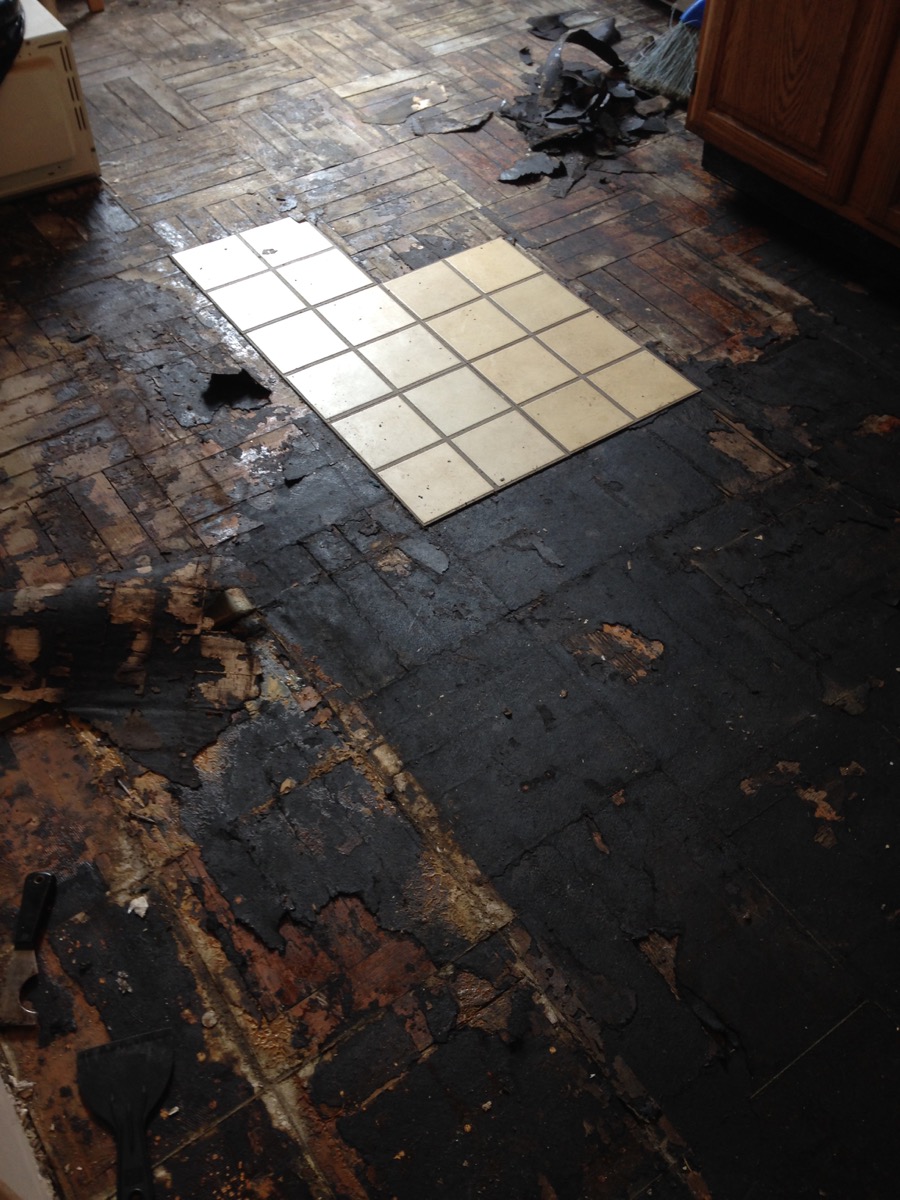
Shortly after moving in, we pulled up the peel-n-stick tile to reveal a layer of tar paper and what was once a very beautiful oak parquet floor.
A day or so after we closed on our apartment, we had an unexpected surprise. The kitchen floor we had hoped to salvage was damaged beyond salvaging. If you will remember, our kitchen was originally a bedroom and was converted to a kitchen in the middle of the last century when they split the original apartment in two. After converting it to a kitchen, somebody put tar paper down and then peel-n-stick tiles. Upon pulling a few tiles up, we discovered dry rot near the sink. This meant that we had to have a section of the floor cut out and replaced with plywood, we then took the suggestion of our flooring guy and covered the entire kitchen in 3/7 plywood, glued and screwed down to the original floor. Then we needed a floor.
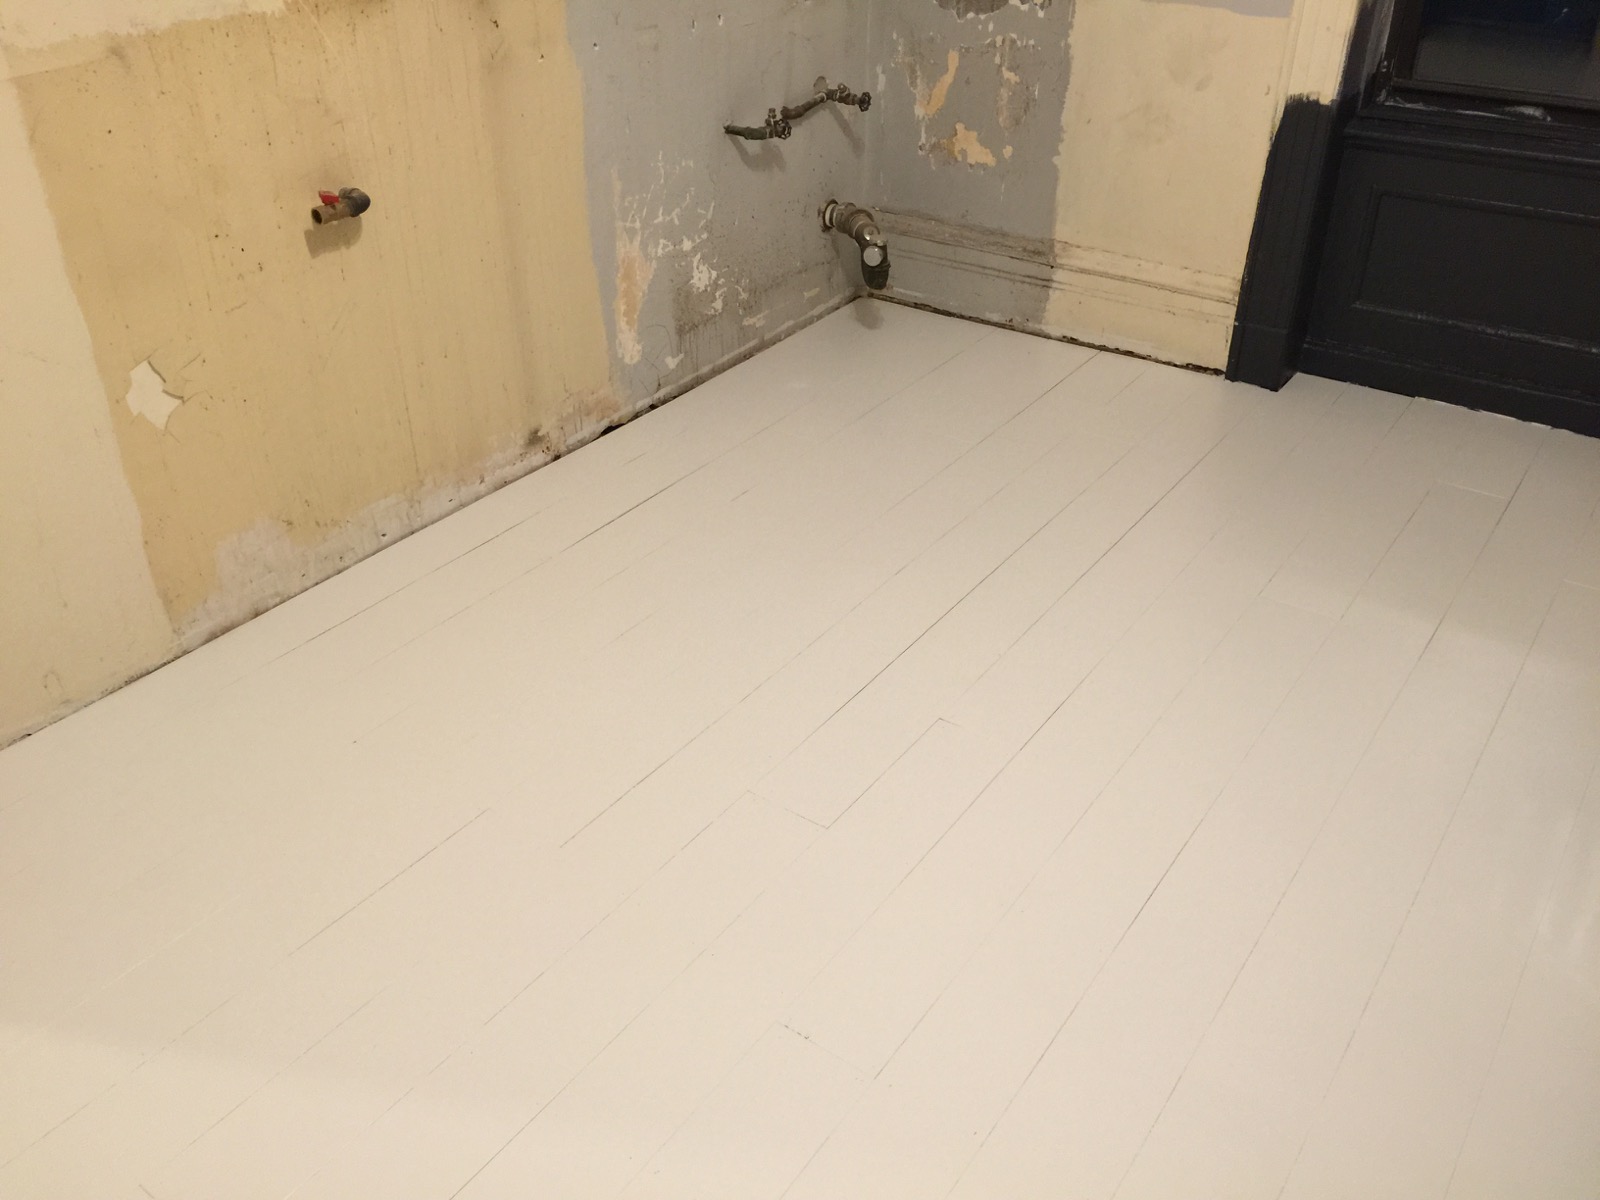
Once the damaged floor was repaired, we put down a temporary floor consisting of 1/4 inch plywood planks painted in white porch paint. The plan was to for it to last five years until we were ready to do our dream kitchen… Plans change.
At the time, our plan was to install a temporary kitchen, with the idea that it would be there for maybe five years. For flooring, we installed six inch wide planks of quarter inch plywood and painted them with white porch paint. As they say… We make plans, God laughs.
Fast forward a bit over a year and and a lot has changed. In order to install our heart-singlingly beautiful cement tile floor, we needed to have a good base for the installers to work with. Initially, we planned to just install on top of what was now almost 2 inches of solid wood. But that would be adding nearly another inch of height to an already tall floor. So the decision was made to take the floor down to the original subfloor, and then add a layer of 5/8 tongue and groove plywood to create a solid base for the tilers. Then when the almost inch layer of base and tile are installed, there will still be a bit of a step up, but it won’t been nearly as bad as it would have been had we just installed over what was there. After getting an astronomical quote to demo the floor and install the 5/8 ply, we decided that sweat equity was in store as there was no room in the budget to add several thousand dollars just to demo the floor and put down some plywood.
Err, Progress report, right!? OK, here is this past weekend… With pictures!
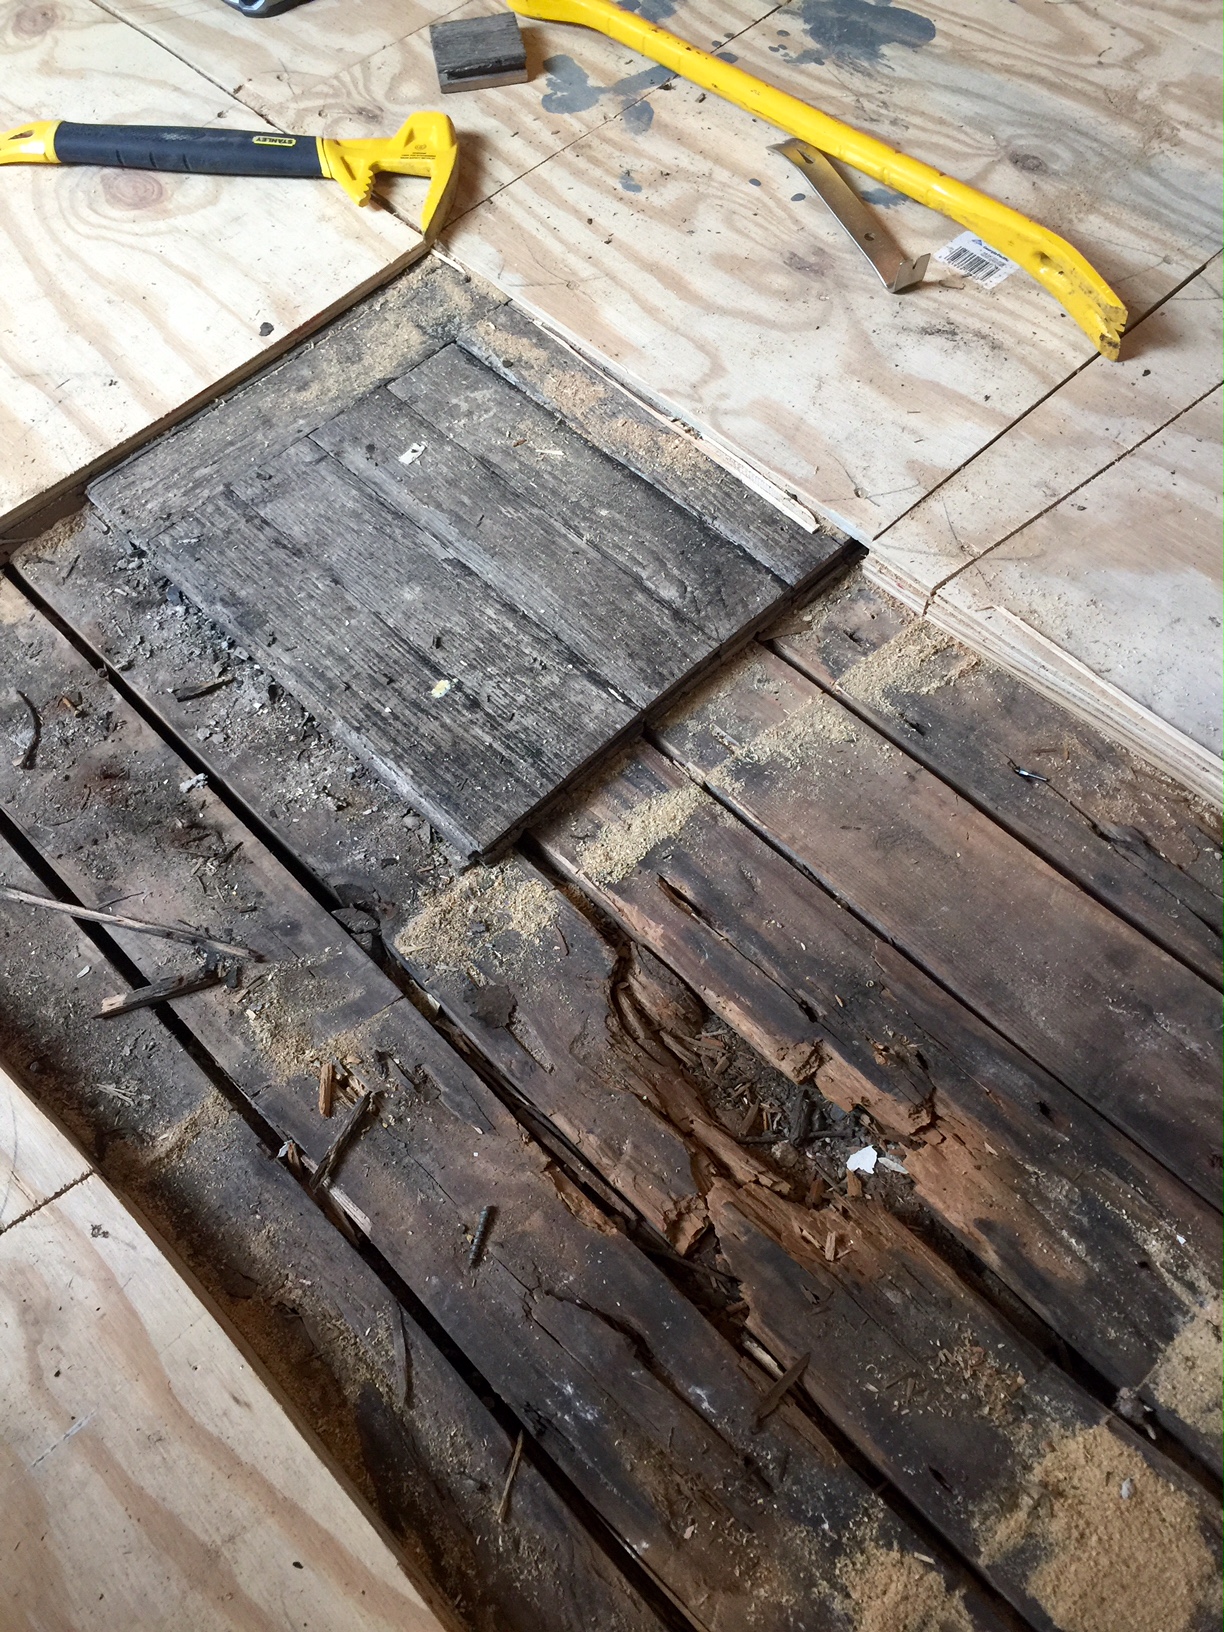
Day one began by taking my circular saw and setting the depth at 1 1/8th inches to cut through the plywood top floor and the original oak parquet. This was where we started and this is also where the dry rot was the worst.
We started on Friday evening by emptying as much as we could into the living room, and pulling up the white planks we had laid down in the fall of 2014 as a temporary floor. Then I took my circular saw and using a demolition blade set at the depth of the remaining layers of plywood and oak parquet, we pulled up a couple of sections of the parquet and immediately discovered dry rot in the 1×4 subfloor. This was not a surprise as the kitchen sink was next to this spot and there was a long slow leak. This is also where our flooring guy had patched the parquet with plywood. What we didn’t know is that he ignored the subfloor and left the rotting wood in place.
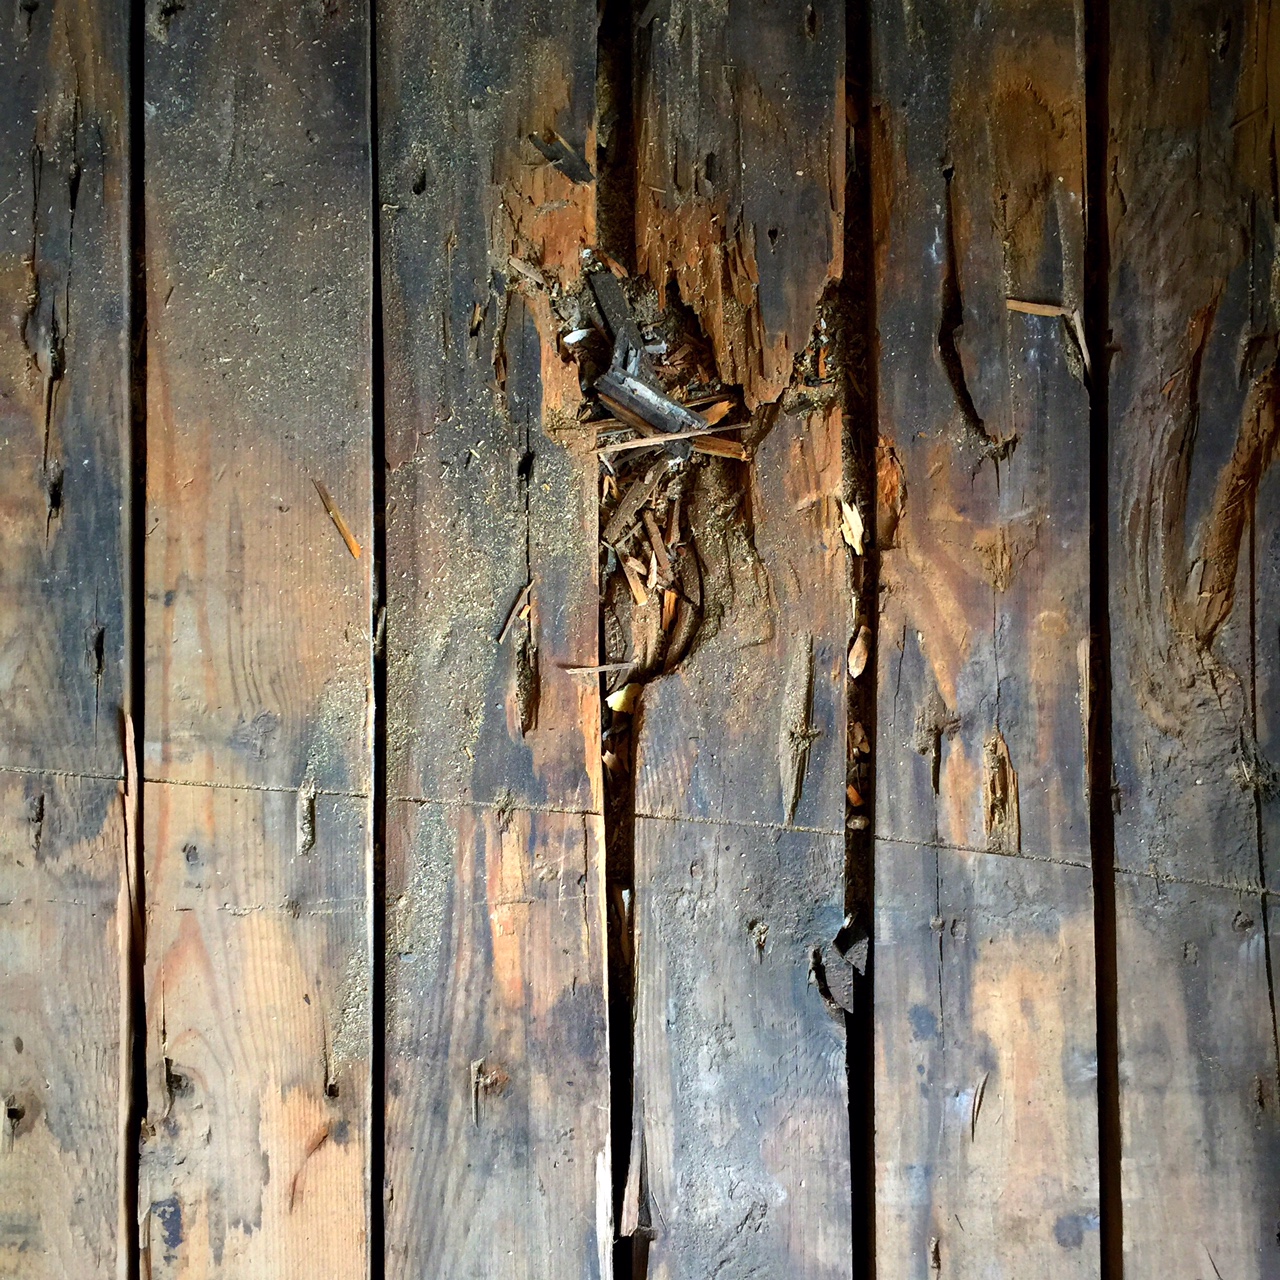
This area of the floor is almost directly under where the sink was and the dry rot is quite apparent here.
This is another more artistic shot of the worst of the dry rot. This area (it is really only a few boards) and a few others around the room will need to be replaced due to broken boards, rot, or general squishiness. We will pull the 1x4s and will fill in with 3/4 plywood.
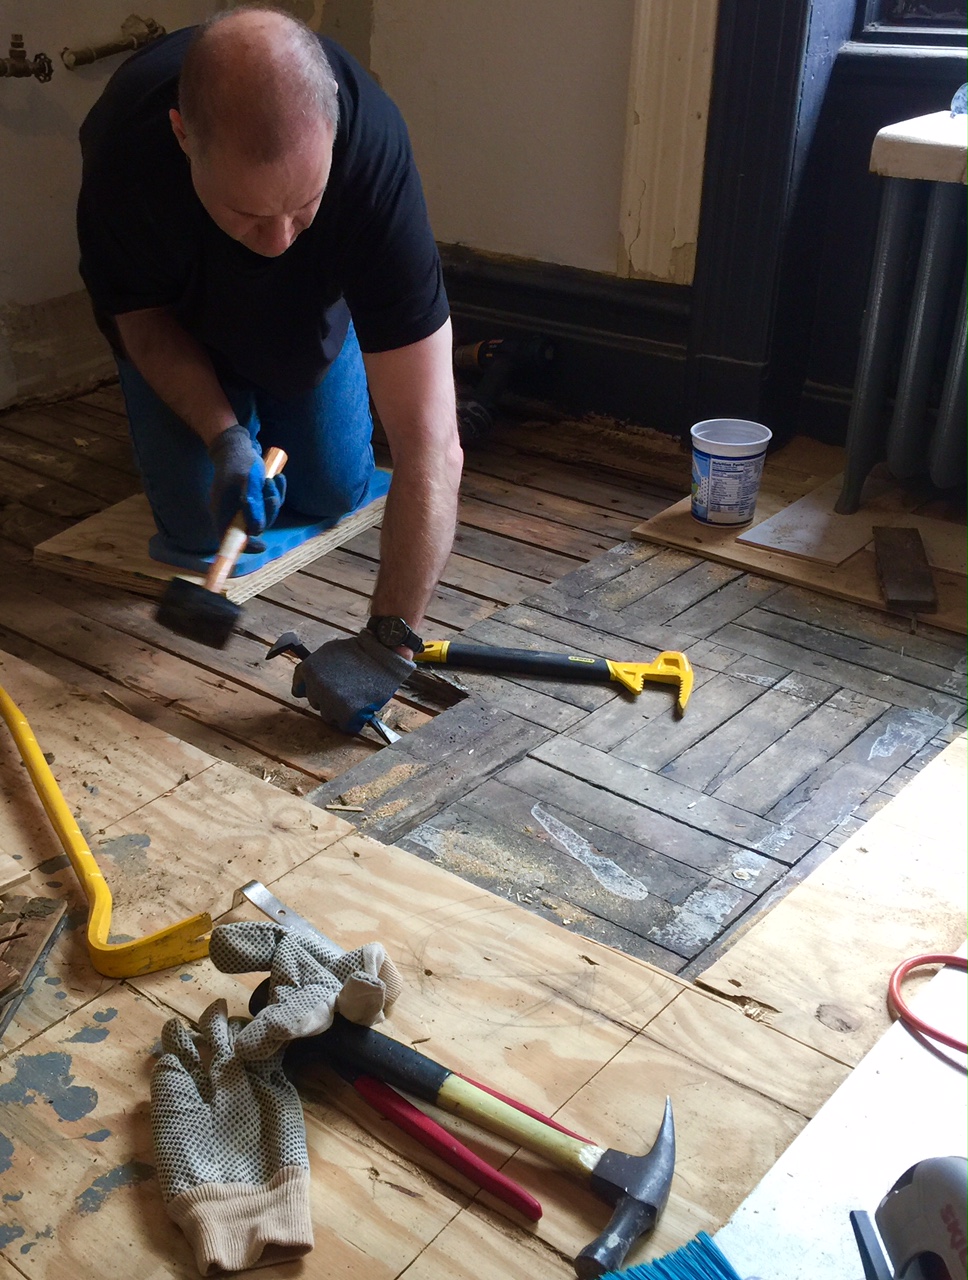
My amazing husband at work. This is his first time wielding these kinds of tools.
This adorable shot of Yoav hard at work. This is the first time he has ever held a mallet and a crowbar simultaneously (not a common task for software engineers).
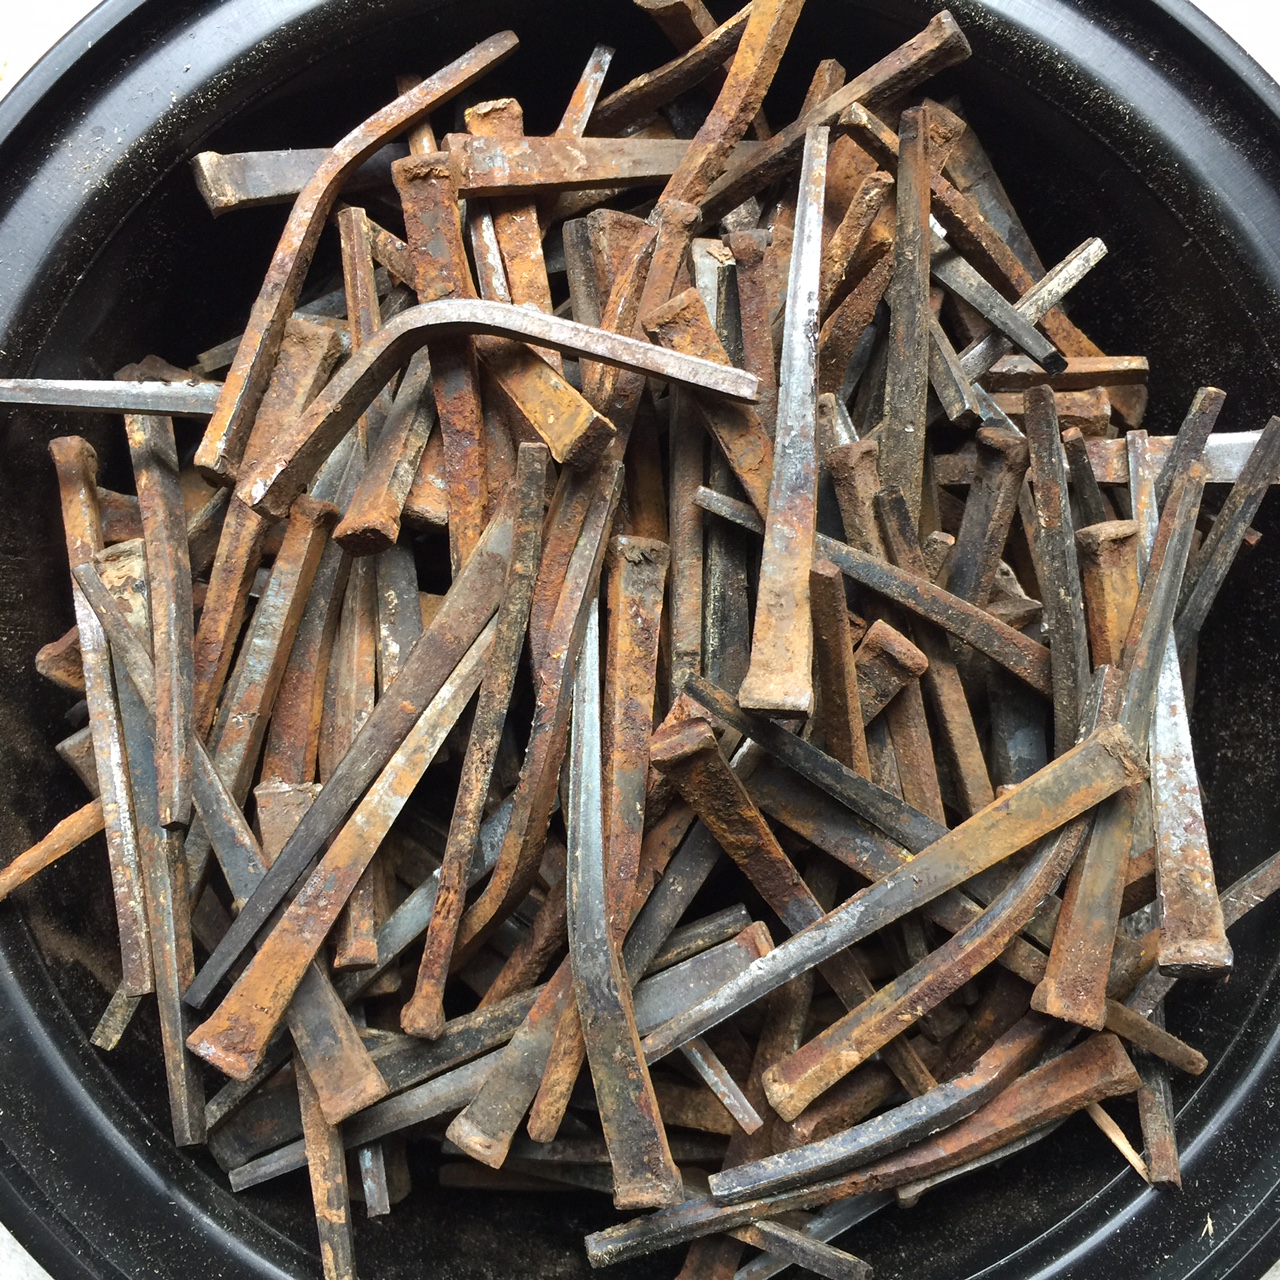
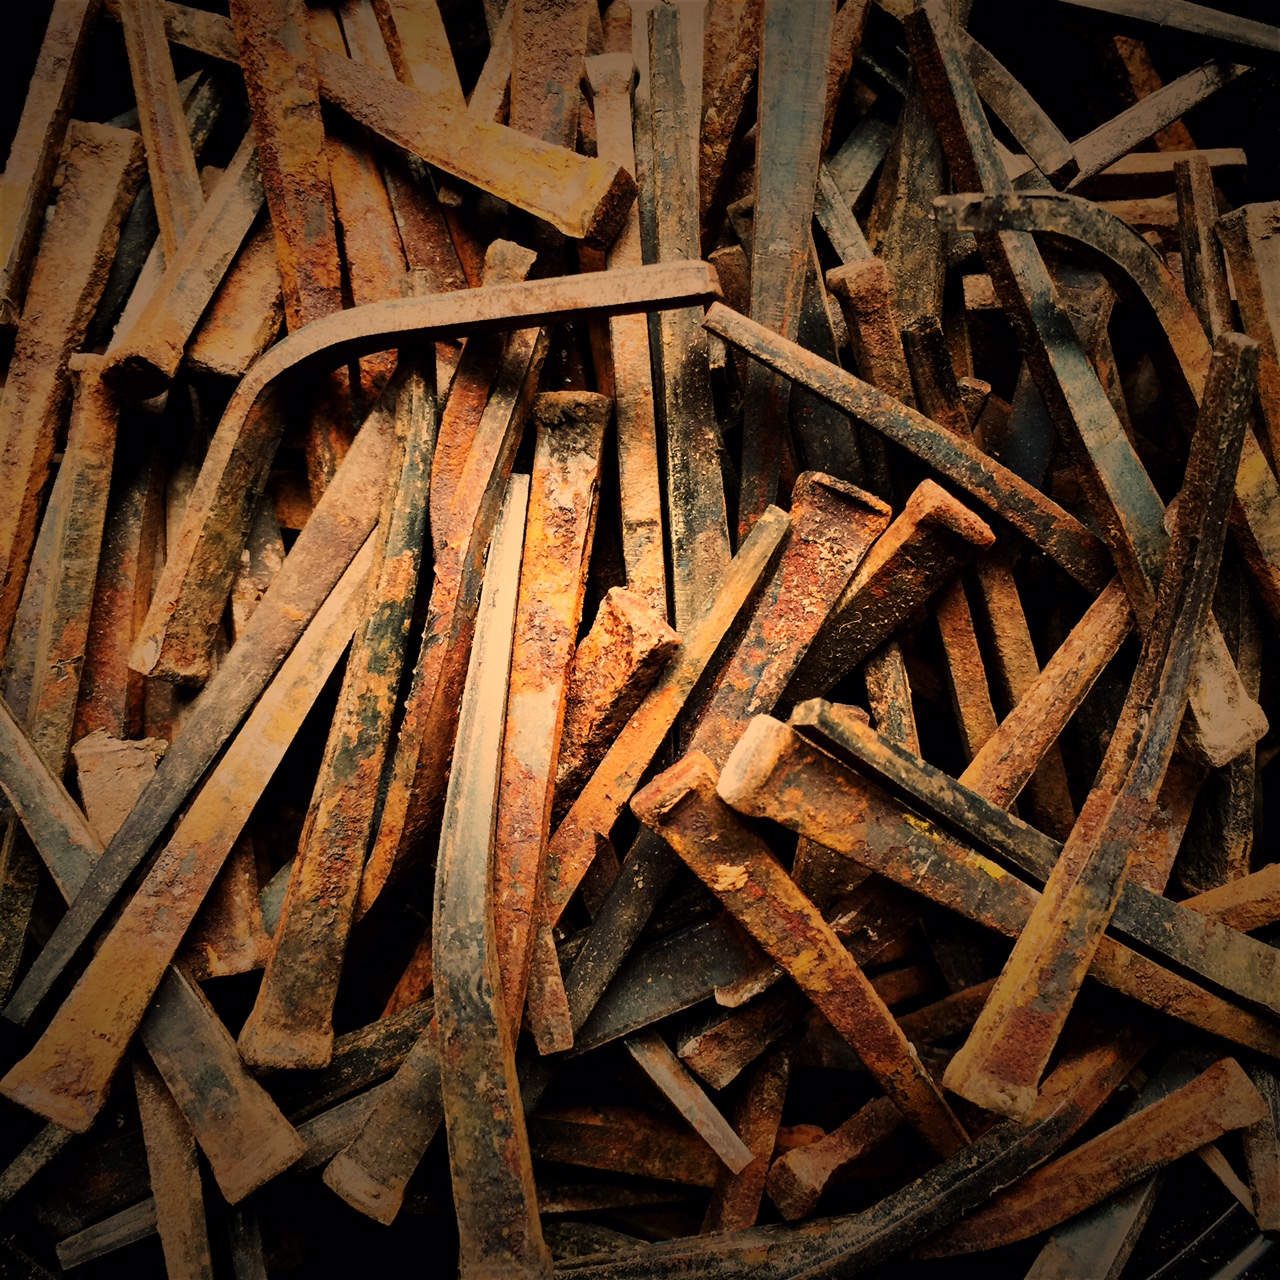
I was immediately in love with the cut nails used to install the parquet floors. Of course that meant I had to start collecting them.
As we began to pull the parquet up, I became fascinated by the cut (square) nails and began to collect them.
As soon as we began to break up the floor I immediately fell in love with the cut (square) nails and began to collect them.
Always looking at things a bit differently, here is a shot of those same cut nails using what is now an old iPhone app called Toy Camera. Because I cannot do anything and not find a way to photograph it from a different perspective.
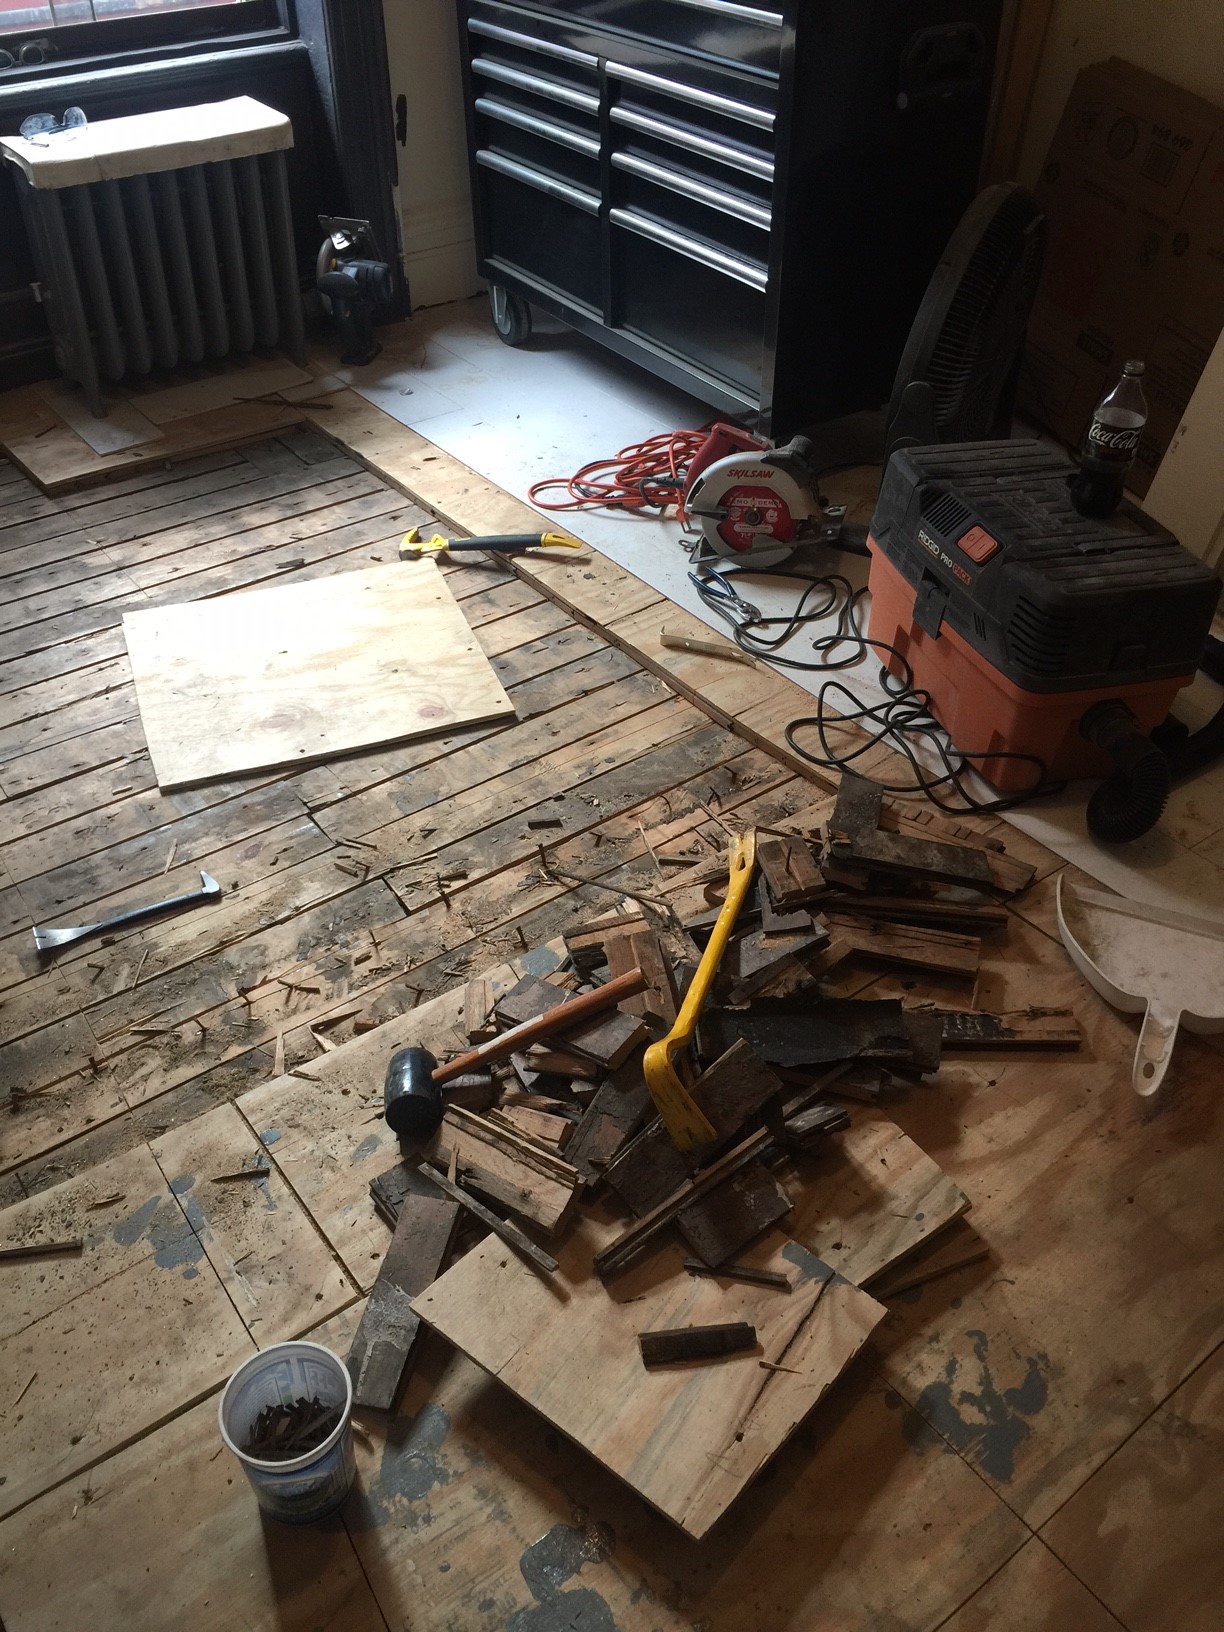
End of day one, about a quarter of the kitchen is done. On the left are the remaining white planks (under the large rolling tool chest) I had laid down after moving in. They were the first thing to come out on day two.
By the end of day one, our backs were sore, our knees were sweaty (from the knee pads) and also felt raw, and we had only completed about one quarter of the room. Pulling the parquet up was very labor intensive, and tedious… there are hundreds of individual pieces, but looking at the plain subfloor was also rewarding.
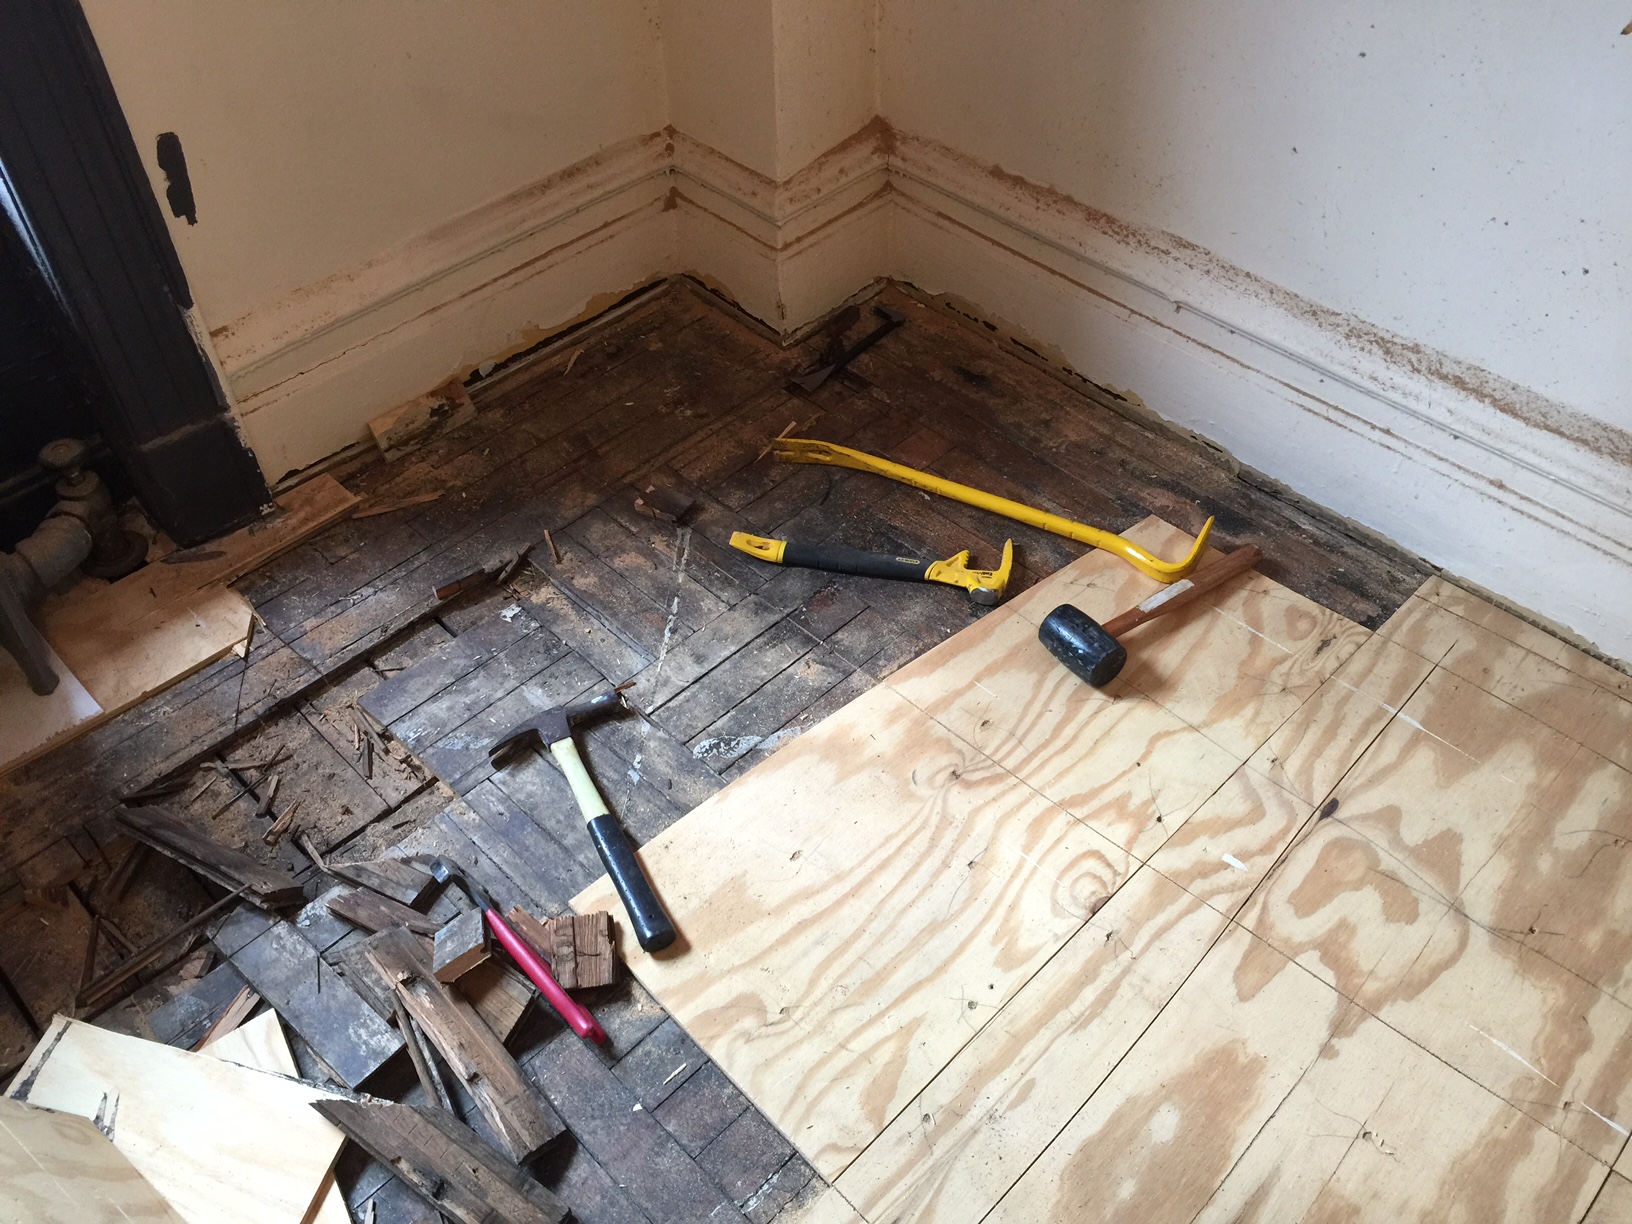
Day two started off with removing the remainder of the white planks, and then a repeat of the previous day, cutting a grid into the plywood and original floor, and then a several hours pulling up the floor piece by piece.
On Sunday, day two of the floor demo, we shifted to the other side of the room, pulled the remaining white planks, and got to work in the far corner.
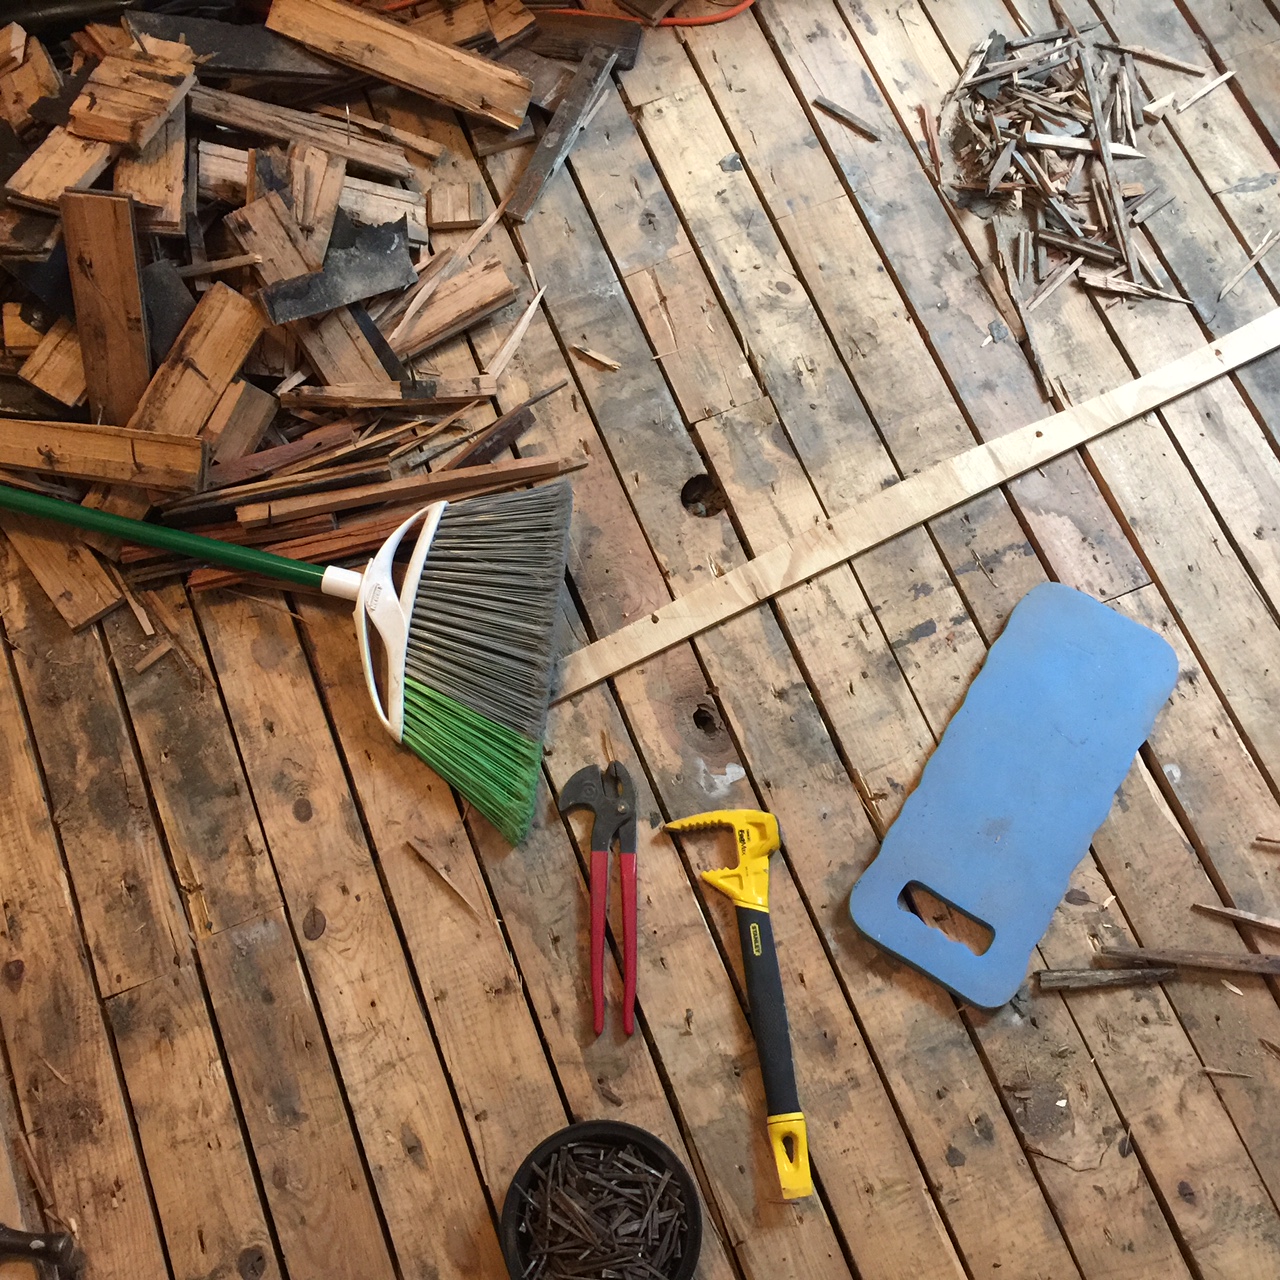
Midday on Sunday. I wasn’t trying to capture anything in particular here, but I loved the way the parts came together to form this lovely collage of elements of our weekend.
By midday we had a nice large area of the original subfloor exposed. This whole process was somewhat cathartic. It was rewarding while at the same time a bit sad. We are so very excited about what is to come, but pulling up hundreds of pieces of 105+ year old oak floor, piece by piece, whole and broken up, and pulling nearly as many cut nails was also a somber experience. All the while knowing that hard working immigrant craftsmen (probably from Europe) put a lot of time and effort into building this once beautiful floor, and there was nothing we could do to save it.
As we were wrapping up day two of pulling up the floor, there was one last pile of wood bits to go through and remove the nail from.
By late Sunday afternoon, we were exhausted…. Over the weekend we had put in about 16 grueling hours of often back-breaking tedious work, much of it on our knees hunched over our hand tools, tugging and pulling at a resistant floor. But by the time we called it quits on Sunday, we could look at what was now a 2/3 complete job and know we truly were putting in sweat equity and earning our new dream kitchen.
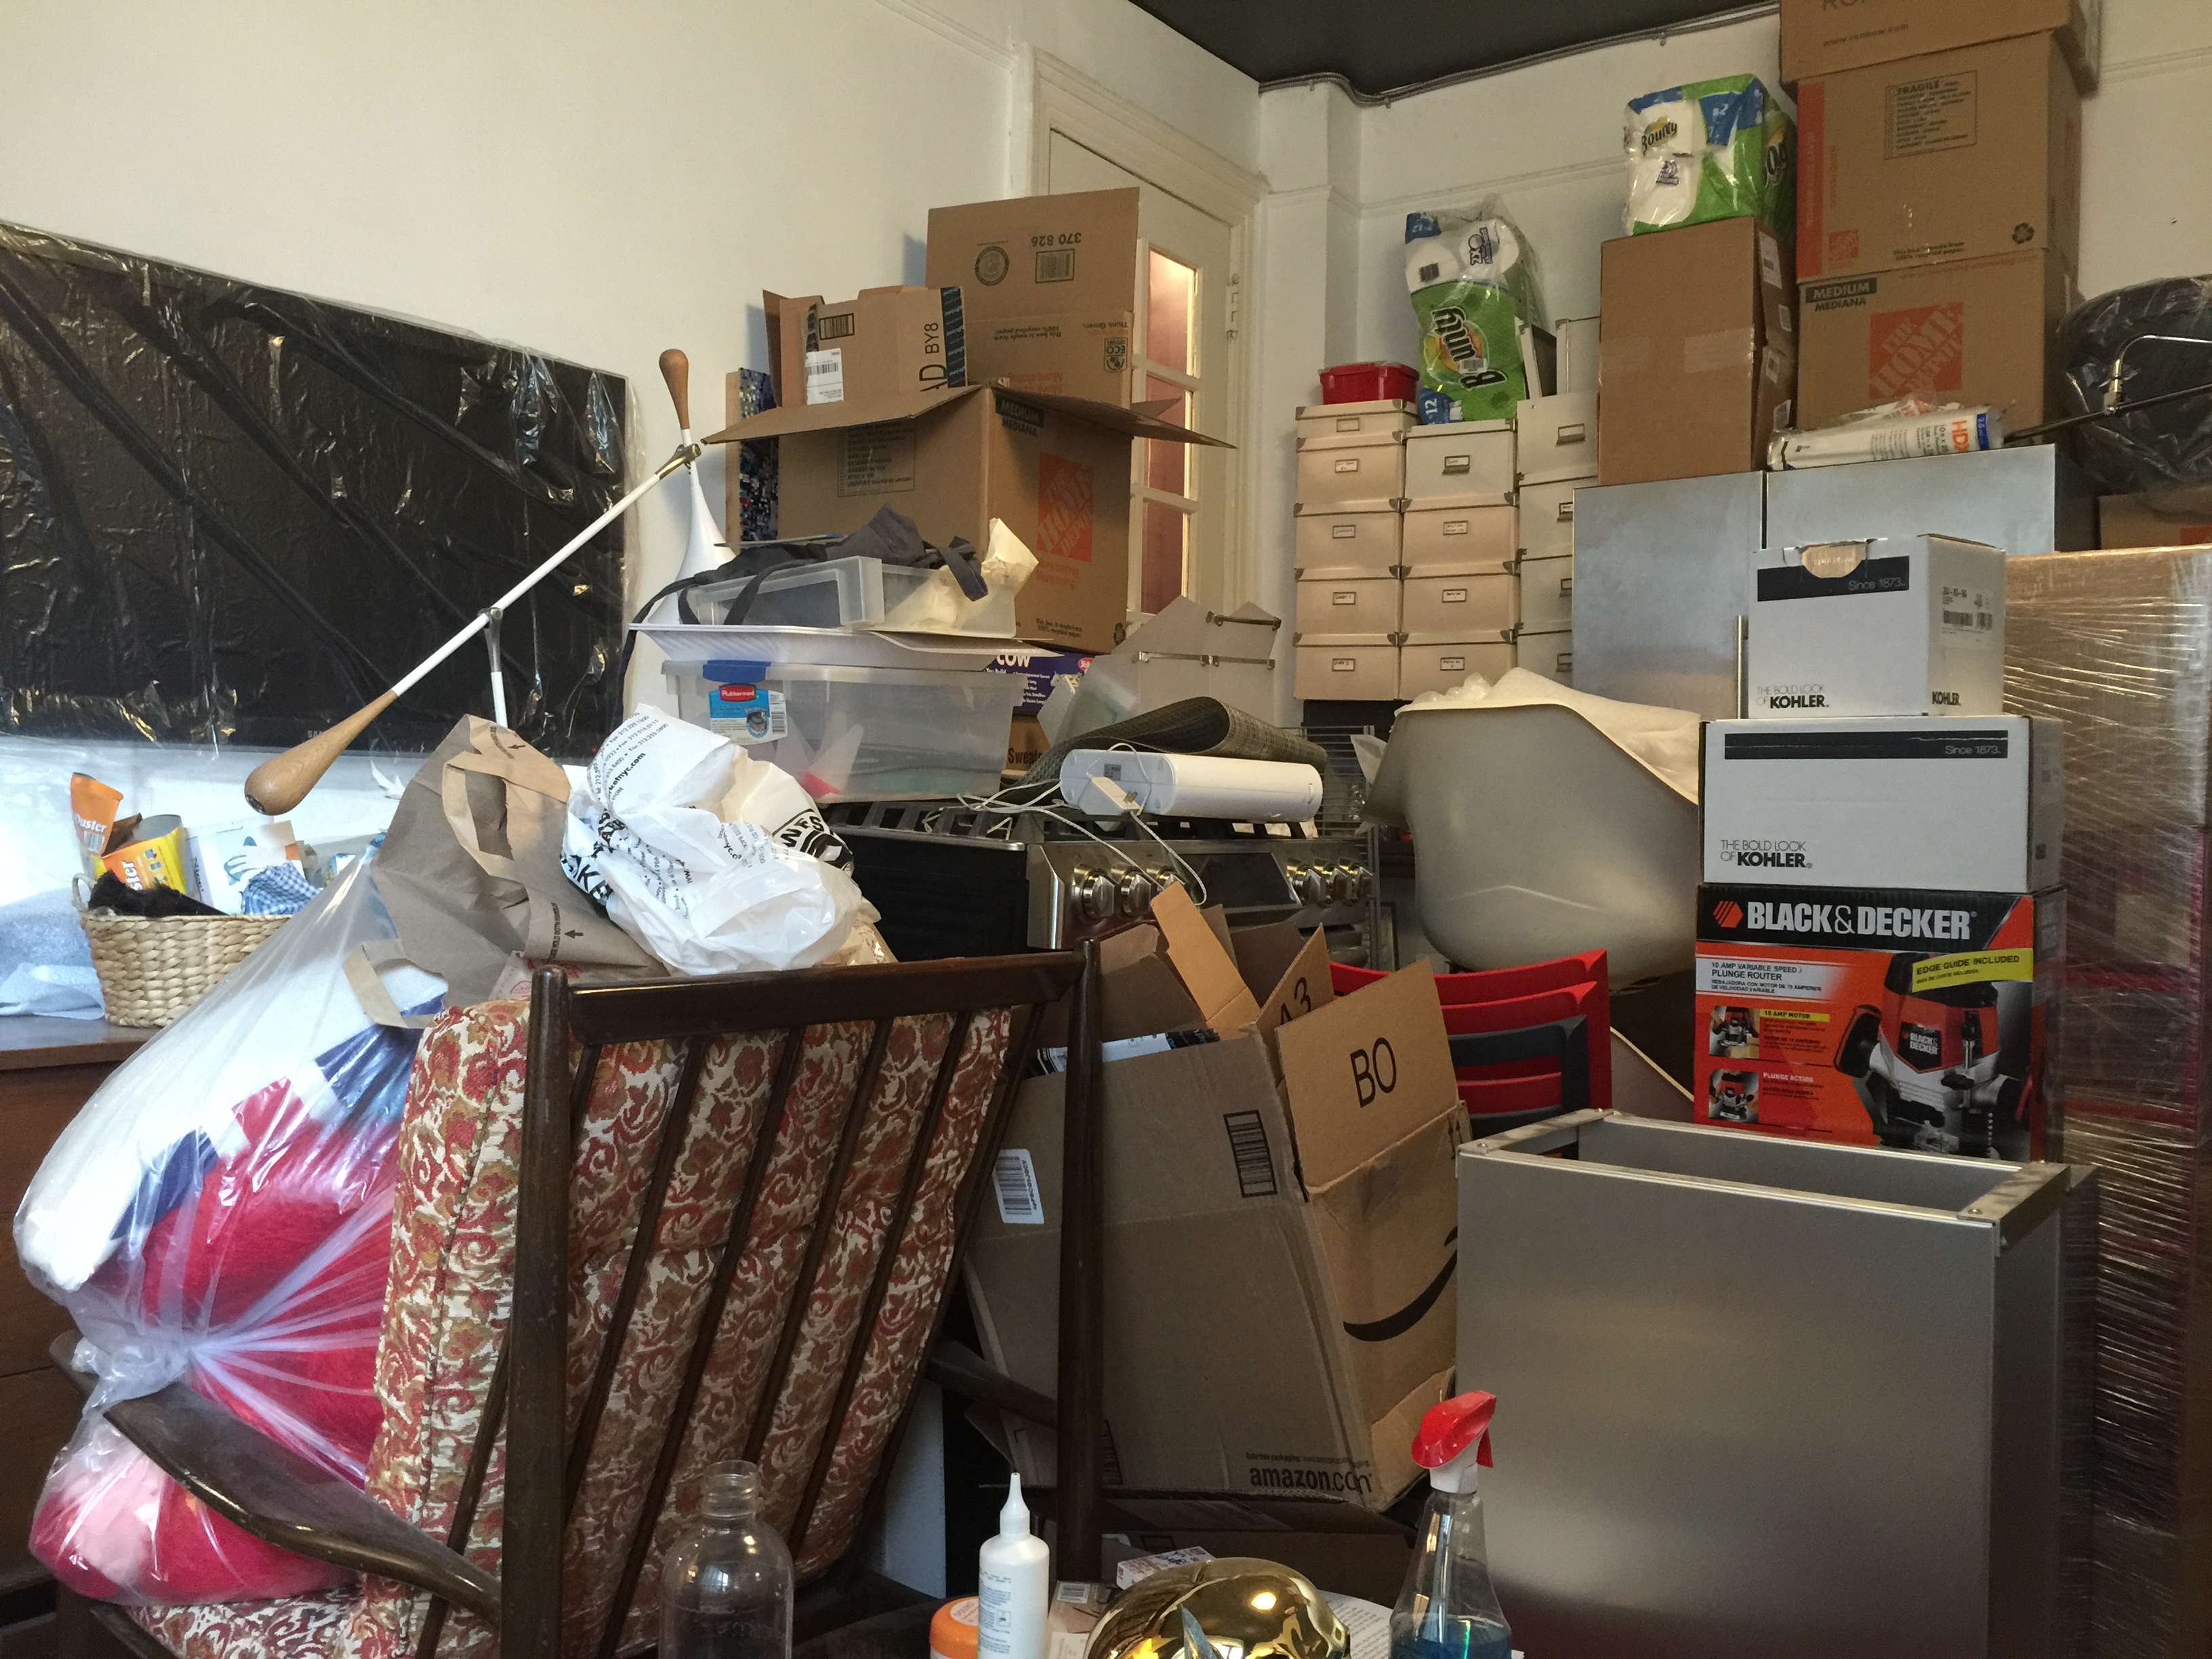
Welcome to the Hoarders!… Our living room is a disaster at the moment,. Good thing we are both very patient people.
On a parting note… The shot above is our living room as of this weekend. It looks like an episode of Welcome to the Hoarders! This is and will be our life for the next couple of months. Fortunately, we both have an amazing level of level headedness in all of this and we are both keeping our proverbial eyes on the prize.
Next week, a short primer on historic floors of grand New York apartment houses of the early part of the last century along with more pictures of what I hope is the completion of the demolition and the installation of the new plywood subfloor.


0 Comments