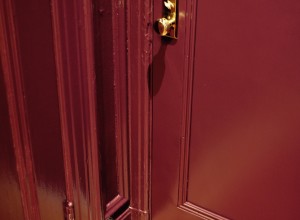
Last month, I wrote about life beyond the kitchen renovation and our next plans for the apartment. I covered two projects which will elevate our home to a higher level of fabulousness. The big project I will be doing is crown molding in the living room to capture an original element long stripped away, albeit in a different profile, but fitting for the period. For the other project we hope to hire out will be the restoration of our mahogany doors. This will involve a lot of work on my part, but we are going to let the experts do the heavy lifting (literally, the doors are super heavy). Projects aside, there remain two rooms in our apartment which have basically been ignored since we moved in. The bathroom and the bedroom. As with the crown molding and door restoration, there will be more details to come, but I wanted to at least cover at a high level what we intend to do for the bathroom and bedroom. First up, the bathroom.
![I stumbled across this Australian bathroom and was immediately grabbed by the black upper walls with white tile lower walls. [Source: Homes to Love (AU)]](https://halfclassicsix.com/wp-content/uploads/2016/09/KarsakisBedfordHouse.jpg)
I stumbled across this Australian bathroom and was immediately grabbed by the black upper walls with white tile lower walls. [Source: Homes to Love (AU)]
When we went into contract on the apartment, we had visions of gutting and redoing the bathroom right away. Our bathroom is actually not a bad size for New York City. At five and a half feet wide by nine and a half feet long, it is about 52 square feet of awkwardly laid out fixtures. Our vision involved rearranging the fixtures to make it a more functional room. But after a bit of research, we realized that this was out of the question. Why?

This is the result of a leak from our upstairs neighbor. Our bathroom ceiling has been a hot mess pretty much all year. But, since the rest of our home has been chaos as well, it just seems like the least of our problems at the moment.
Two things… First thing; MONEY! I am fine gutting and rebuilding an entire kitchen, but I do not do DIY in the bathroom because… Second thing; WATER! I may have the skills to DIY my kitchen, but I know my limitations, and rearranging the bathroom fixtures, building a walk-in shower, and all that goes along with that is way beyond my skills. I am not afraid to install tile, but we’re not talking about a backsplash here — there are some serious skills required here and probably $40 to 50K.
Not much to love about our 1950s-ish bathroom, but at least it isn’t a hideous color.
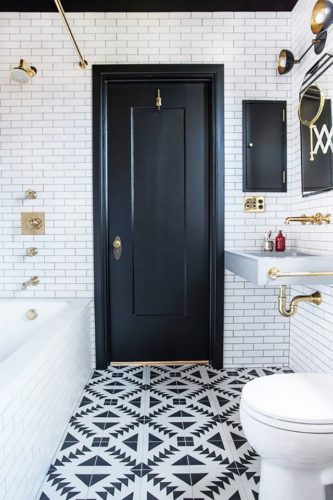
So with our dreams of a properly designed bathroom several years away, we will be working with what we have. What we have is a 1950’s-ish renovation consisting of standard white 4.25×4.25 tiled walls set in a mortar bed with black tile trim. We also have an all-black 8×8 tile floor from probably sometime in the 90s (I would guess). Not terribly exciting, but it could be so very much worse, so I have no real reason to complain…. Except the room is still a hot mess from the leak upstairs. Way back in February, I showed you a picture of the ceiling all torn apart due to a leak upstairs. Well, the leak is gone, but the ceiling and upper wall are still unfinished. The repair work is the responsibility of the building, but truthfully, we have not been in a hurry to do anything about it until the kitchen is finished. It’s not going to matter whether it happens this month or in three months.
PROJECT OVERVIEW:
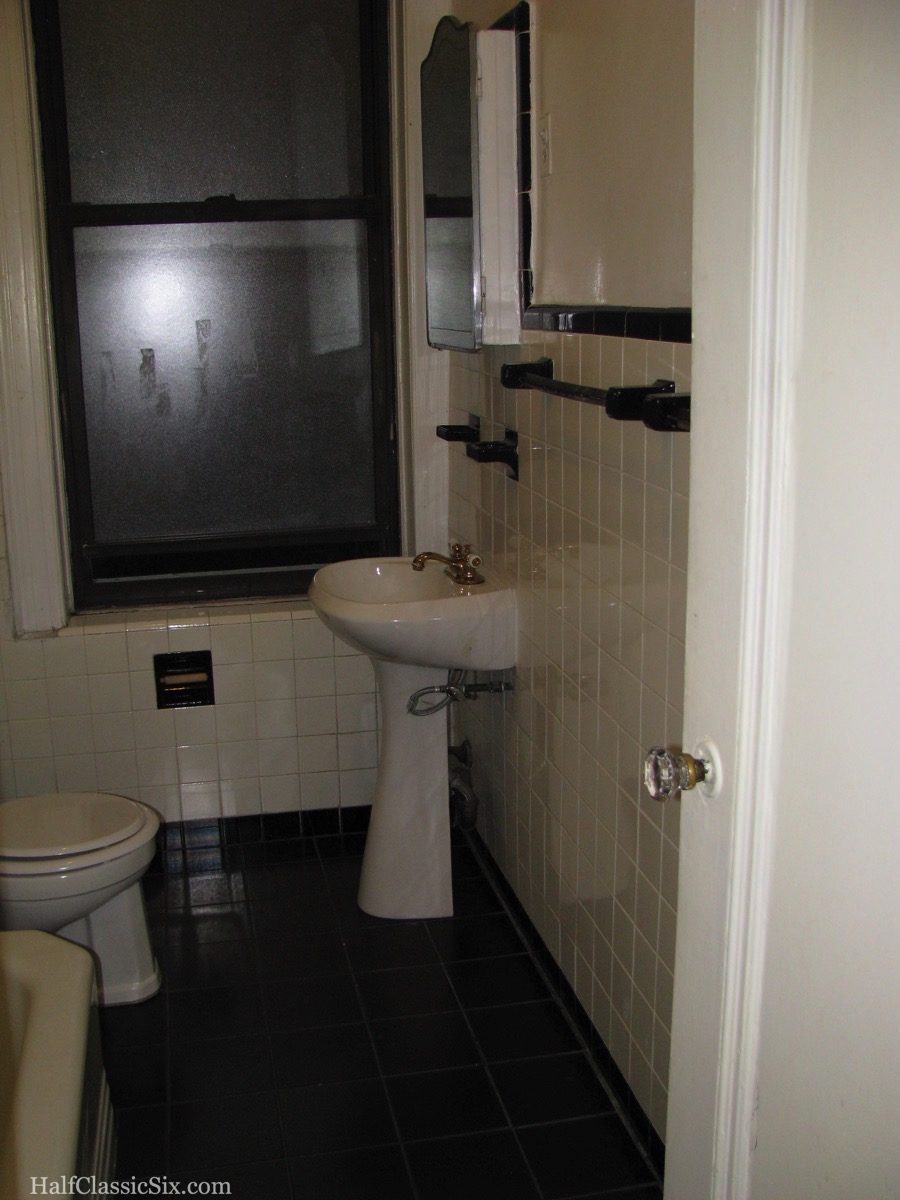
Tub and Toilet: The toilet is vintage high-rise style with a commercial style flushometer, it’s a bit tired looking, but it works fine so no need to change anything. The tub and toilet remain unchanged. We had the mixer valve replaced on the tub last year and both tub and toilet work just fine as they are. I will be replacing the shower curtain rod with a much better solution.
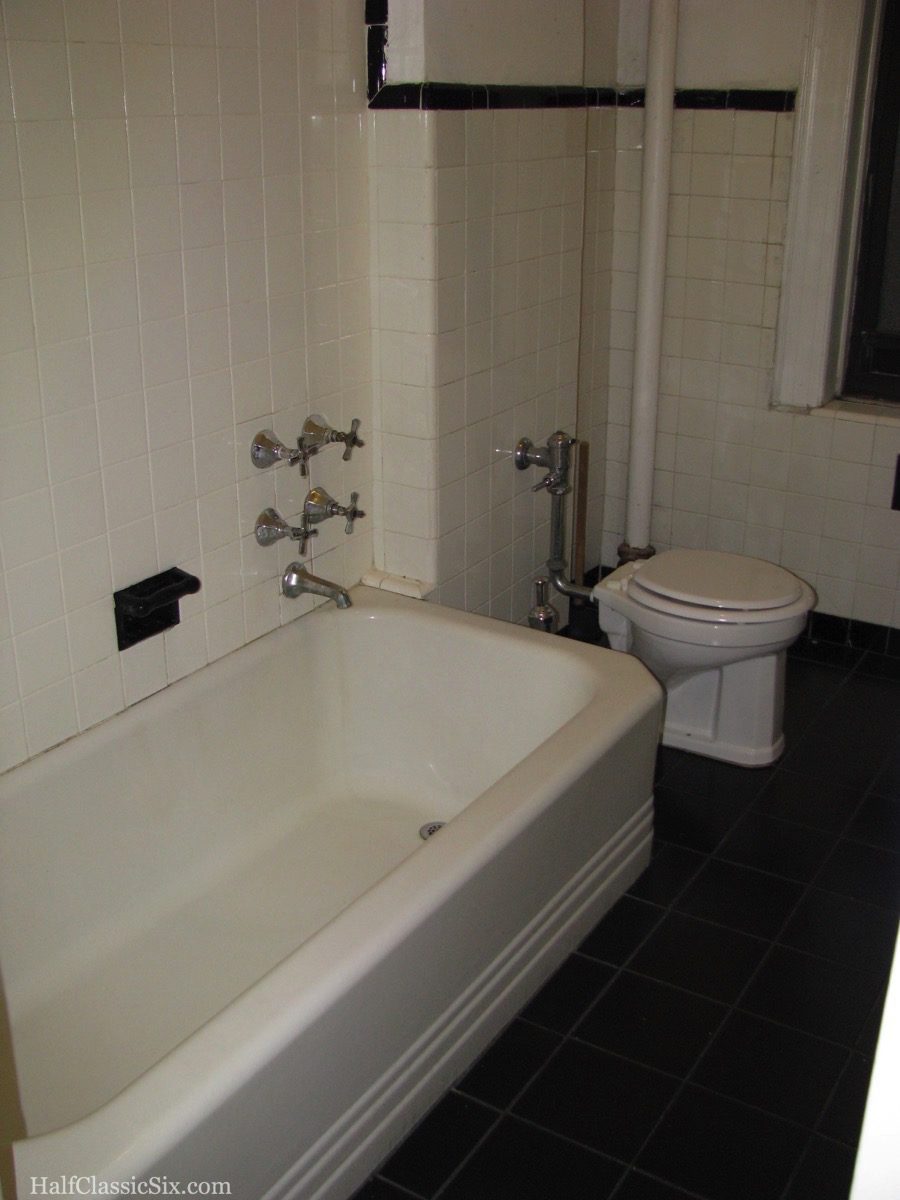
Typical NYC high rise apartment toilet with flushometer. The tub is not the elegant original built in corner tub, but something from the 50s. Not pretty, but functional. We replaced the valves last year when they were no longer repairable.
Replace the sink and medicine cabinet: The original cast iron pedestal sink stood in our bathroom until somewhat recently. I know this because the outline of the sink is still on the floor which isn’t more than 20 years old. But for reasons which I do not know, it was removed and replaced with an ugly under-scaled pedestal sink from a big box store. We are talking the under $80 kind of sink.
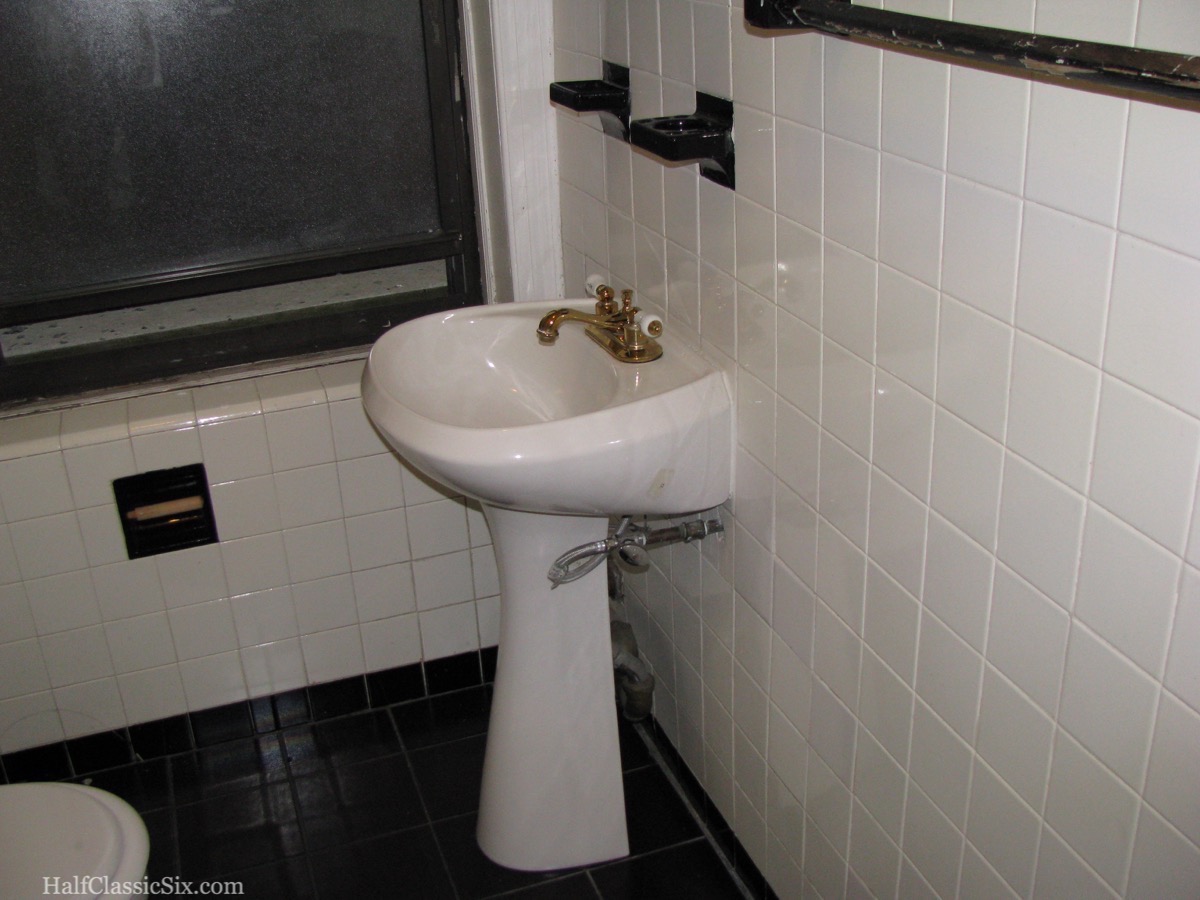
There was once a vintage cast iron pedestal sink here, but it was replaced by this ugly, out of scale, piece of crap from a big box store.
The medicine cabinet is not original to the apartment, but was installed during the 1950’s-ish renovation. It is a basic steel cabinet with glass shelve. The mirror is nicely shaped and has some nice etching details in it, however it also has a million layers of paint and several rusty spots. There is no real practical way to restore it, so I am going to build a new cabinet with a mirrored door to replace it.
I have already procured (but not installed) our replacement sink, it involves a new vanity base and fancier than planned top. You will need to wait to find out what we are doing, as well as my plans for the new medicine cabinet I plan to build myself.
![This bathroom was a big inspiration for dark walls and how I could fill them. [Source: Mix and Chic]](https://halfclassicsix.com/wp-content/uploads/2016/09/MixAndChic.jpg)
This bathroom was a big inspiration for dark walls and how I could fill them. [Source: Mix and Chic]
I am not worried about going dark for several reasons. The bottom half of the walls are white tile which will anchor the space and the black floor will be balanced by the black upper portion. Also, our bathroom window is enormous and faces south. At three feet wide and six feet high, it lets in a massive amount of light when the blinds are open.
Lighting: I am going to swap out the generic light fixtures for restored vintage brass fixtures from eBay. Over the new black medicine cabinet I plan to put a vintage brass sconce with milkglass petticoat shade with an exposed LED Edison bulb for vintage charm, and from the ceiling, a pendant with a large milkglass school house globe also assembled from parts obtained on eBay.
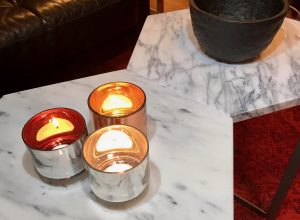
![This is the bathroom which first inspired my idea for filling the walls with mirrors. [Source: Design Sponge]](https://halfclassicsix.com/wp-content/uploads/2016/09/DesignSponge.jpg)
This is the bathroom which first inspired my idea for filling the walls with mirrors. [Source: Design Sponge]
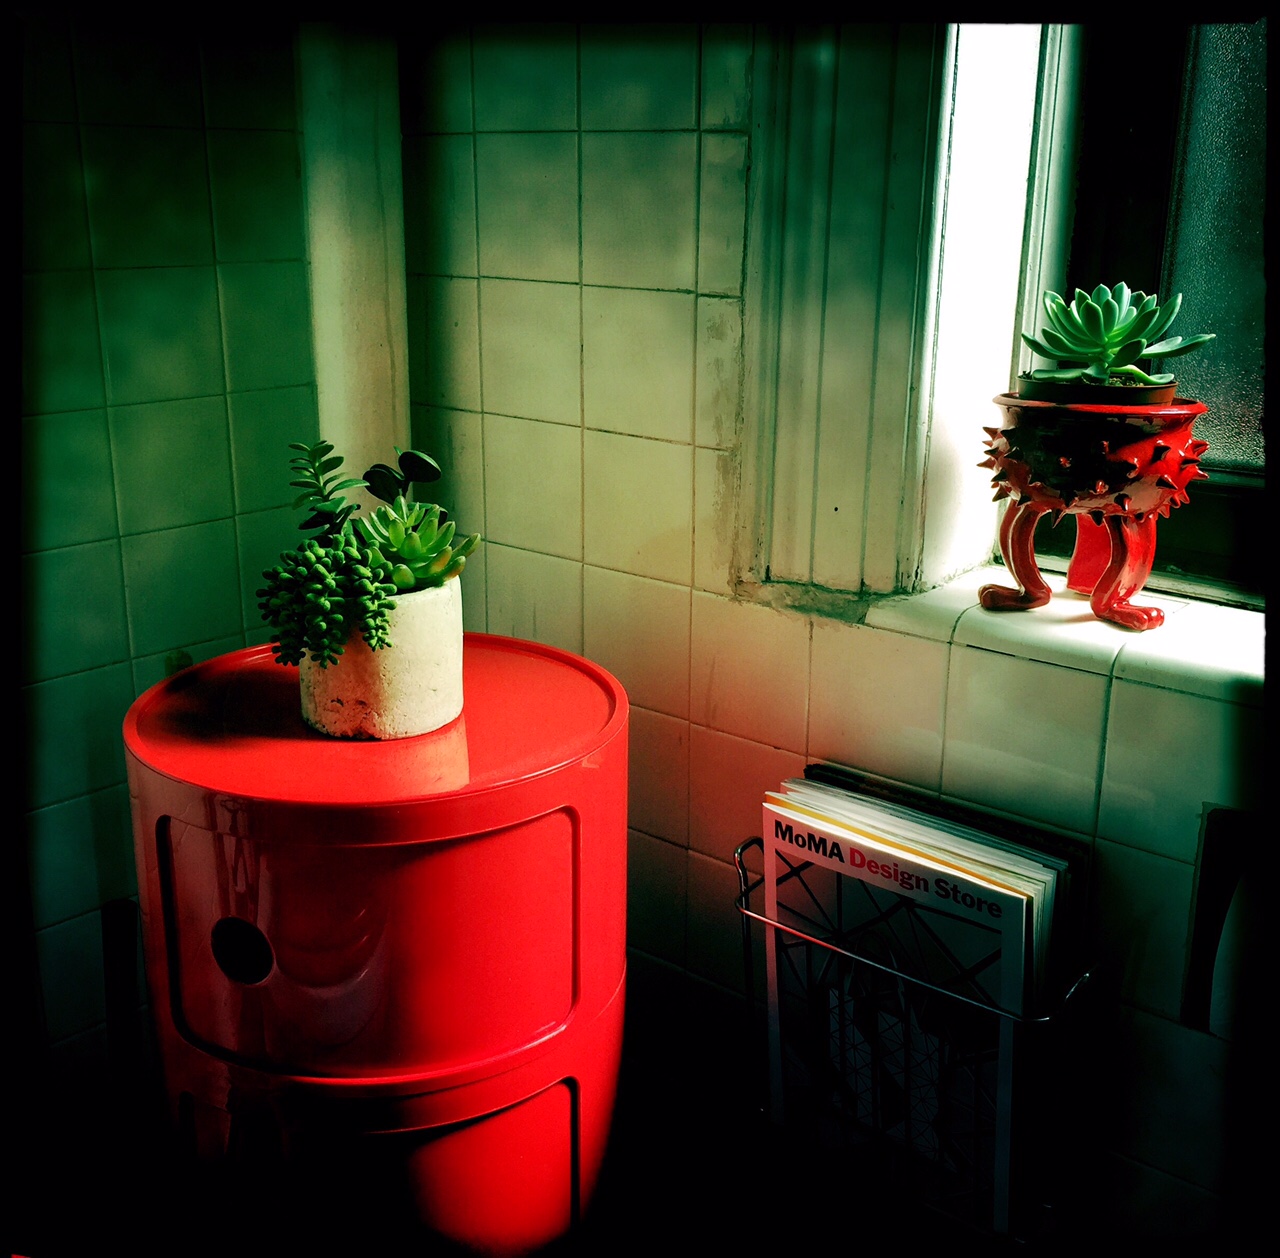
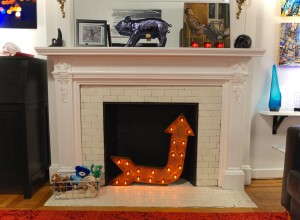
Sunlight filtering through the large bathroom window creating a comforting glow on our Componibili
As for the rest of the accessories… I plan to keep up the black and white theme, but you can be sure there will be dashes of red including the red toilet seat and the red Componibili I posted about last year.
So, that is the high level of my bathroom ideas. As for the Bedroom? Ahhh, that will be Part II and I will do my best to post it by next week. Please feel free to let me know in the comments section your thoughts and any questions you may have. I plan to do much more detailed posts about each of the rooms as we get closer to starting them.
Oh… One more thing…. I am sure you are wondering about the unfinished kitchen (probably not really, but it’s okay). Well, truth be told, I haven’t made a huge amount of progress mostly because of a huge increase in my workload at my day job leaving me exhausted on my weekends. But progress is being made. I posted the image below a few days ago. Base cabinets are installed, uppers to be completed soon. My hope is to have phase II completed by end of October.

Corner cabinet is primed, painted, assembled, and installed (except for the doors). Finally progress on the other side of the room.


September 28, 2016
Your bathroom is going to be GORGEOUS! I can’t wait to see the finished product. The black tile edging is a perfect lead into the black walls. I love the mirror idea too. BTW I covet your tub so I’m glad it’s staying (for awhile anyhow). You’ve got a great eye.
September 28, 2016
Thanks Alice! The corner tub is cool, but can be a challenge because for some reason, most older apartments in NYC have the shower head on the long side of the tub, not the end like most everywhere else.
We are both grateful that the 1950s update was done in black and white and not pink or yellow, or some other color that would make it difficult to work with. But it will still be a challenge given that it is 50+ years old and rough around the edges. The hardest part of the project will be stripping/scraping the thousands of specks of paint off of the tile (because nobody ever heard of a drop cloth) and sprucing up the old grout to look fresh.
I will make it work. 🙂
September 29, 2016
There are two products……one of which is named Goof Off, I believe……that are simply wonderful for getting old dried on paint flecks off of tiles, floors, porcelain. I’ve used both (wish I could remember the name of the second one) and both worked equally well. Home Depot, Lowe’s and Walmart carry them in the paint section. Might save you much aggravation and the uttering of many, many bad words, lol!
You have a great base to start with in the existing bathroom even if the layout is less than ideal. You’ve already got the white tile with black accent tile, white fixtures (one you change out that godawful cheap pedestal sink) and the black floor and that awesomely large window. The black upper walls and ceiling should look so sophisticated and with multiple mirrors to bounce the light around…..wow. The hubs and I gutted and reconfigured our master bath/closet area which is 11 1/2 by 13. We ended up with a bathroom 7 by 11 1/2 and a closet 6 1/2 by
11 1/2. EVERYTHING got moved…..fixtures, walls, lighting, doors, even windows. But we have a house on piers so the plumbing wasn’t a huge problem to relocate. Just a big problem, lol! I can’t imagine trying to do a DIY like we did in an apartment.
Good luck! Can’t wait to see the end result!