I mentioned last week that I needed to make the sink wall the priority in order to return to a functioning (if not finished) kitchen. This past two weeks has forced me to tap into my inner perfectionist in ways I had not anticipated. As we began the work, the timeline began to stretch further and further out…. New and unplanned for tasks needed to be addressed and added to the to-do list. And then there were the things I hadn’t factored in enough time for because, well, I am not a professional kitchen installer and although I have renovated kitchens before, this is by far the biggest one I have done.
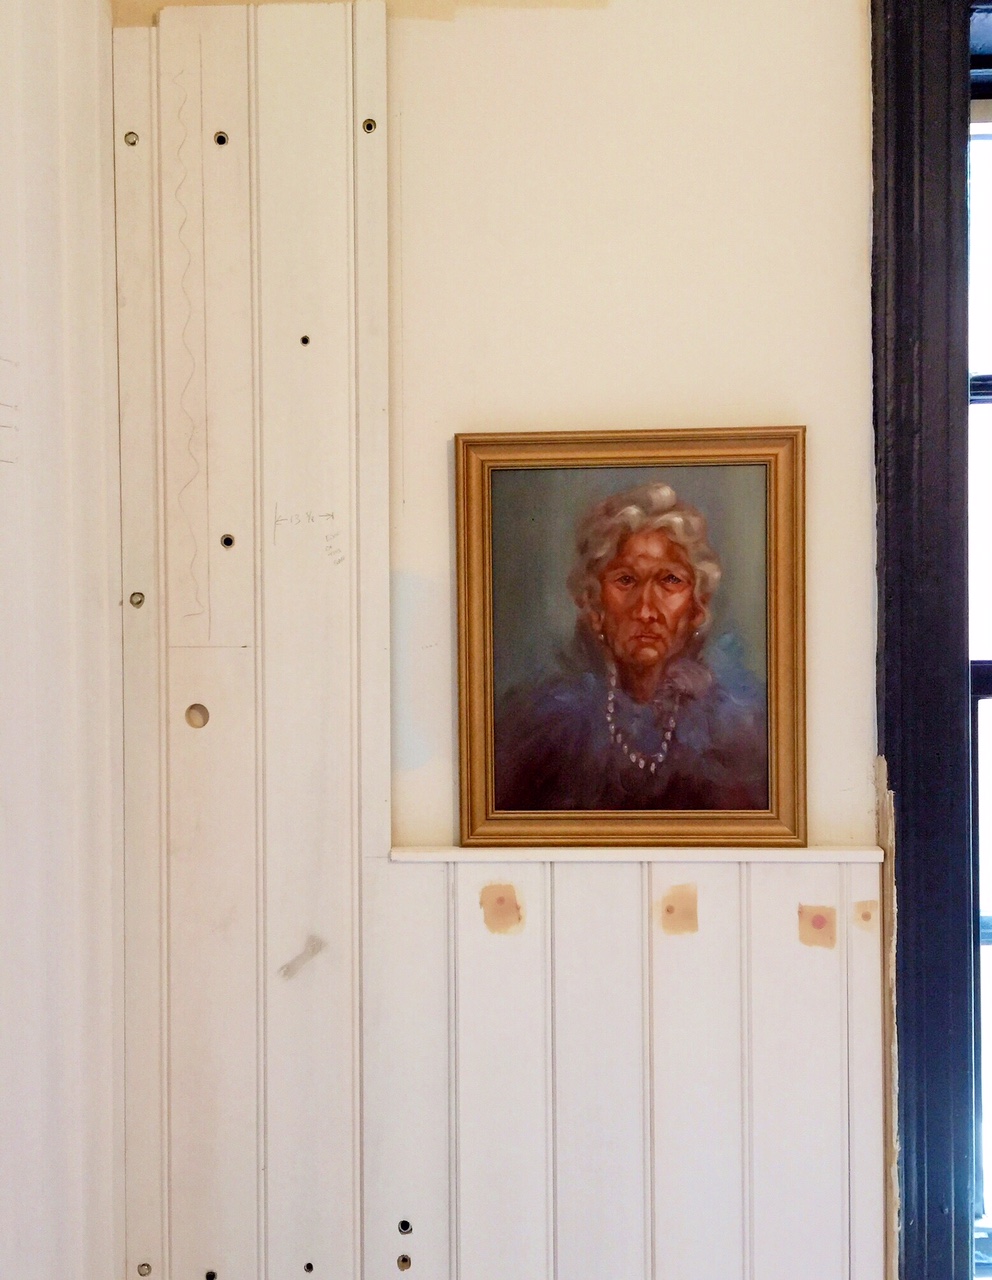
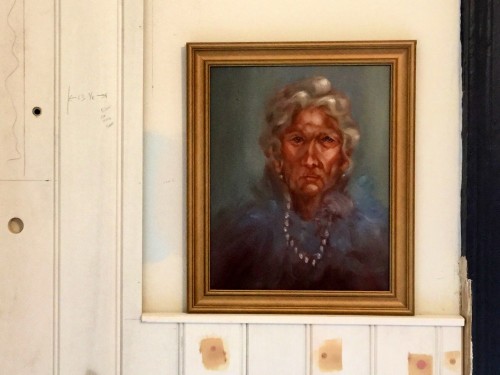
Nanna Zelda checking out the progress of the beadboard just before I applied the first coat of paint.
So, what was accomplished last week? Well, Yoav was back to work, so I worked alone for the majority of the week. Here is a brief rundown of my accomplishments.
- I stripped the paint from the left edge of the window frame to ensure a nice fit with the adjacent beadboard.
- I finished the beadboard installation on the sink wall wrapping around to the window frame.
- I painted it with two coats of Benjamin Moore Sidewalk Gray (#2133-60).
- I painters taped the pre-finished parts of the base cabinets, and then applied two coats of Farrow and Ball tinted primer to roughly 40 different cabinet peices and panels (upper and base).
- I applied Benjamin Moore “Old Blue Jeans (#839) to interior portions of 15 pieces of the upper cabinets.
- I taped and applied two coats of Farrow and Ball Stiffkey Blue (no. 281) to four side panels, and the front edges of the lower base cabinets.
- I assembled the sink base cabinet, the dishwasher enclosure, a four drawer unit and a three drawer unit, including door mounts and drawer glides.
- I added a last minute surprise to the inside back panels of the upper cabinets (to be revealed at a later point in time)
- I assembled three of the upper cabinets for the sink wall with door mounting brackets.
- I discovered the back panel of our range hood enclosure was not drilled and contacted Barker Cabinets (we are working on a resolution now).
Some of the setbacks this past week were due to the need to wait 3-4 hours between coats of paint and limitations of space. I also had to work around our plaster guy as he worked on the crack in the ceiling and blemishes in the curved plaster details on the upper walls. He had to come by on several days to do the work in short intervals, allowing things to dry before the next layer can be done.
Here are some more images of what I accomplished this past week.
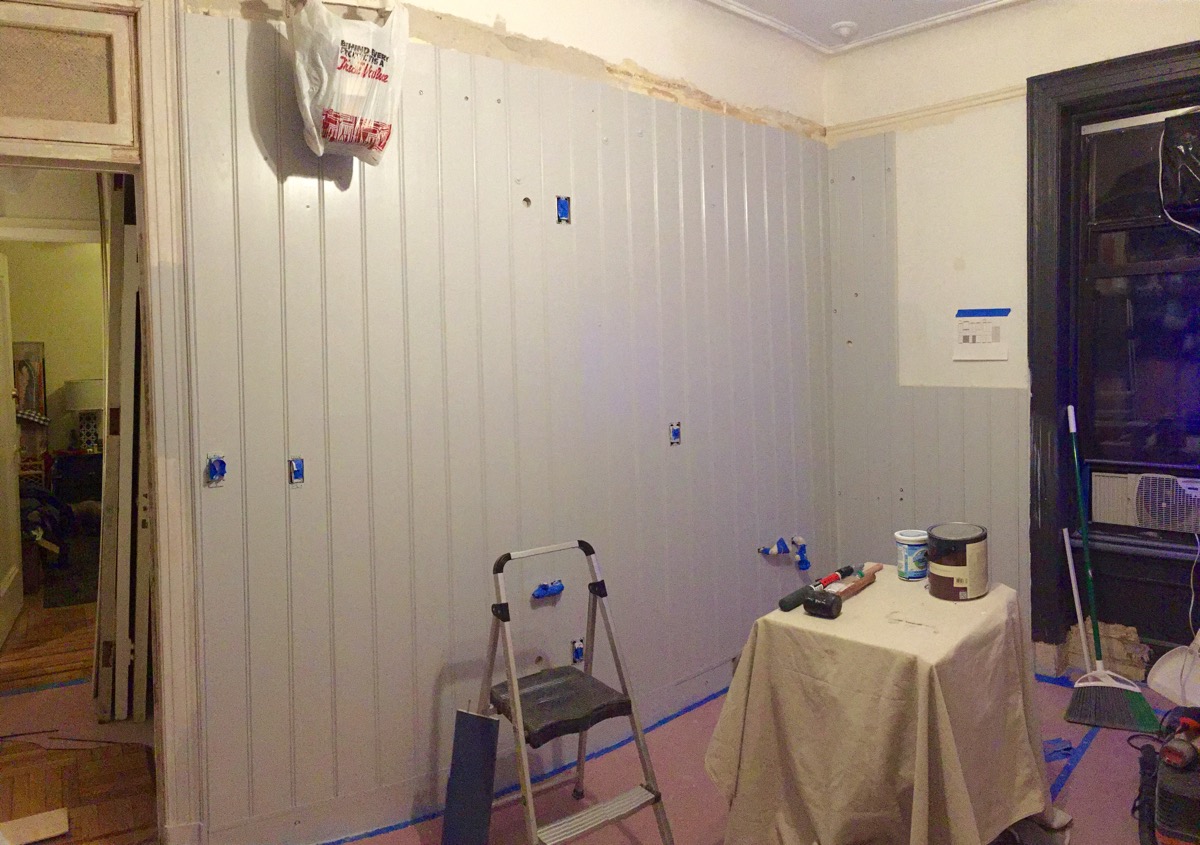
This crappy quality shot is my only one of the beadboard wall after the final coat of Sidewalk Gray from Benjamin Moore.
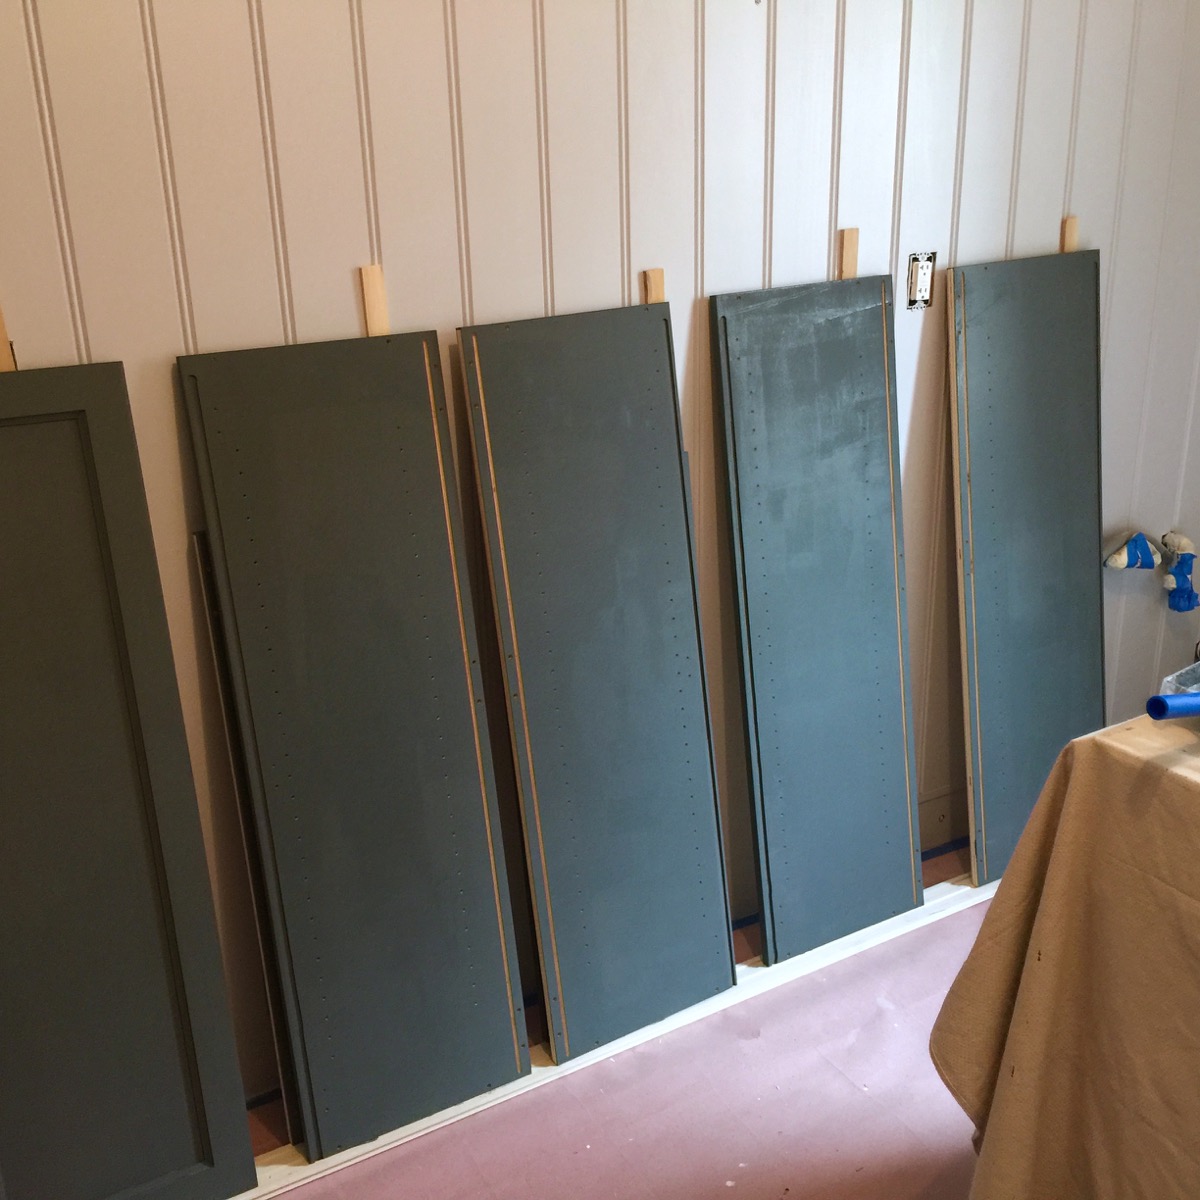
The lower cabinets are already finished on the interiors, but the front edge is unfinished maple veneer which after a lot of blue painters tape required two coats of primer and two coats of Stiffkey Blue.
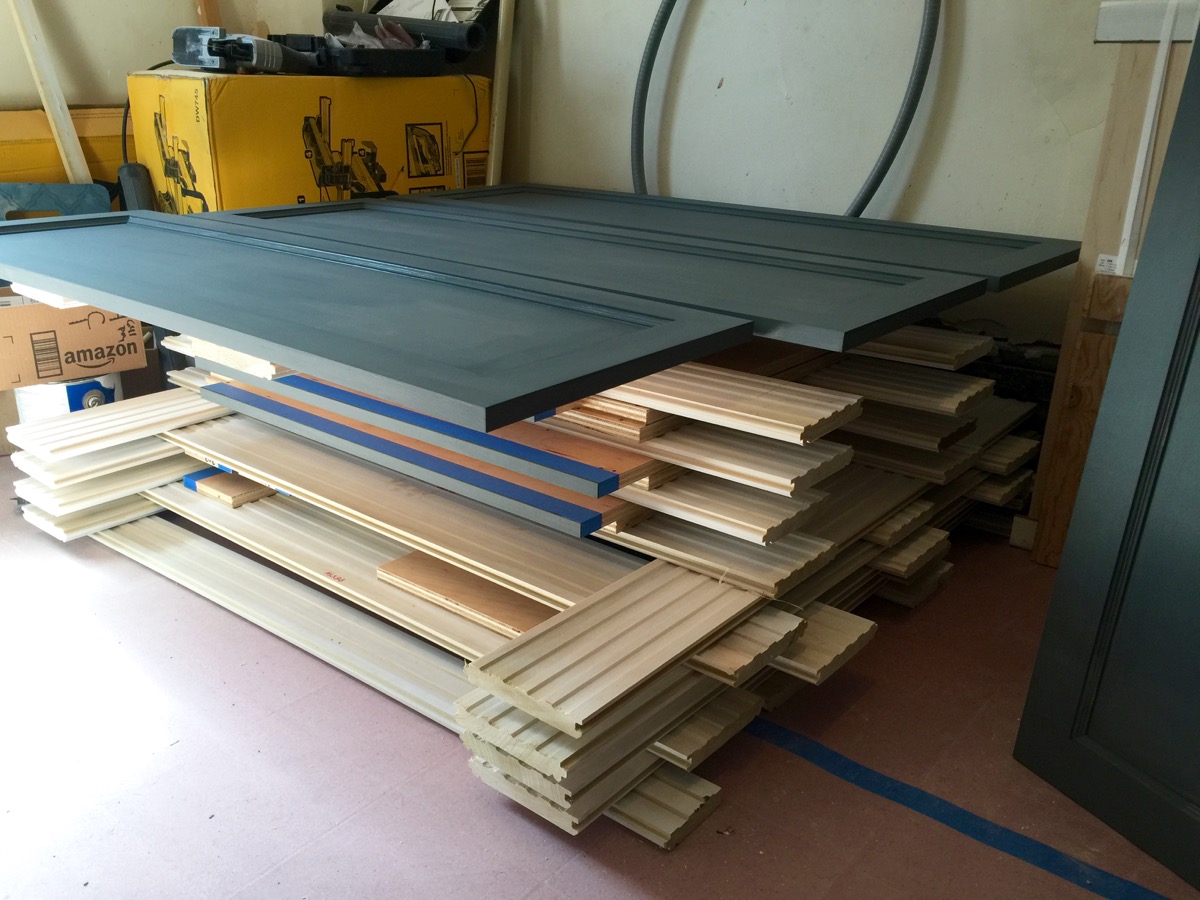
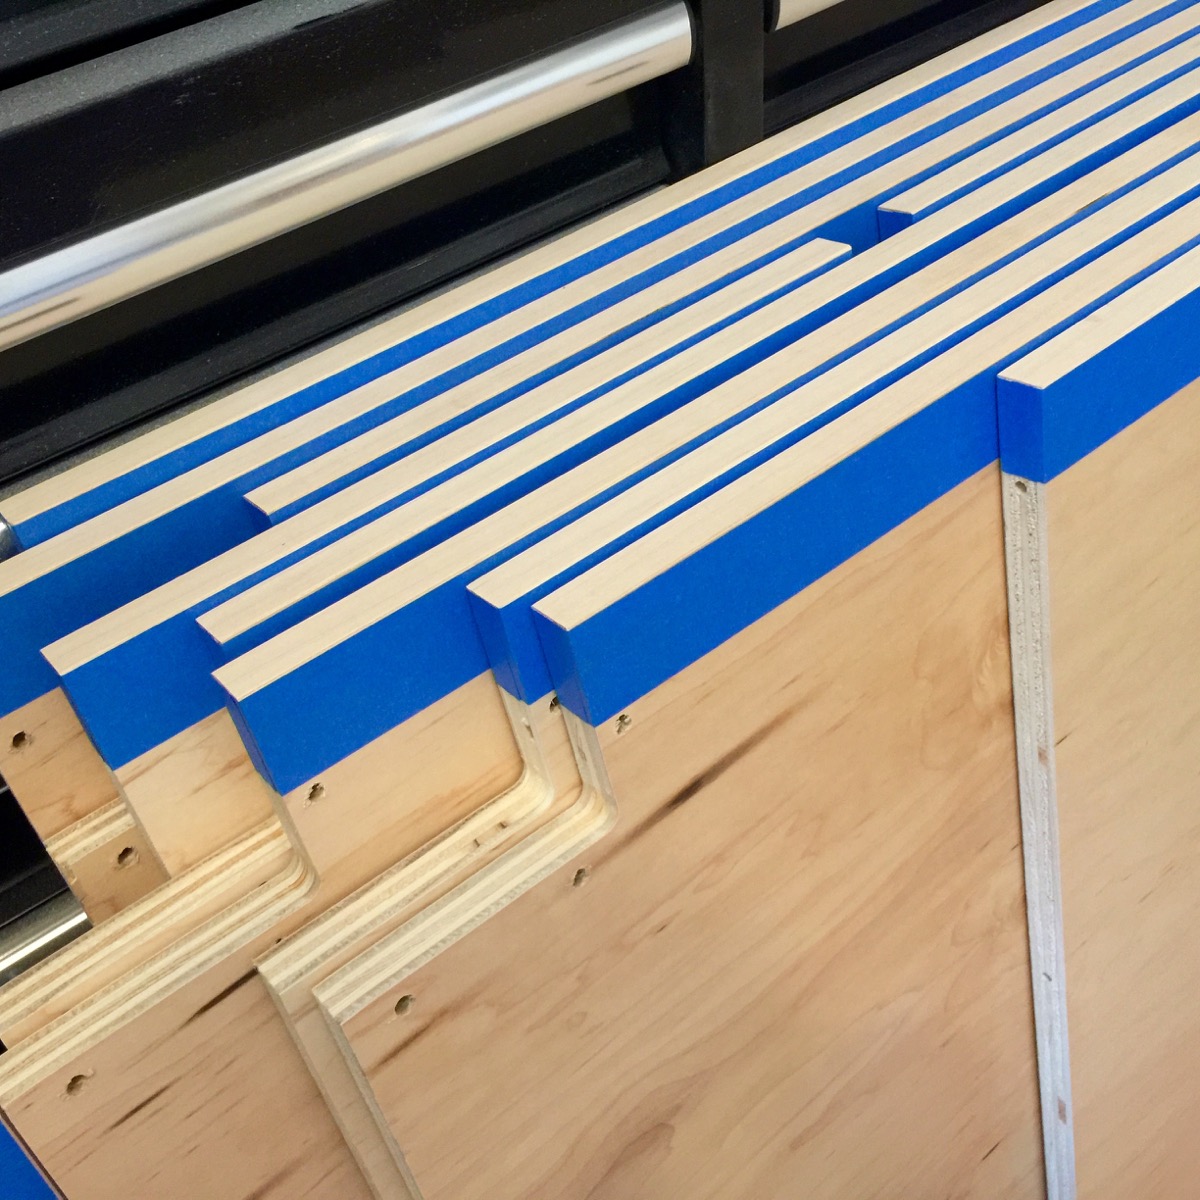
One of the challenges was “Where do I put the pieces to dry”? I devised a method of utilizing the yet to be installed beadboard planks as a drying rack. It turns out that the beadboard planks are 7/8″ thick which is just enough to leave an 1/8″ gap above the 3/4″ cabinet parts. shown here is the second primer coat drying.
The interiors of the upper cabinets after the second coat of tinted Farrow and Ball primer.
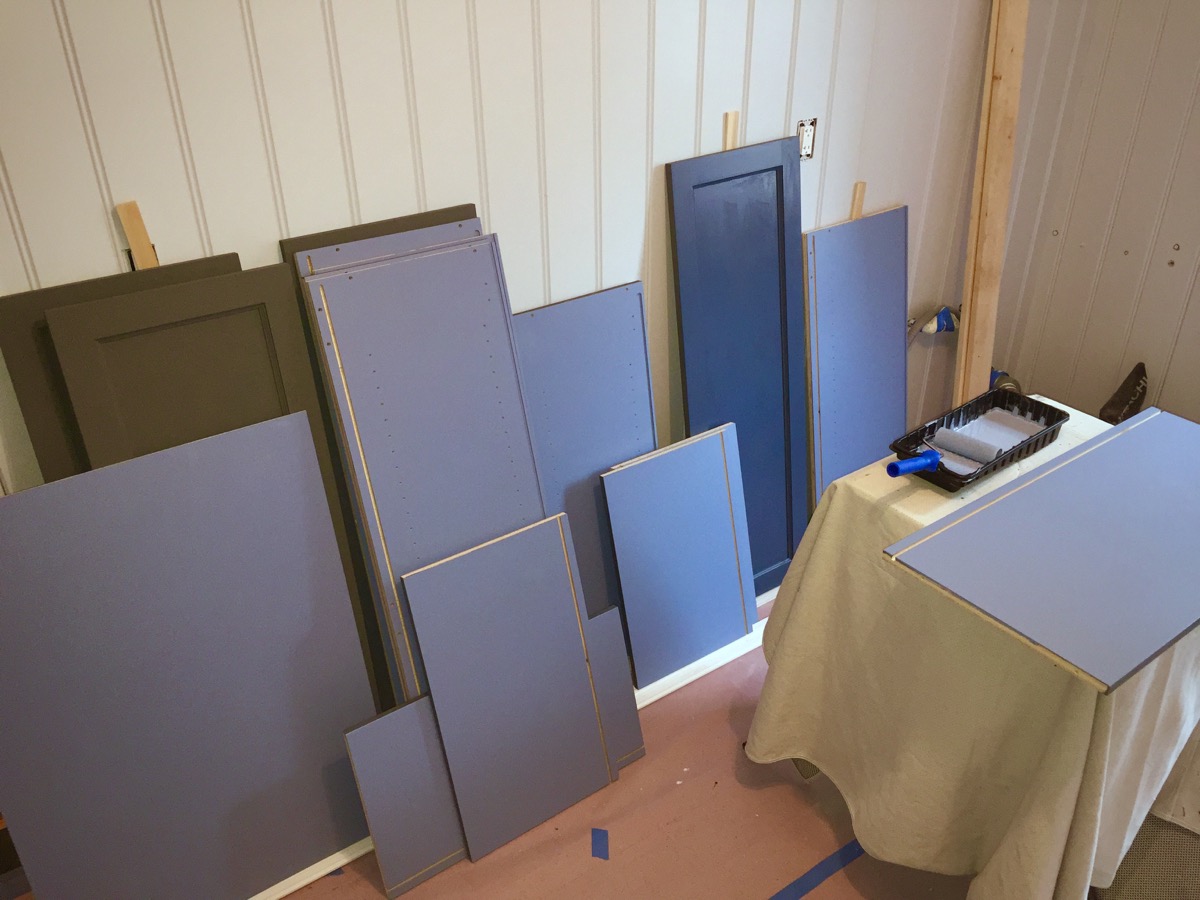
Getting ready to apply the second coat of Old Blue Jeans from Benjamin Moore to the cabinet interiors.
The second coat of Old Blue Jeans on the improvised drying rack
By the time Sunday evening rolled around (and the reality that my staycation was over, time to go back to work on Monday morning), I can say that we fell far short of my original goal of being ready to have the cabinets ready for countertop measurements. But…. A lot did get done, and I can see real accomplishment.
And then this happened…. While I was off of work, I heard about some changes which would directly impact me upon my return. And sure enough, on Monday I learned about all the changes which occurred while I was away which ultimately translates to a sizable increase in my work load for the foreseeable future [Boo!]. This increase in work also means that I will not be able to take that week previously planned for the end of April, which will surely result in a delay to our completion by at least a month [Double Boo!]. Job security right?
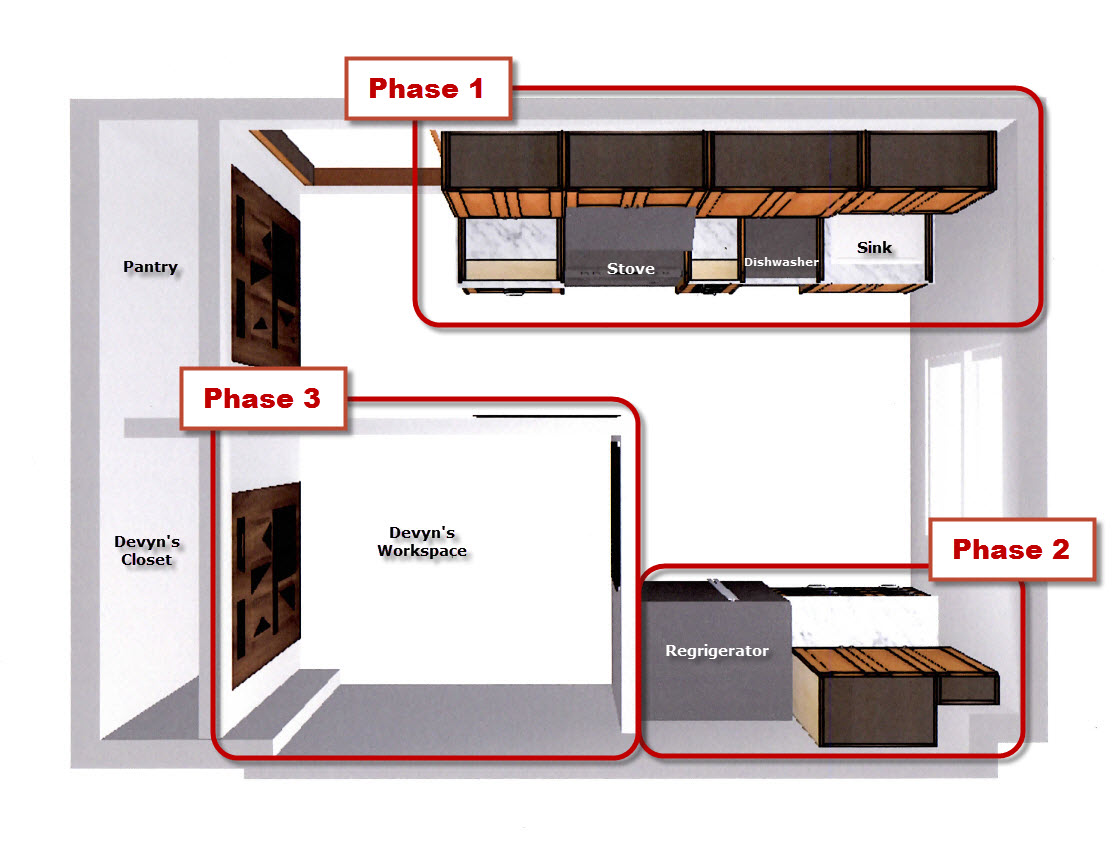
A view of the kitchen plan from above. The sink wall at the top is the highest priority towards getting back to some sense of normalcy.
During my staycation, I began to rethink my priorities which were only cemented by my new work reality. It comes down to what is important to get done now, and what can be done later. If I break things up into phases, I can then use each phase as a milestone. By taking it in phases, I will be able to focus on the immediate tasks at hand, and not stress about what still needs to be done. So, going forward, I see three distinct phases to complete the kitchen as follows…
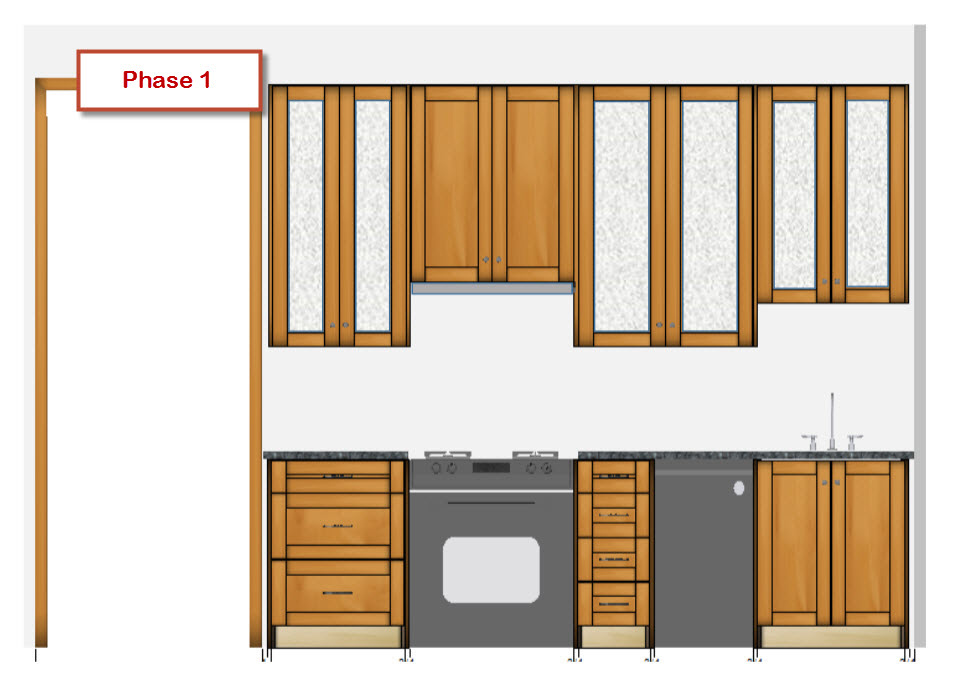
This is the sink wall cabinet plan. Unfortunately, I was not able to color the cabinets in Stiffkey Blue, but you get the idea of what it will be.
Phase 1 – Sink Wall
Obviously, the sink wall is top priority. First goal…. Get the wall cabinet shells mounted to the walls and the base cabinets completed to the point where the countertops can be measured for, fabricated, and installed. Then we can hook up the sink, dishwasher, and stove and Shazam!, we will almost return to the status of a somewhat functional kitchen kinda sorta (the refrigerator will still be in the living room for a while).
The big question is how long will this take? The short answer… I don’t really know. Given my new workload and now nearly nonexistent ability to take time off during the week, I really only have weekends to work. I am usually too tired or busy during weeknights (the joys of middle age). My best guess is that if I am diligent about things, we will have reached the point of being ready to measure for countertops by late April. While we are waiting on the fabrication of the counters, I can focus on some of the details and finish priming and painting the doors and drawer fronts which will not be installed until after the countertops. (I can also place my glass order for the upper cabinets.)
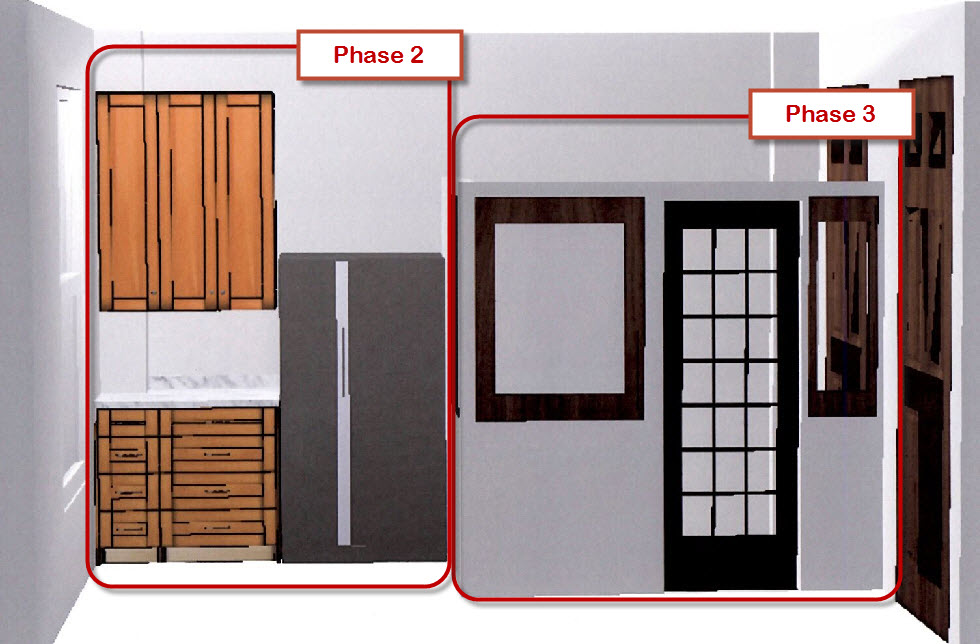
The bank of cabinets in the corner with the refrigerator will be phase 2. The shape of the cabinets is correct, but they will look very different. There will be shelves above the fridge. Phase 3 will be my work space. Software limitations didn’t allow me to create a better representation of what it will actually look like, but you get the idea of the space it will take up.
Phase 2 – Refrigerator Wall cabinets, Trim and Baseboards
Once I have returned to a state of having a functioning sink and stove, I can then change my focus to the opposite wall. I will get into the details as I move into that phase, but phase two will include finishing the beadboard around the room, installing the bank of base and upper cabinets in the corner which will house more storage as well as the microwave. Cutting and installing a slab of butcher block countertop for this side of the room. Building shelves out of remaining butcher block and installing them above the refrigerator. Finish out the moldings, trim work, and baseboards around the room. More paint stripping of the door and window frames. And finally, the installation of crown molding on the cabinets on both sides of the room.
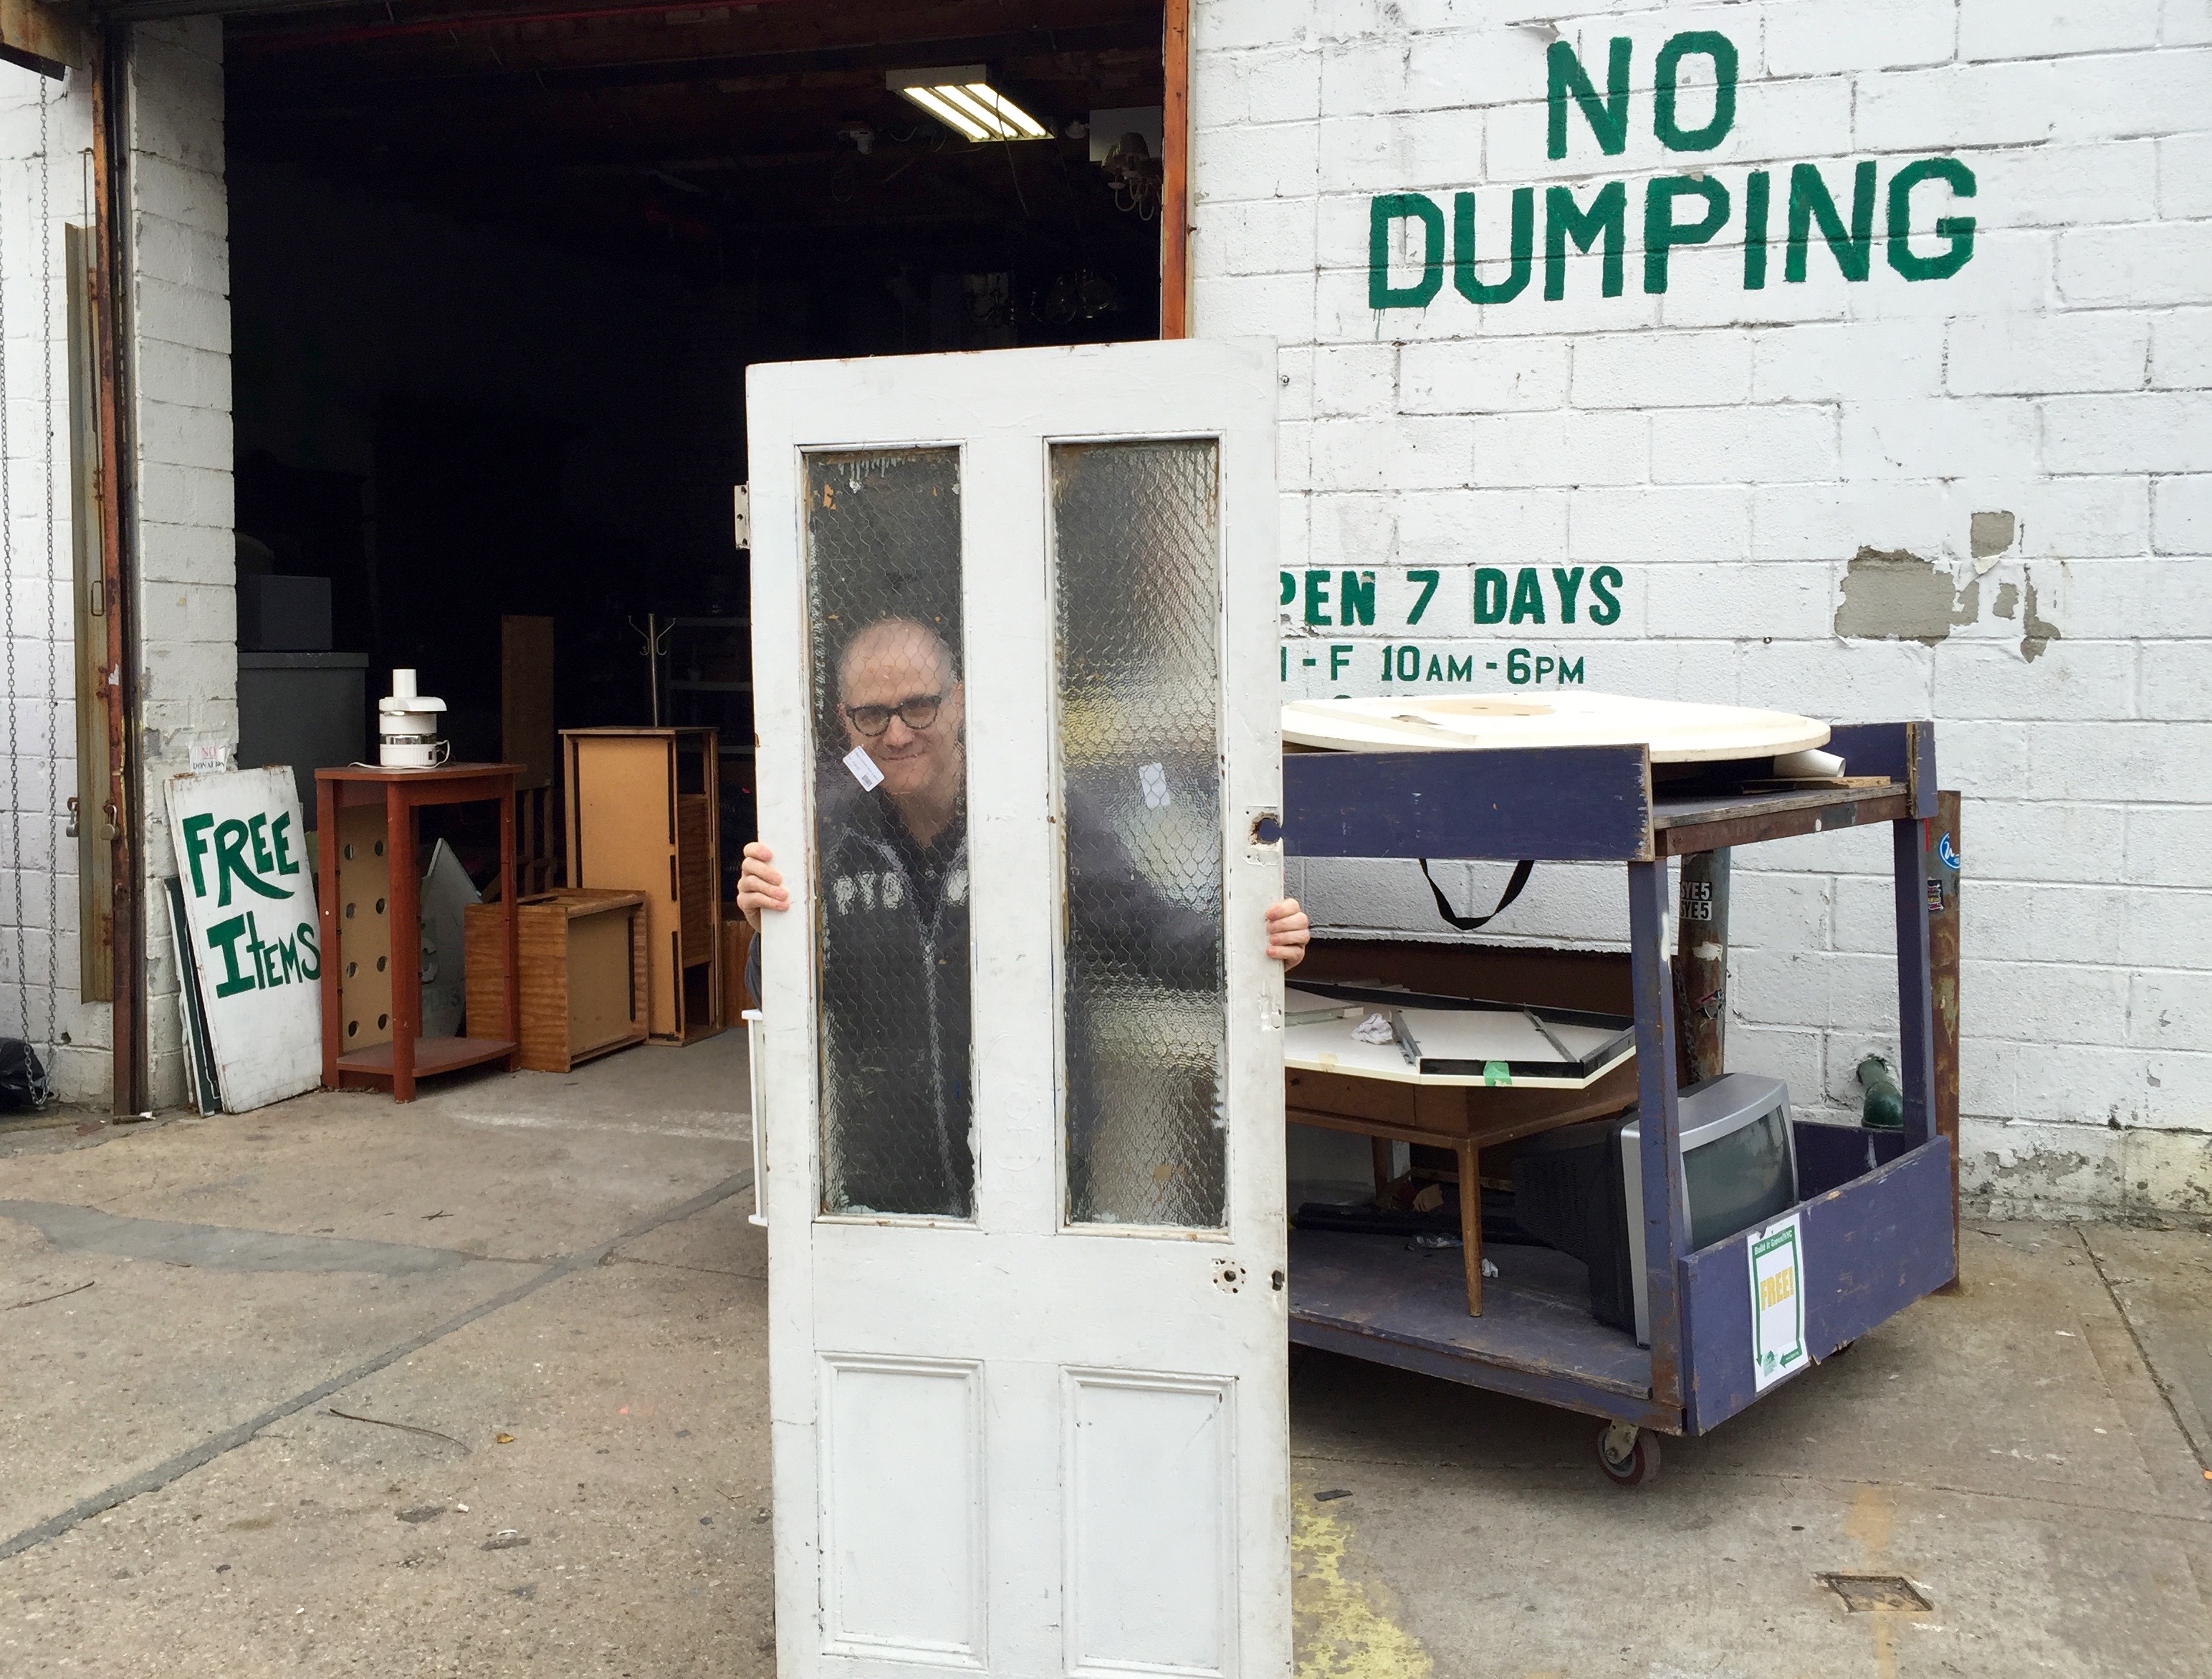
My handsome husband is holding the vintage door with awesome chicken wire safety glass we found in Astoria. This will be the door to my work space.
Phase 3 – My Space
I am sure that by the time I get to finally working on my work space, it will be summer and I will be so tired of working on this room every weekend for so many months…. But building out my work space is going to be exciting because I get to practice my woodworking skills and learn new techniques. This will also be a time to be creative with my space as I will need to pack as much functionality into it as I can possibly think of.
I won’t get into the details of my work space other than to say that this was one of the reasons we decided to buy this apartment. One of our perquisites was to have enough room to create a space where I could set up my art supplies and store my tools and tinker. More on what we plan to do as we get closer to starting it.
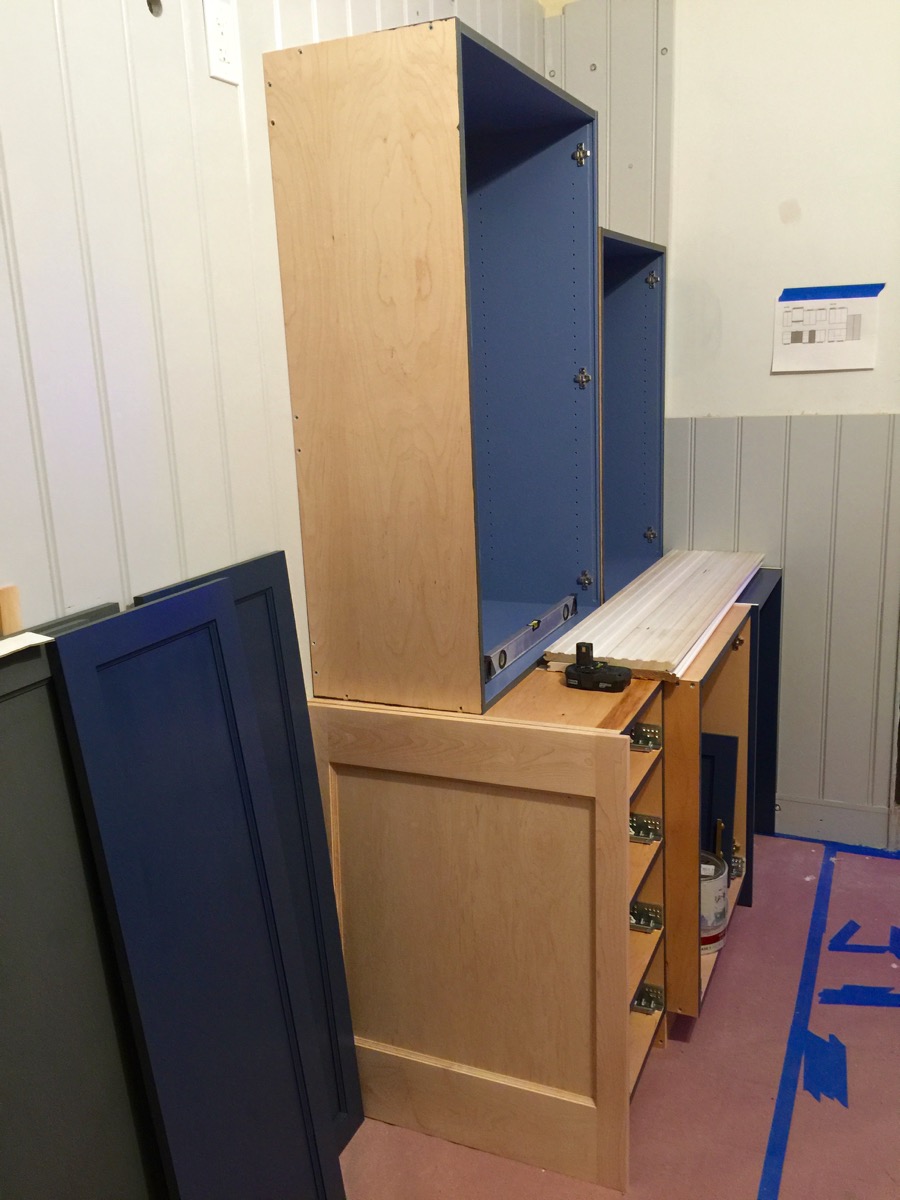
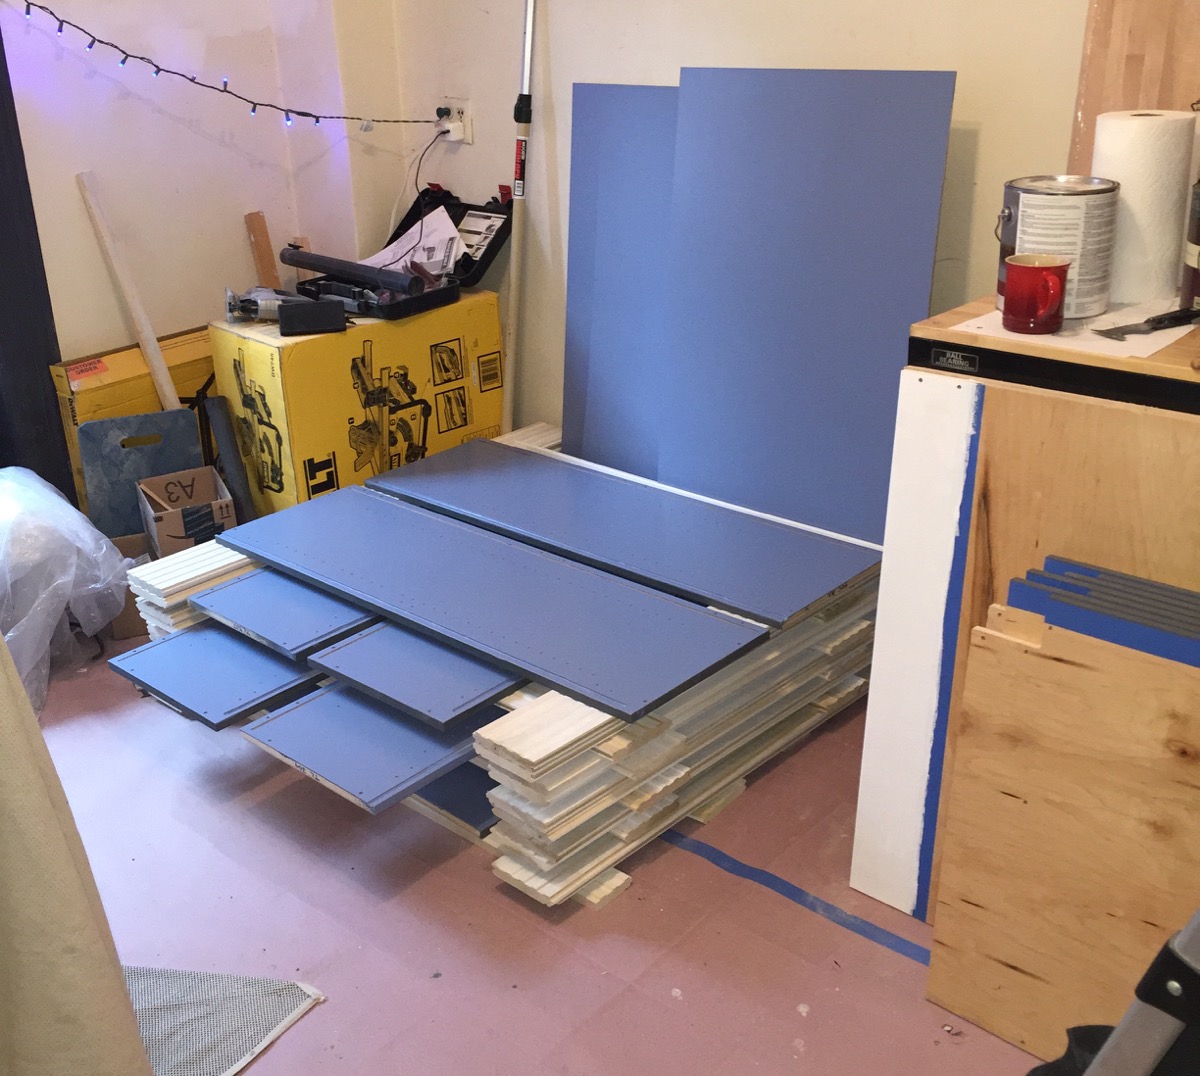
Five of the eight cabinets for the sink wall are shown completed to the point of being ready to install. On the left is two of the side panels in Stiffkey Blue.
Next up…. Details of my last minute surprise for the upper cabinets and the status of how close we are to measuring for countertops. Woo Hoo!


April 28, 2016
Hey! Jumped over here from Apartment Therapy to get a look at your kitchen. Wow! Can’t wait to see the end result!
April 28, 2016
Thanks for stopping by! It is very exciting and rewarding to start to see everything come together.