Back in January I wrote a post (Embracing Black and the End of Mediocrity) in which I declared war on the status of mediocrity in a mini manifesto of sorts. I declared that I was going to embrace my true self and express my individuality (with my husband Yoav’s blessing) and basically not give a sh*t what people think about our home and how we have it decorated.
I also mentioned that we will be featuring the color black in an unusual way. So while I didn’t quite say how or where I was planning on using black, it was hard to miss my leading image of the fabulous Reception Room 1 on 47 Park Avenue blog. It was last summer that I stumbled across Michael’s blog about the home he shares with this partner Jonathan in Yorkshire, England. While our styles are not quite the same, the parallels are astounding and I found much inspiration from reading about the renovation of a drab Victorian home into an amazing space. I was so very inspired by his black ceiling and vintage 60s Italian glass chandelier that I began to think about how that would go in our new apartment. I was of course terrified of using black on our ceiling. Aside from the fears about the room being too dark, I was too uncomfortable with making such a bold statement.
So we began to plan the color scheme for our room and after several iterations, we settled on bright white ceiling, pale gray tone on tone horizontal stripes and charcoal woodwork. After visiting the 47 Park Ave blog countless times and looking at the pictures over and over, I began to hunt down a light fixture that would capture the feel of what he had done. I loved his fixture, but my budget was no where near what his was and I simply don’t have the thousands of dollars to purchase a vintage Italian glass chandelier.
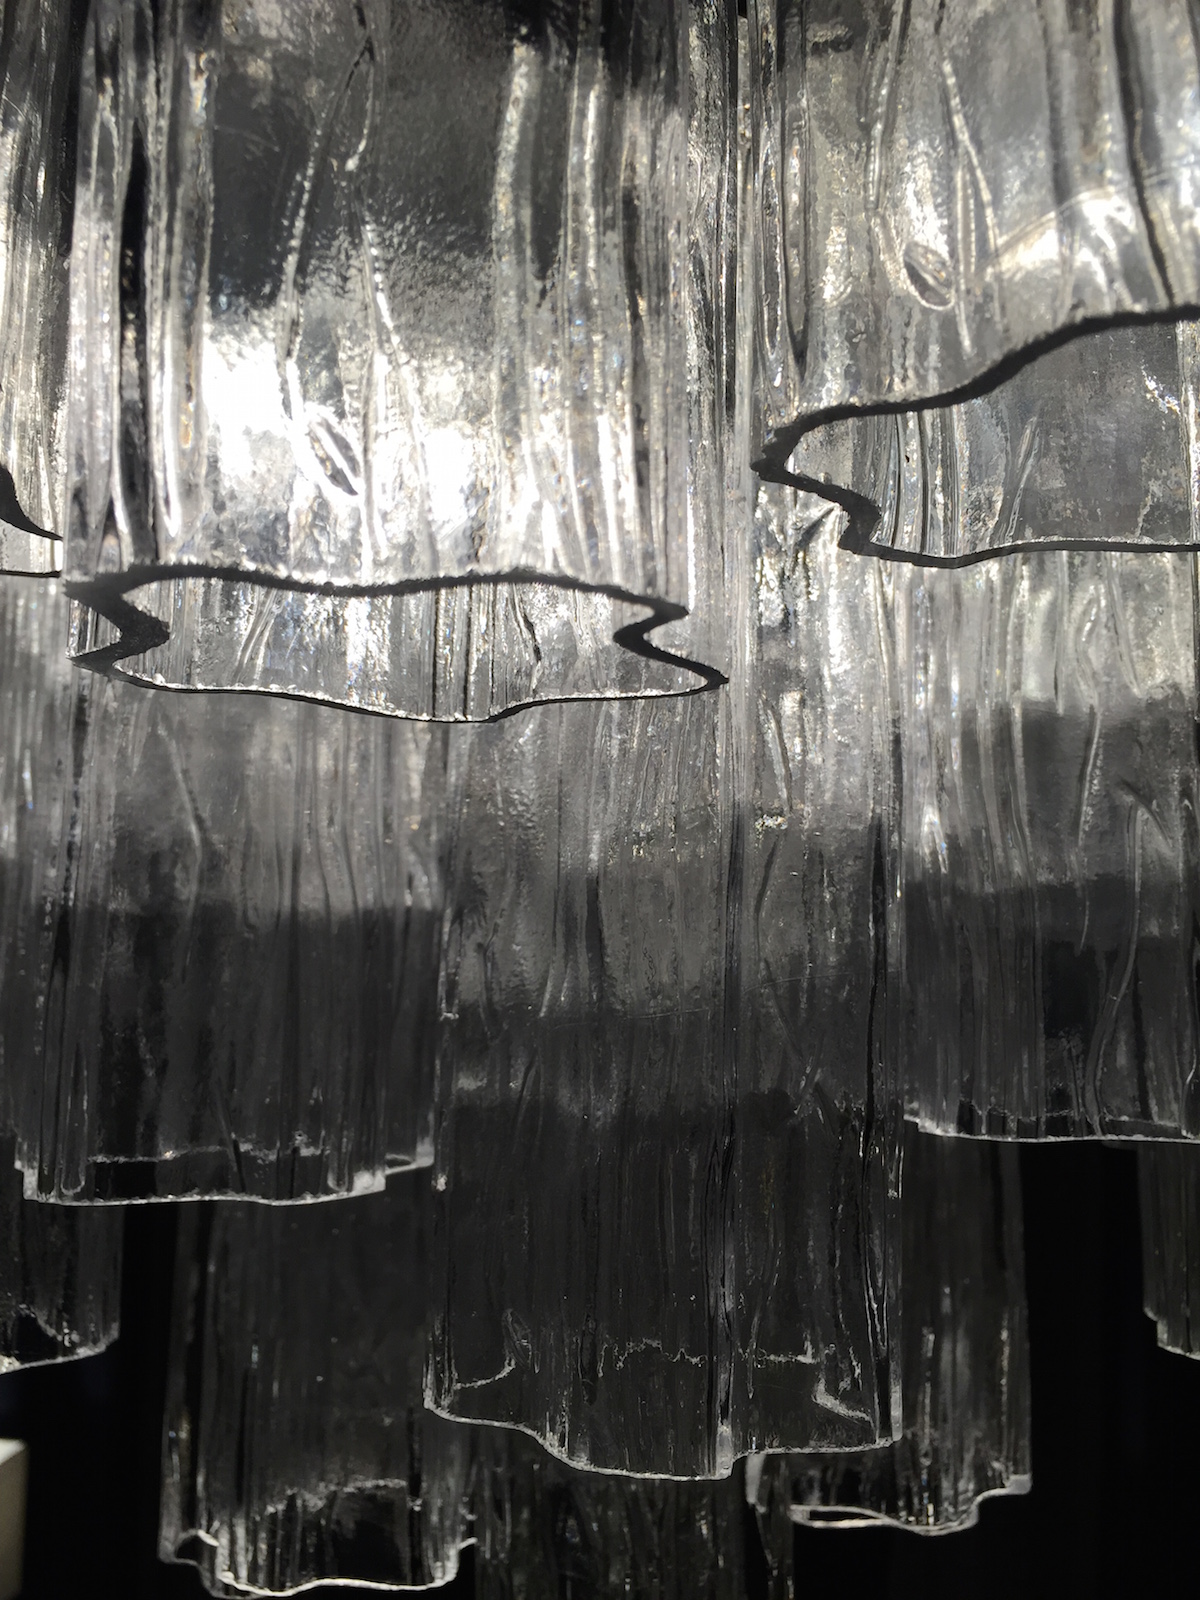
But that didn’t stop me…. I started searching eBay daily for similar chandeliers (never mind that we already had a very cool 1970’s chrome 12 light fixture which we snagged from eBay last August. As I searched eBay, I learned all sorts of things about 1960s and 70s Italian Glass fixtures. I also learned the inspiration for all of the acrylic knock-offs which flooded the homes of America in the 70s. But it was the Tronchi Tube chandeliers which captured my heart (tronchi translates to trunk in Italian for the shape of the glass tubes are like the trunk of a tree), but they were seriously out of our budget.
Then in late November, I stumbled on a vintage Italian Tronchi Glass chandelier in Alabama. It’s about 25″ in diameter with 49 glass tubes, and I snagged it for about 1/5th of the price they typically go for in antiques stores. It was dirty, it needed to be re-wired, and the risk was high, but with my husbands blessing, we took the risk and splurged what felt to me like a huge extravagant purchase.
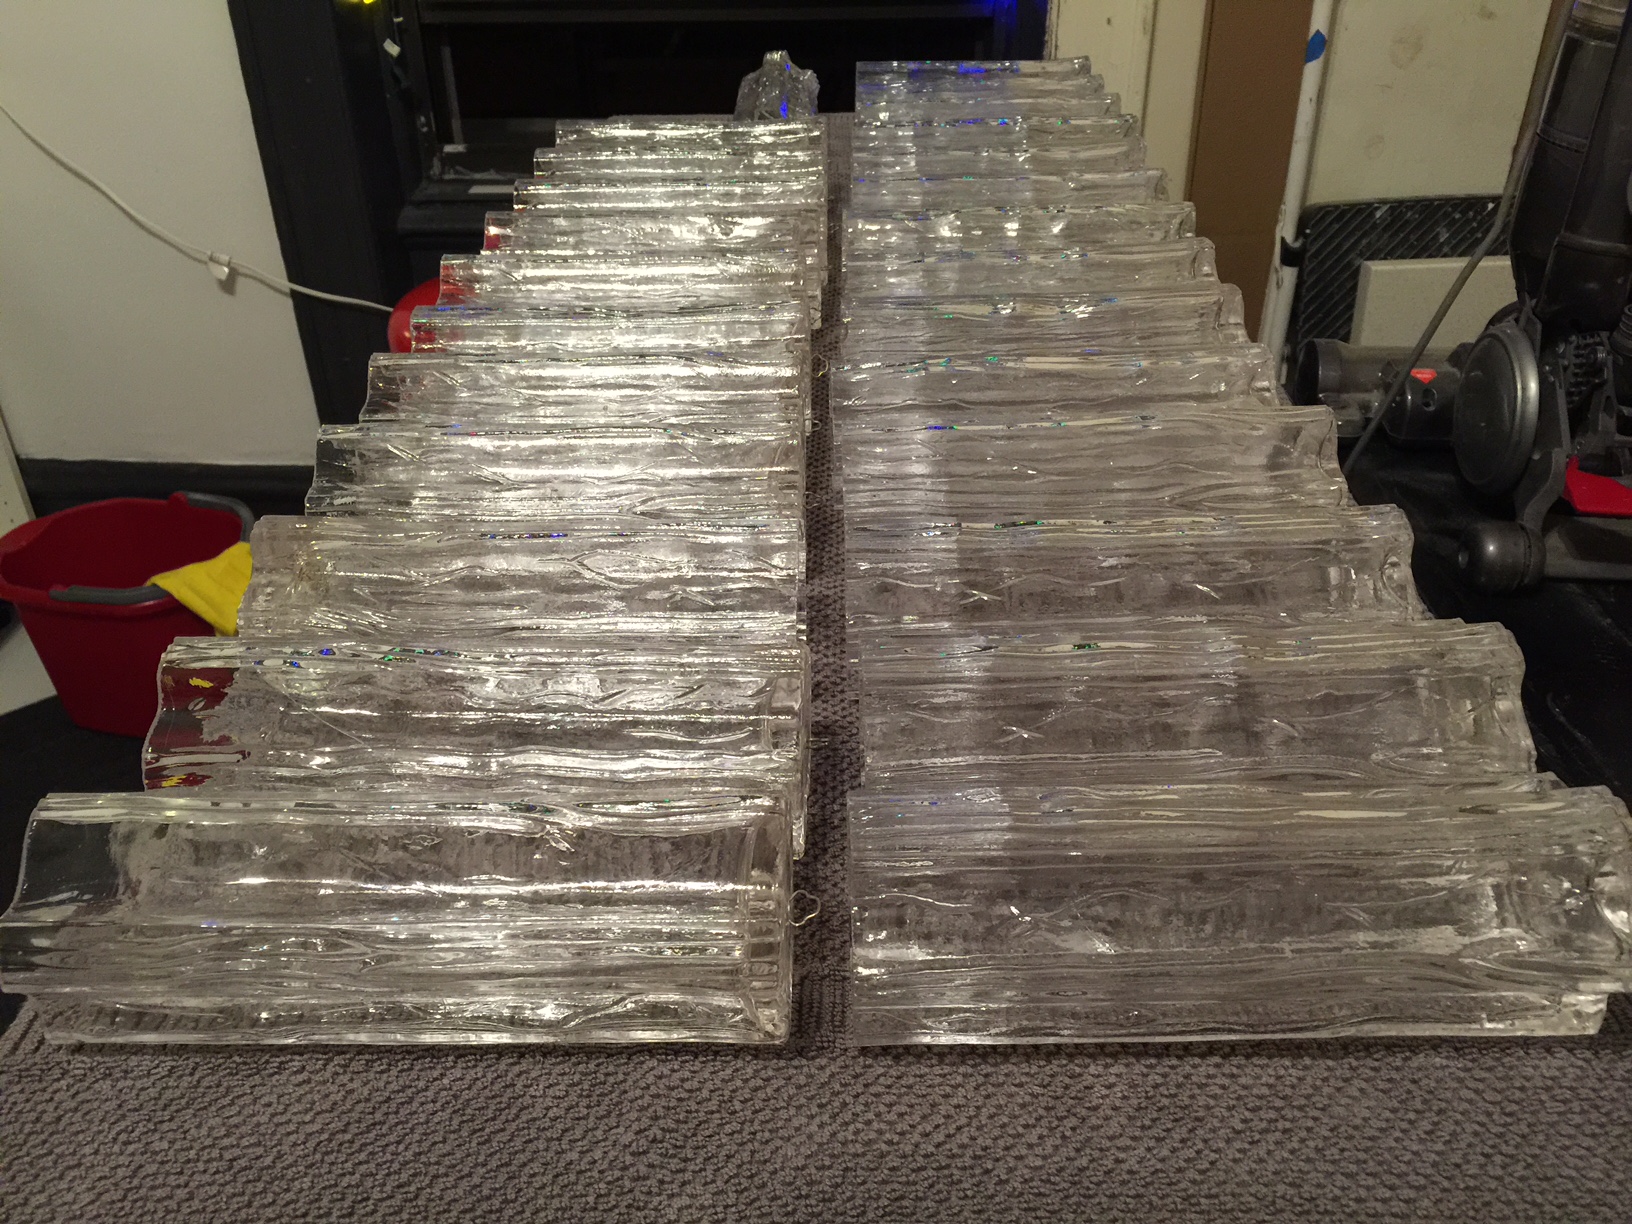
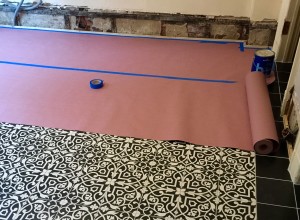
Tronchi tubes laid out to dry after a bath in soapy lukewarm water.
In early December, the chandelier arrived in from Alabama in two large boxes. Inside the boxes the metal frame and 49 glass tubes were enclosed. Although individually wrapped and boxed in wine bottle boxes, they were filthy dirty. So, I set up a production line to wash them. Yoav being nervous about breaking them (justifiably so as replacements run about $65 each on eBay), unwrapped while I dipped, swabbed, rinsed, and then laid them out to dry. There were three which were damaged, but fortunately the seller was very cooperative and was able to ship out three replacements. I can say that already, we were falling in love with this piece.
At this point I am sure you are saying to yourself…. Where are the friggin pictures of this chandelier he is so freaking crazy about? Rest assured, I will be posting pictures tomorrow.
OK, back to the ceiling….. In November, I ran across a post on Apartment Therapy on Black Ceilings: Do or Don’t? I was of course thrilled to see my inspiration room from 47 Park Ave included in the list of featured rooms with black ceilings. I bookmarked the post, and then visited it several times a week as I pondered the possibility of painting our ceiling black.
By early January, I was convinced that I wanted to follow suit and make my mark. “My name is Devyn, and I want a black ceiling in the living room” Easy peasy, right? Well, not so fast. You see, my husband works from home at a desk in the living room and this is potentially an issue. As it is, our living room does not get a tremendous amount of light and I was fearful that painting the ceiling black would make it too dark for him…. I knew that if I was to get what I wanted, I needed to get his buy in…. I had already of course shown him the Apartment Therapy post, and he patiently sat with me as I went through all of the various posts on 47 Park Ave…. Now I just had to convince him that we could figure out a way to bring enough light into the room to compensate for the black ceiling.
My solution? I ditched the idea of painting walls gray and the woodwork charcoal and instead embraced the idea that if the ceiling was to be be black, then the walls and trim must be the brightest white possible…. He agreed (after I promised to paint it white if it was too much). Off we went to Benjamin Moore.
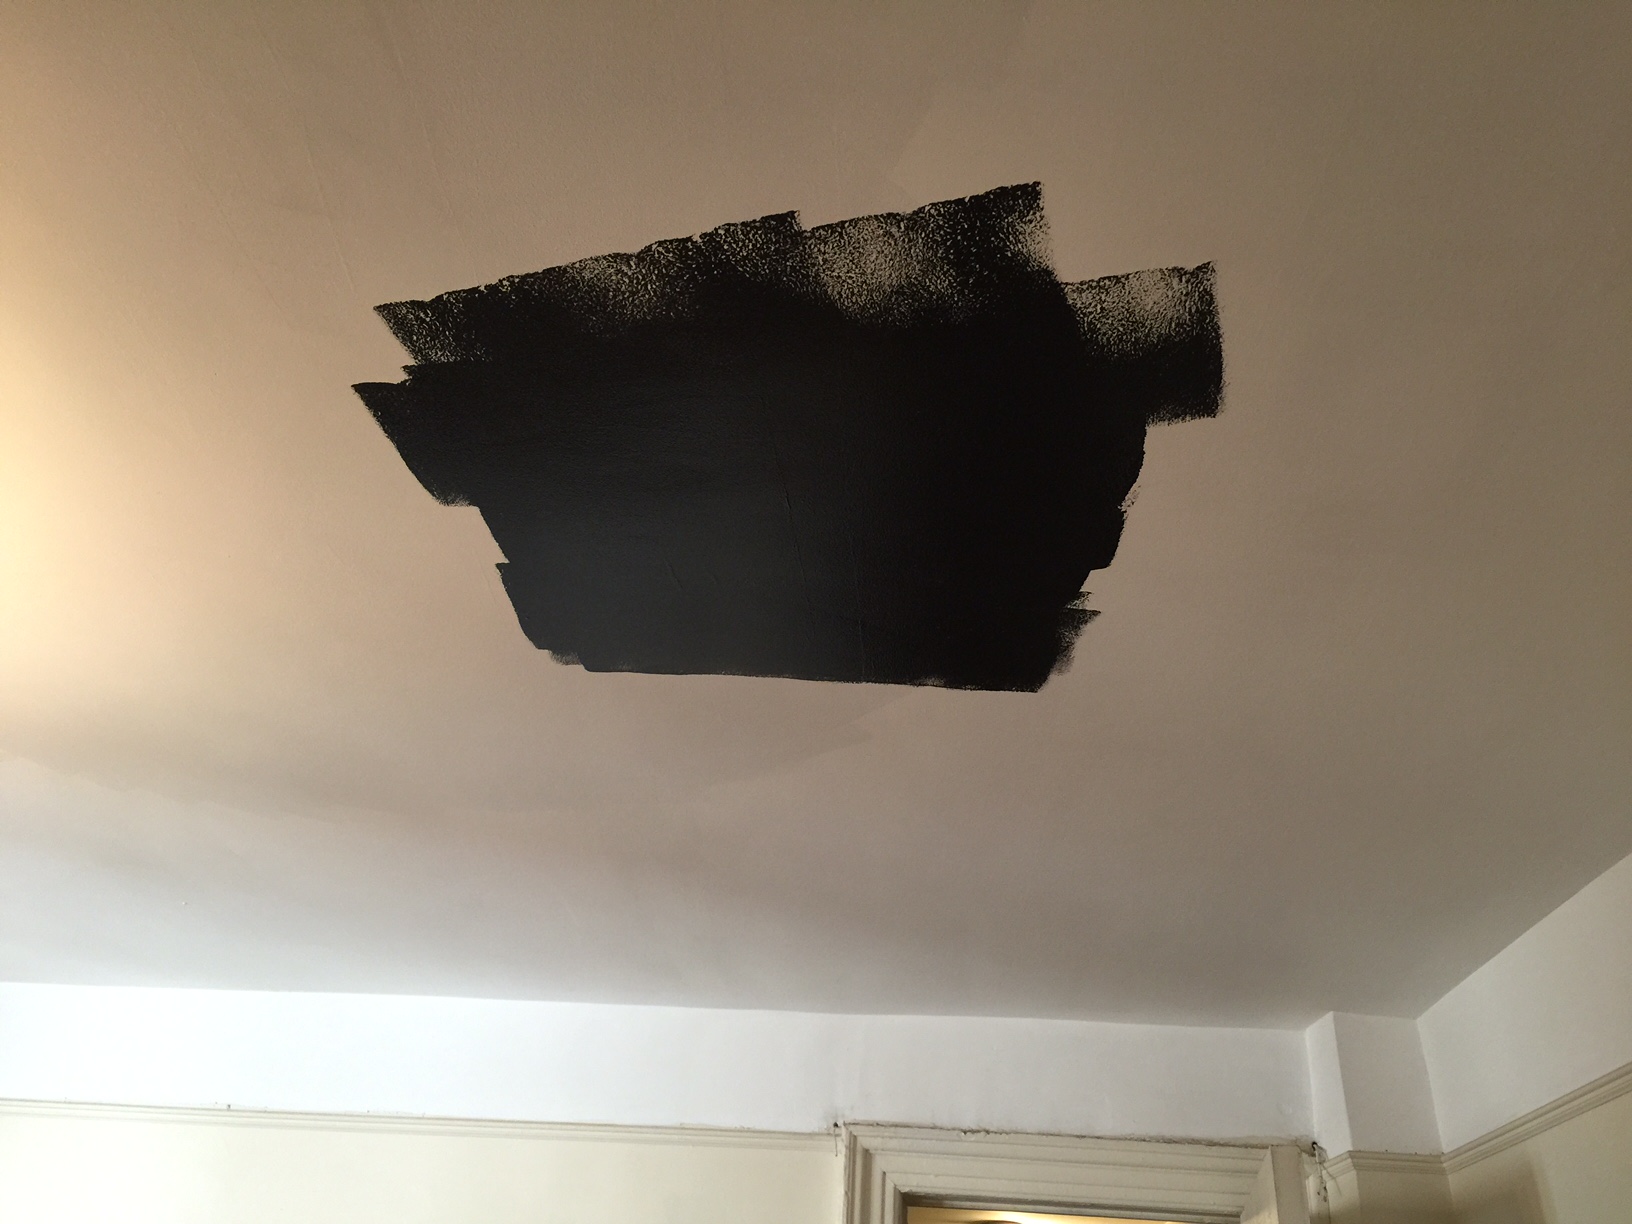
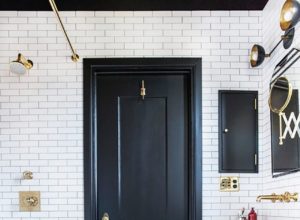
Oh yes we did! January 31st marked the end of the white ceiling in our living room. I was so nervous about doing this!
The brightest white we could buy is Chantilly Lace (2121-70) (previously mentioned in my recent post about the center hall), so we invested in a gallon of eggshell and a gallon of semi-gloss for the trim. As for the black? Well, we decided that a true black would be too black, so we settled on Onyx (2133-10)in a satin pearl finish. We chose to do the satin pearl finish instead of the traditional flat finish because we thought a flat finish would make it look as though you were looking into an abyss. The slight sheen of the pearl finish downplays the fact that it is black. We arrived at Onyx by looking at the related shades of gray on the Onyx sample strip making sure it was the right temperature of black without being too black.
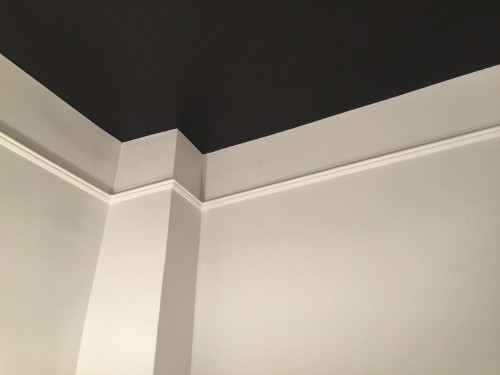
I painted the ceiling first, almost all the way up to the wall. I then painted the Chantilly Lace on our walls.
I first painted the ceiling black almost all the way to the walls, which immediately changed the mood of the room. I was actually quite terrified when I began, but by the time I was halfway done, I began to feel a sense of joy only to be reinforced when I saw the smile on Yoav’s face when he saw it for the first time. I then painted the Chantilly Lace on the wall all the way up to the ceiling.
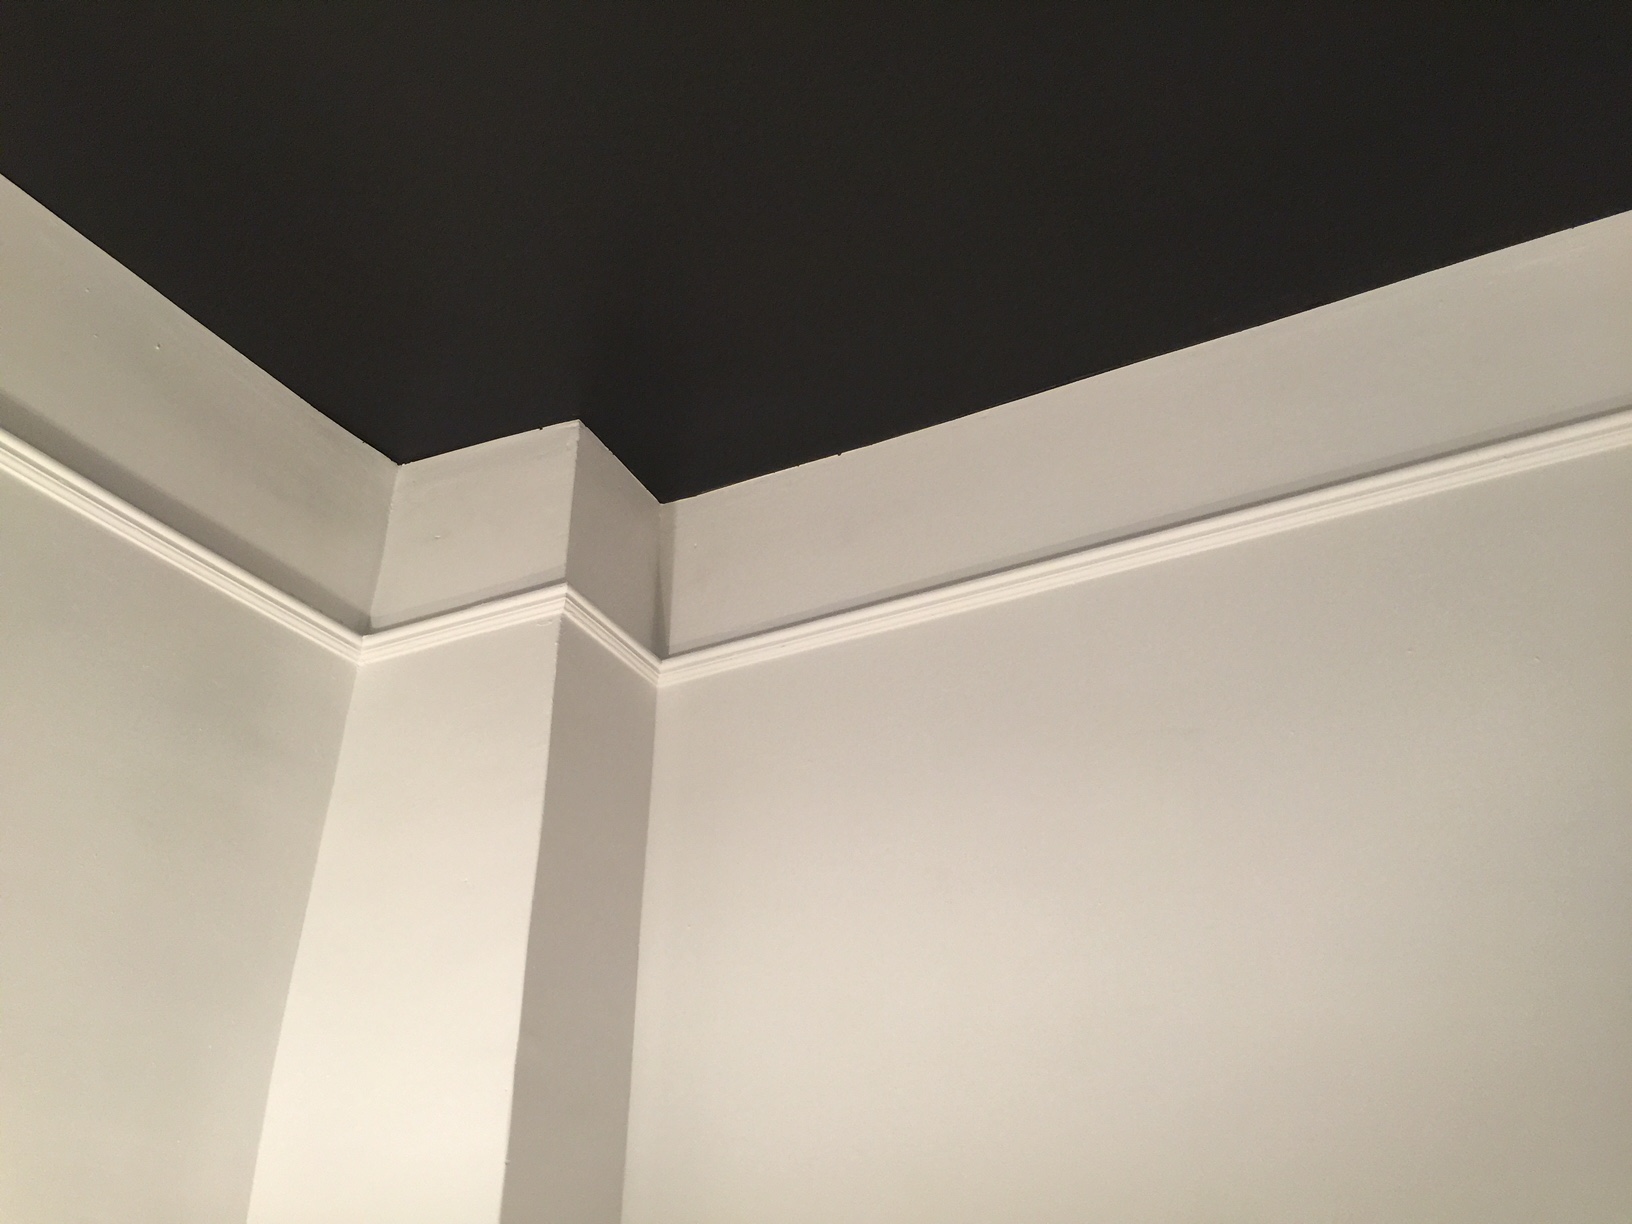
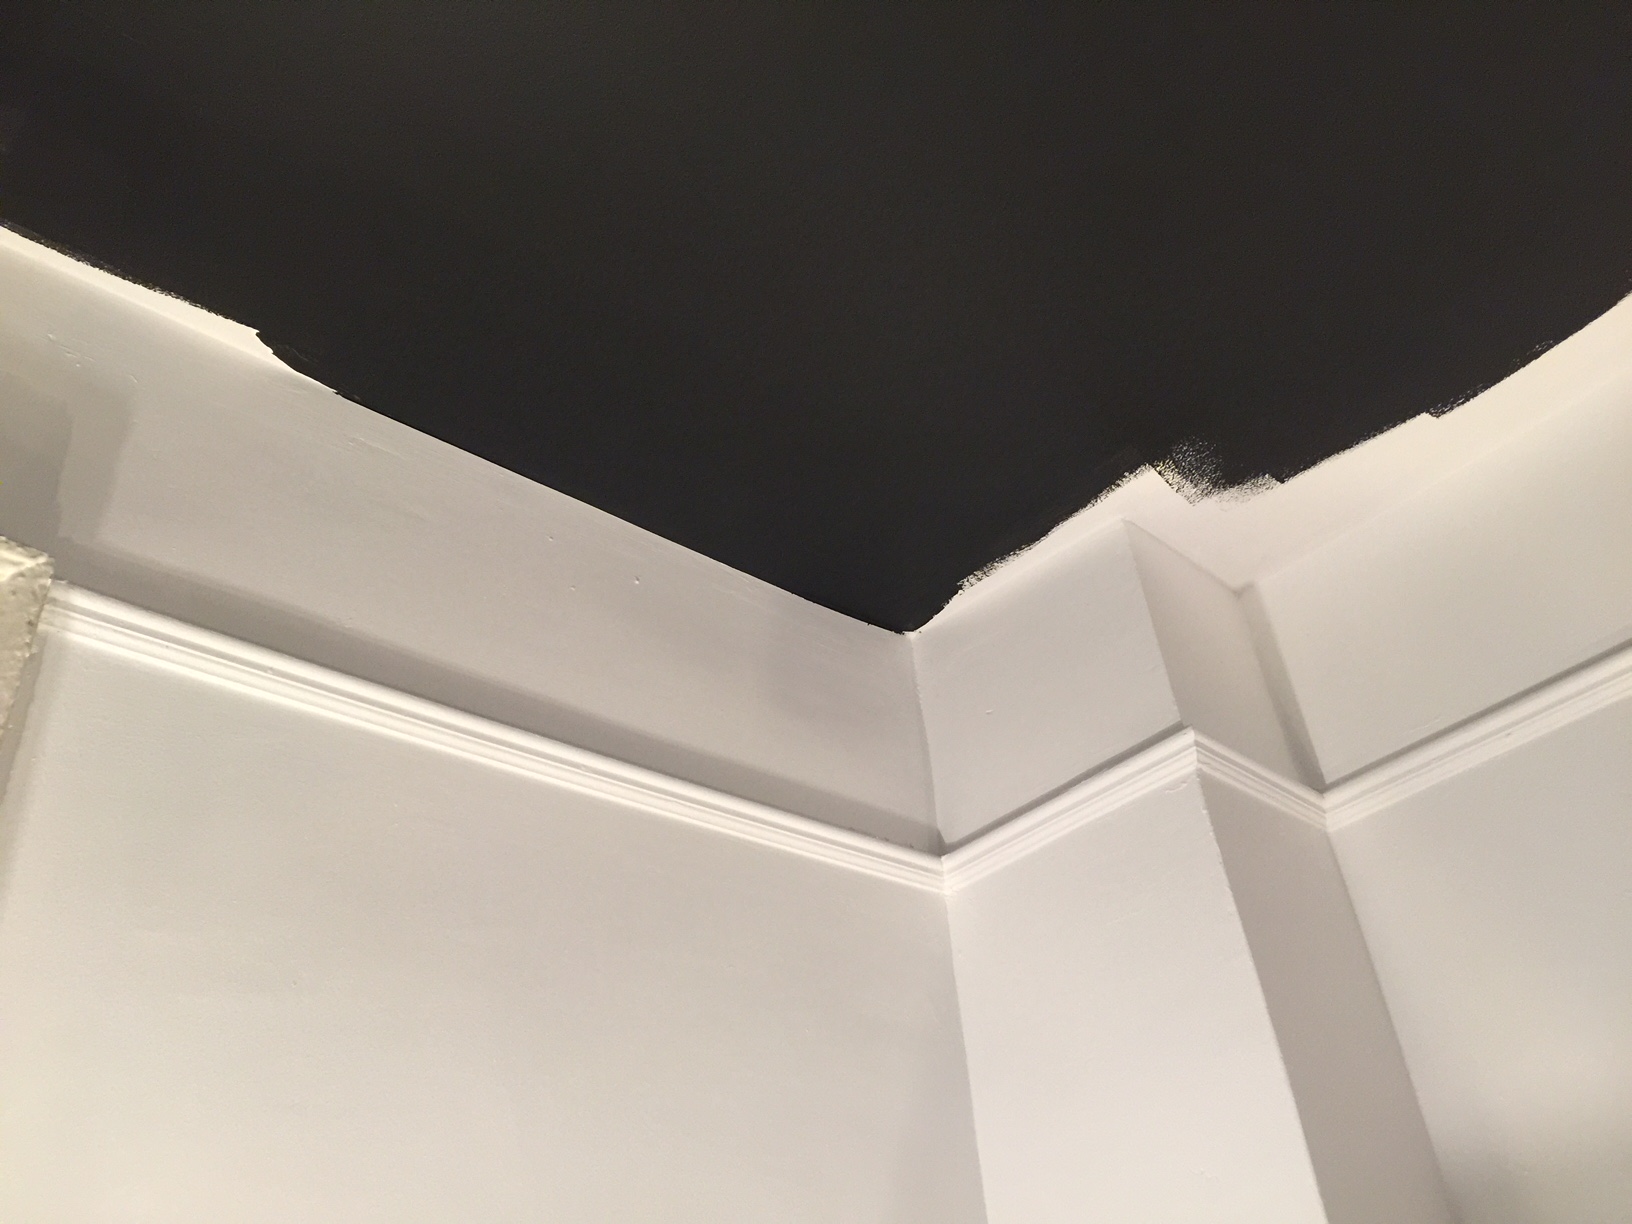
After the Chantilly Lace was dry, I taped the wall about 1/8 down from the ceiling and then finished the black edge.
After I finished the white, I went in and taped off at the top of the wall about 1/8th inch from the ceiling and filled in the black up to and down onto the wall. This enabled me to create a nearly perfect line around the room as the ceiling varied in height by as much as a quarter inch. It is actually an optical illusion in that the black is technically on the wall, but because the tape line is so sharp and the difference in color so bold, you can’t see that there is actually a small amount of black paint on the very top of the wall.
So, there you have it…. The big secret we have been holding back (except for a few close family members and friends).
“My name is Devyn and I have a black ceiling in my living room. Surely there is a need for therapy somewhere right?”
Sneak Peak of our Tronchi Dreams
Okay….Now that this secret is out…. I am sure you are wondering about that chandelier? Well, let me tell you that it is a true show stopper! And, you will have to wait until tomorrow!
Next up… Oh Yes We Did! – The Big Black Reveal (Part II – Tronchi Dreams)


0 Comments