
Finally I can finally say that 90+ percent of our plans for our new kitchen are finalized. I can also say that just as Hilary has evolved on same sex marriage, we too have evolved on our kitchen plans. We are now planning on doing things we would never have approved of (or even thought of) in the past. With each passing day we are getting super excited because this sh*t is finally getting real! How real? The cabinets are on order and should be delivered in early February, the floor is on order to be delivered in late January. We are at the point of no return as we place more and more orders for things. We are really actually going to do this…. Finally…
Our current plans have us first completing the necessary electrical work and then starting in on the floor. We expect to be working on the floor by early February. God willing, the creeks don’t rise, we hope to have a functioning kitchen by the first of April. Note, I said functioning, not finished. That will take another couple of months. Why so long? Cause I am doing about 70% of the work myself. We are only hiring out some small electrical and plumbing replacements and the installation of our floor and the countertops. Otherwise, I am doing nearly all of the labor (with major moral support from hubby) while maintaining my full time job. I have saved up 120 hours of PTO (paid time off) to take some days and weeks off, and I will be able to do quiet work on the weekends (painting, etc…).
With that, I think it is time to reveal our final plans and how we ended up where we are. Rather than attempting to cram all of this info into a single blog post which would result in 5,000+ words (and take far too long to read), I am going to break it out and make it a series, much like the one I did last summer. Only this time, it will totally be for realz. Over the next few weeks, I will first do posts to go over our material choices with posts about: floors and walls, cabinets and countertops, then hardware and appliances. Then I will be posting about our space plans which will include floor plans and diagrams, as well as details about my man cave workspace which I haven’t really talked about yet, and finally a post about our budget because everyone wants to know how much this whole thing is going to cost (you know you do!). First up: Floors….

Our amazing soon to be kitchen floor: “Gypsy” in Black and White from Villa Lagoon Tile
Last week I posted about what seemed like an endless process of figuring out our floors, and then finally making the decision to go with our hearts and choose the floor we were most in love with (which happened to be the most expensive option). So, not really much to add to this, other than an update. The tile is on order, and because it is cement, and cement is heavy, the tile will arrive on a pallet weighing in at about 3/4 of a ton… Yep, that is 1,500 pounds of cement. Unfortunately, the $700 shipping cost (from Alabama) only delivers it to the sidewalk. We will have to carry the 39 (very heavy) boxes of tile into and up to our apartment ourselves. But as I said last week, this is the floor which makes our hearts sing loudly and we are both absolutely thrilled to know that every day we will be able to walk on the floor we both fell in love with, and since this apartment is what we consider our forever home, that will be a very long time.
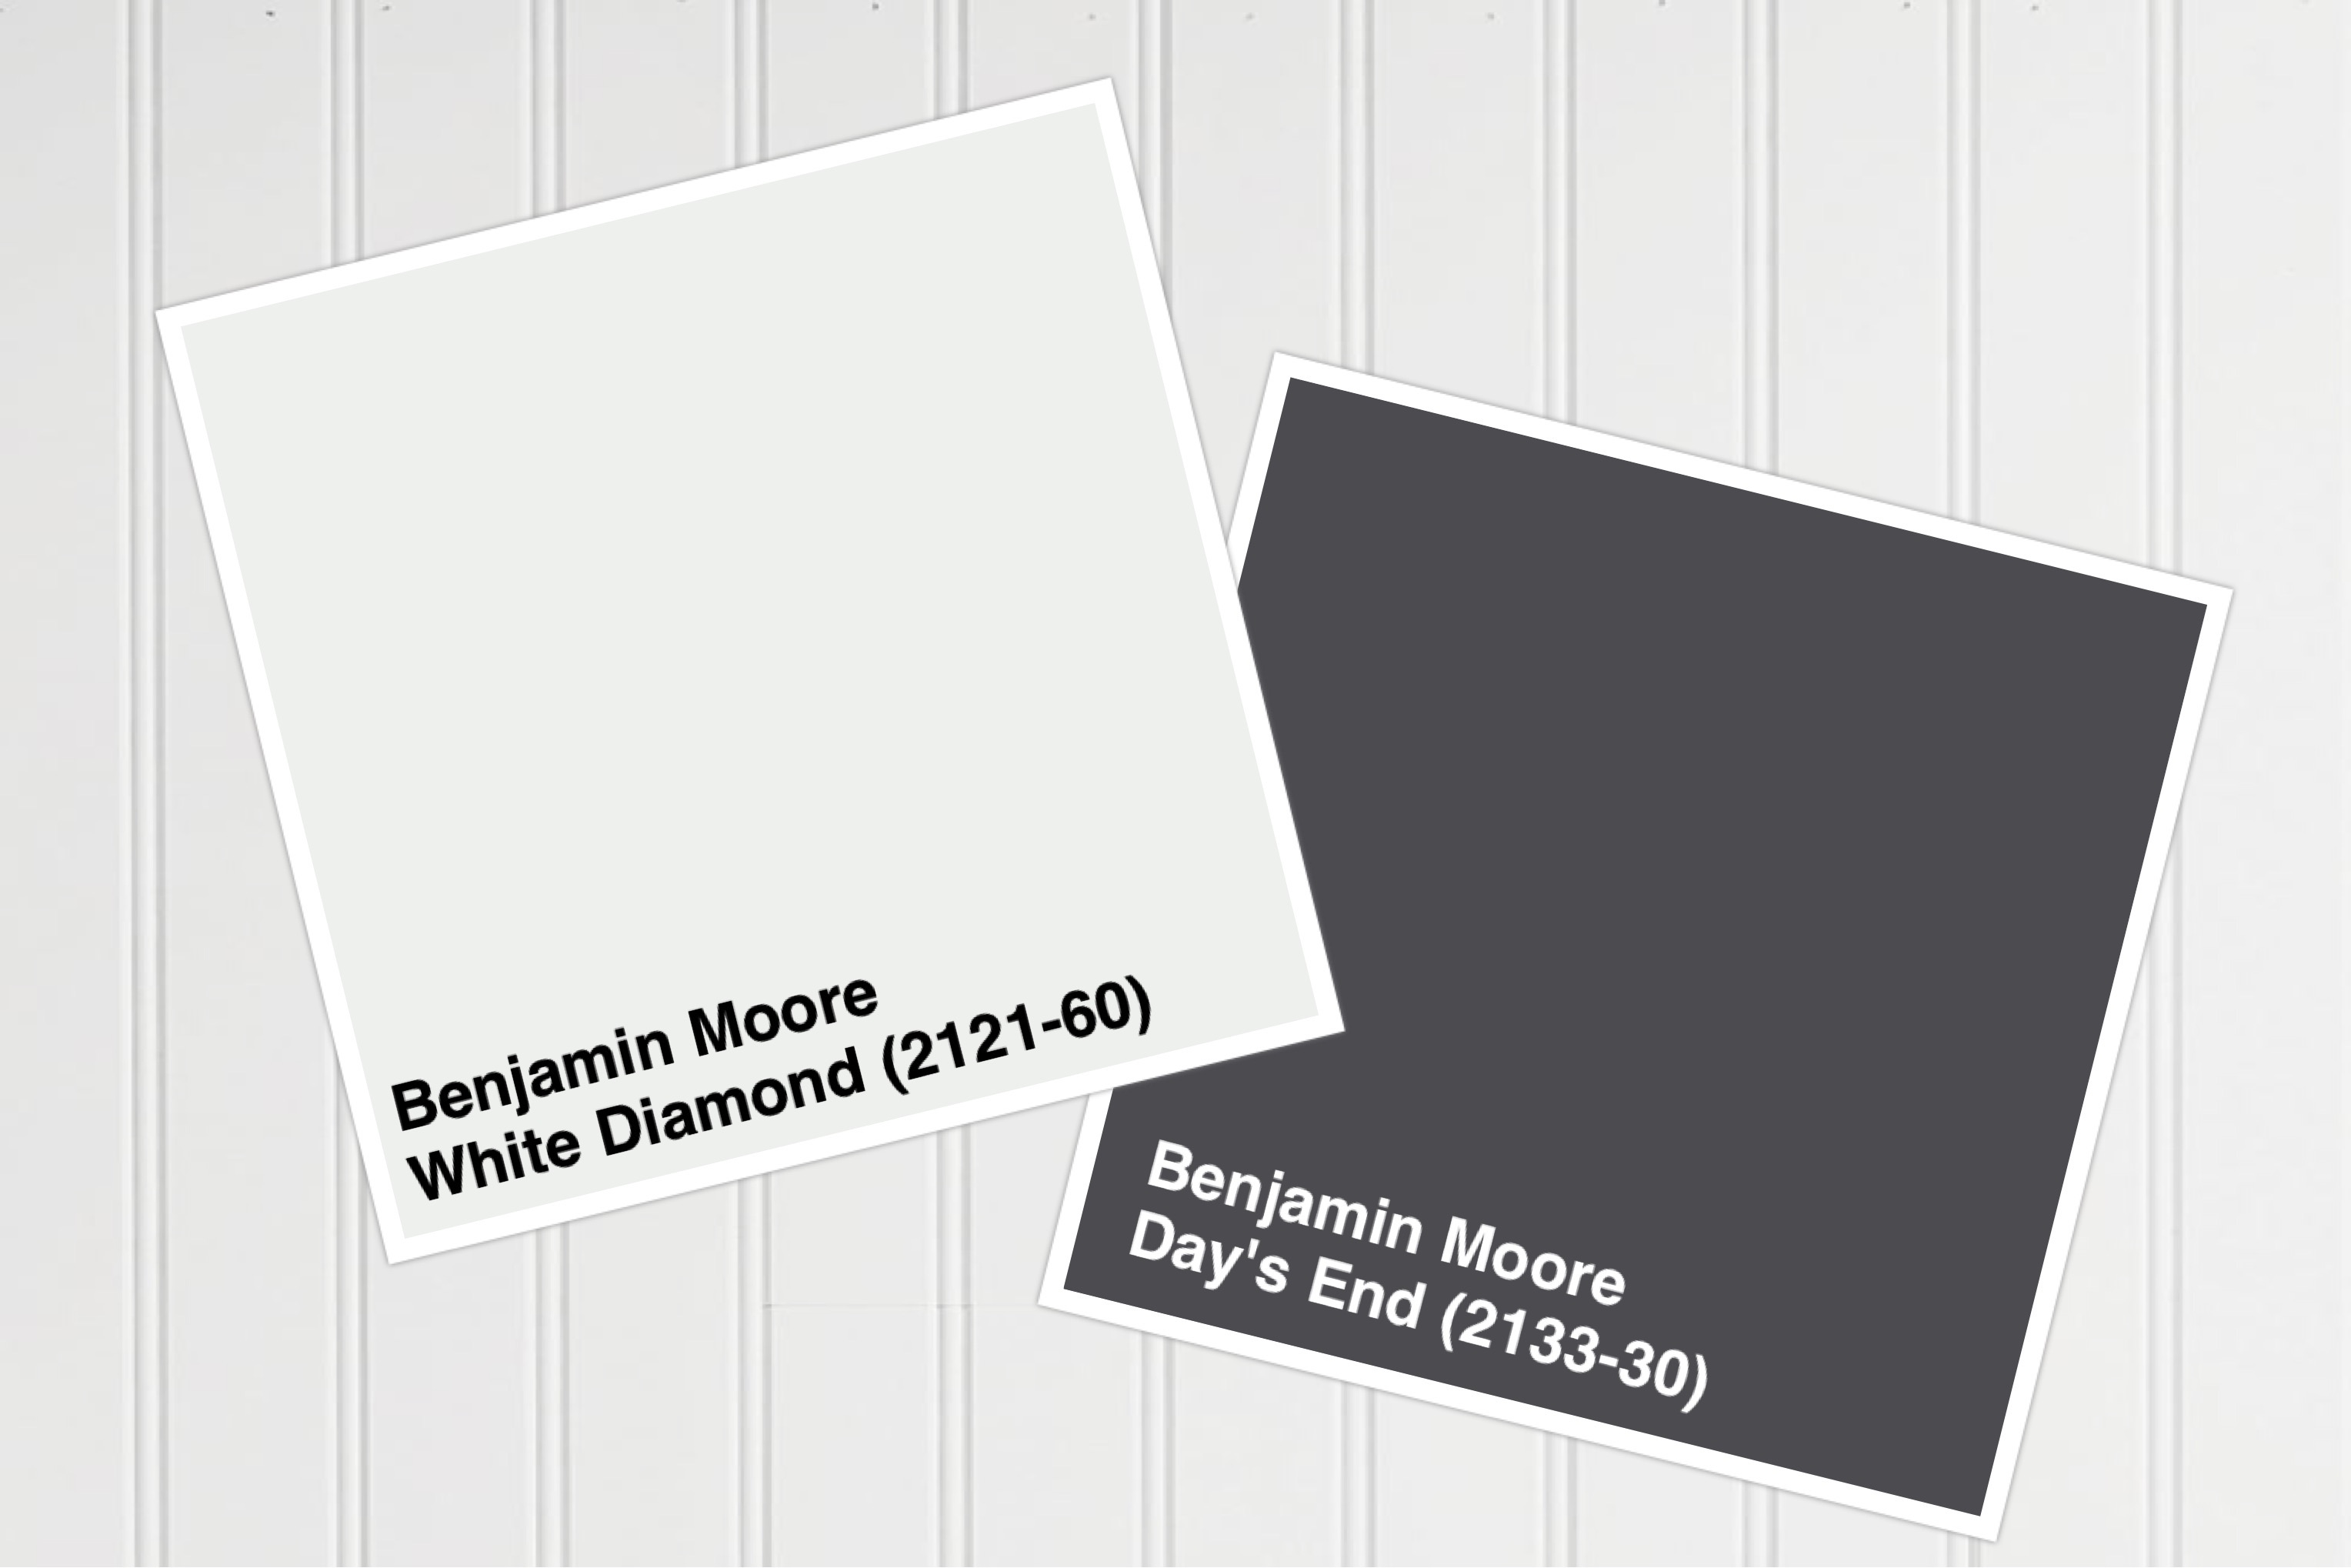
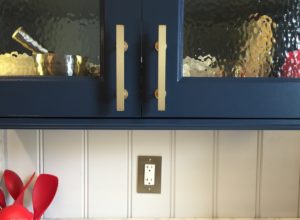
Our wall color will be White Diamond and the trim will be in Day’s End, both from Benjamin Moore Paints.
Last summer I went into details about our plans to do subway tile on the walls in a herringbone pattern. What happened?….. This is where the evolving part comes in…. I was totally and completely gung-ho with doing subway tile… It was cheap, it looks great, and to keep it interesting, I was planning on installing it in a herringbone pattern…. But that was last summer…. As the months wore on, I saw subway tile kitchens, over, and over, and over, and over, and over, and over… You get the idea. While I had acknowledged that subway tile was already quite ubiquitous, I began to feel that as timeless as white 3×6 inch subway tile is, it was reaching a point of saturation. So much so, that I felt that my use if it would just be “another subway tiled kitchen among hundreds if not thousands” Additionally, another issue was raised that put the option to use subway tile at risk. This has to do with how we were planning to mount the upper cabinets to the wall, and the fact that our walls are not like the walls in 95% of the rest of America (of course not!). So, by October, subway tile was out. But what to do?
Further research has led to evolving to a material I had only given a passing thought to, but the issue of how to mount our cabinets to the wall made me think that perhaps I should look at Beadboard. Yep, I just said Beadboard! (You can get up off of the floor now.) Now lets be clear…. Beadboard is definitely not a material one would think of when they are thinking current trends, if anything, it is about as untrendy as you can get. [Update: I just saw images of the 2015 HGTV Dream House and there is plenty of wideboard beadboard used throughout] Generally, when I have thought of beadboard, my first thought has always been country kitchens and bathrooms. I remember looking at it as an option last summer (for about 15 minutes) before saying that it was not for us. But it turns out I was looking at the wrong stuff…. Like a lot of materials, beadboard has been copied and dumbed down to the point of being almost cartoonish. Think beadboard paneling, or even beadboard wallpaper (there are a lot of blogs out there touting the wonders of fake beadboard). It is also most frequently used in narrow strips of about two inches wide which makes for a very busy look.
![OMG! Is this Beadboard not Sexy? Utilitarian yet elegant and chic all at once. [Source: DeVOL Kitchens - UK]](https://halfclassicsix.com/wp-content/uploads/2015/12/DeVOL-Kitchen-Beadboard-Sage-e1450576585560.jpg)
OMG! Is this Beadboard not Sexy? Utilitarian yet elegant and chic all at once. [Source: DeVOL Kitchens – UK]
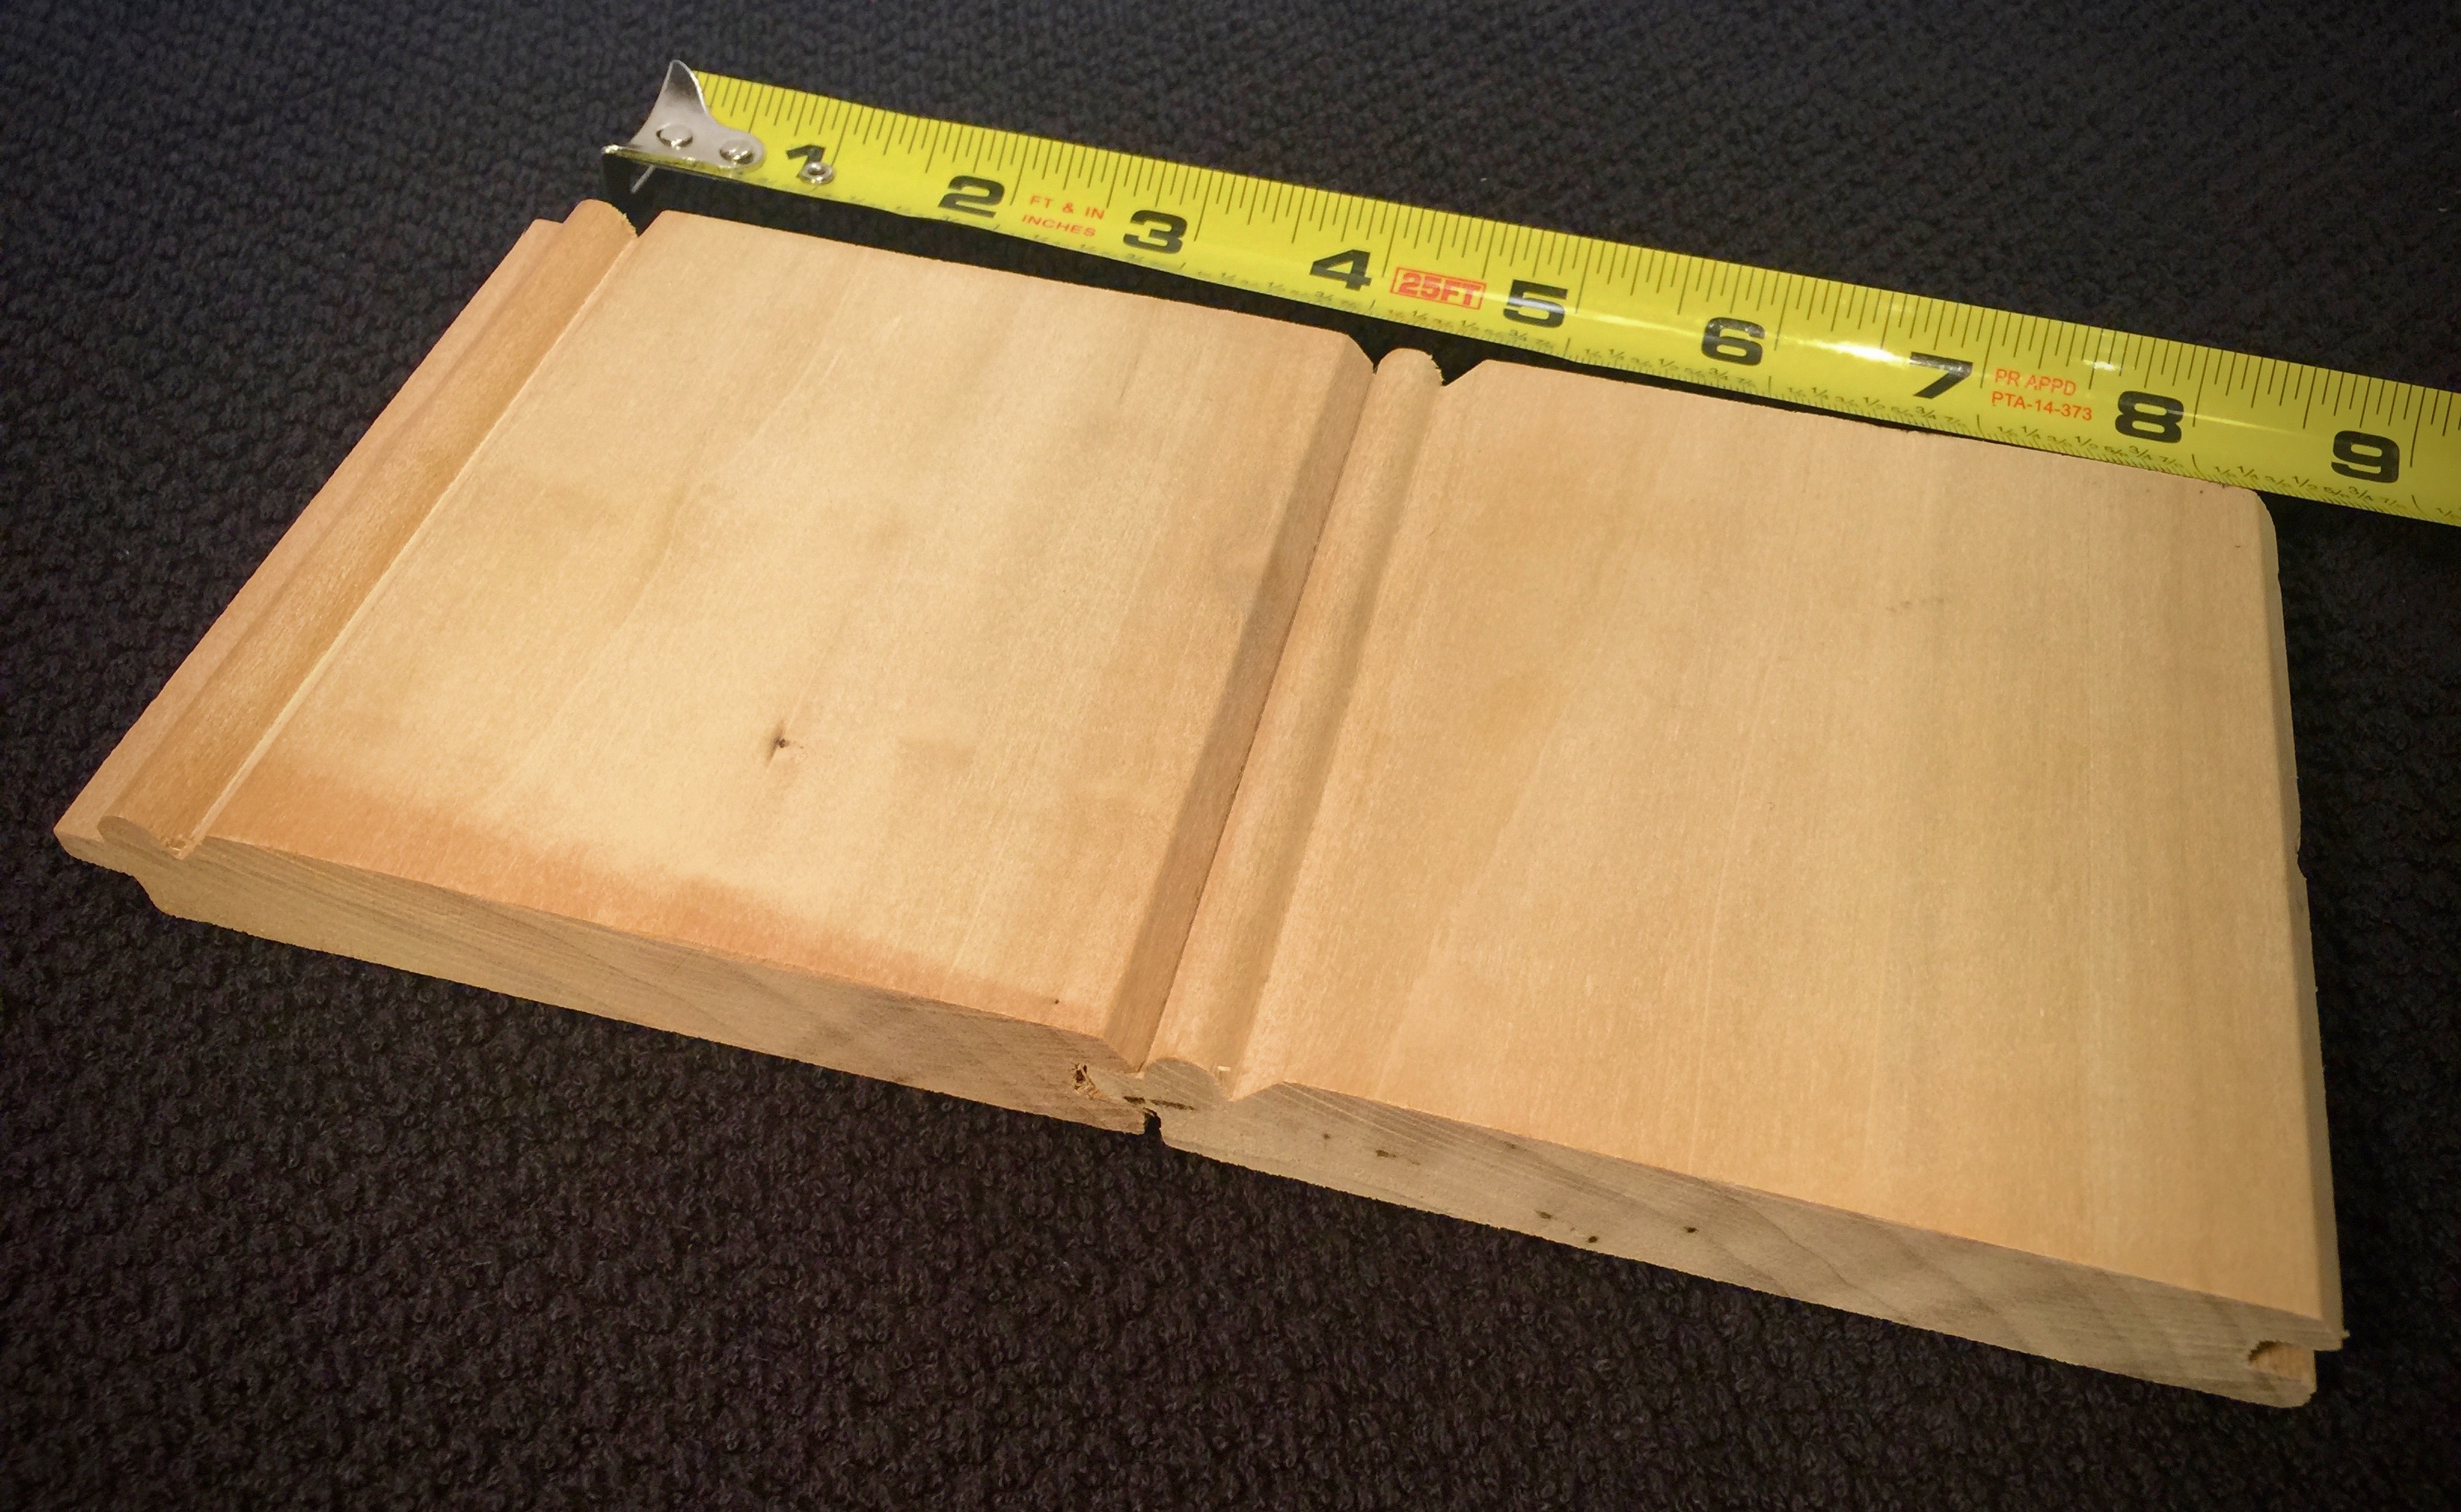
4.25 inch wide poplar beadboard plank (.625 thick) Samples. We will be priming both sides, and painting the fronts with a nice semi-gloss.
But an even bigger bonus to using wide plank beadboard is that by installing it on the wall directly behind our upper cabinets, the beadboard will provide a very necessary structural element needed for mounting our upper cabinets to the wall. This is important because our walls are not like the walls in 95% of the rest of the continent. Our walls do not have studs. Nor is there a nailer embedded into the wall to mount cabinets to (this was a bedroom after all) as is standard in most kitchens. While our walls are amazingly solid and virtually sound proof (and according to original promotional guides, fireproof). They are made of hollow masonry blocks (much like cinderblock) and then covered in plaster. This results in a very solid wall, but as solid as it is, it is also very soft. Turns out the soft masonry blocks are not very good for nailing things into, and hanging cabinets onto it is definitely not a smart decision. That’s where the beadboard comes to the rescue… But that is for a future post.
What about the trim and baseboards? We plan to keep the heavy wood casings around the window and three doors. We will be painting them in the dark and lovely Benjamin Moore Day’s End. They are of course currently covered in layer upon layer of paint and desperately need to be stripped, but I may need to make that a future project. As for the ten inch tall baseboards? They will unfortunately need to be removed to properly install the beadboard walls…. But don’t worry, I will replace them with new poplar baseboards which will be very appropriate to the period and honor the space. Although they may only be eight inches tall as ten inch baseboards are expensive and hard to come by. We will see. I haven’t decided if the baseboards will be the same color as the window trim or white like the beadboard.
Hopefully you haven’t nodded off yet are as super excited as we are! So with that, I will wrap up this entry in the series.
Next post: Cabinets and Countertops.
This post is part of a series about our final plans for the kitchen remodel we are beginning in early 2016. You can view all of the posts in the Finally — The Kitchen Plans are Final series HERE.


0 Comments